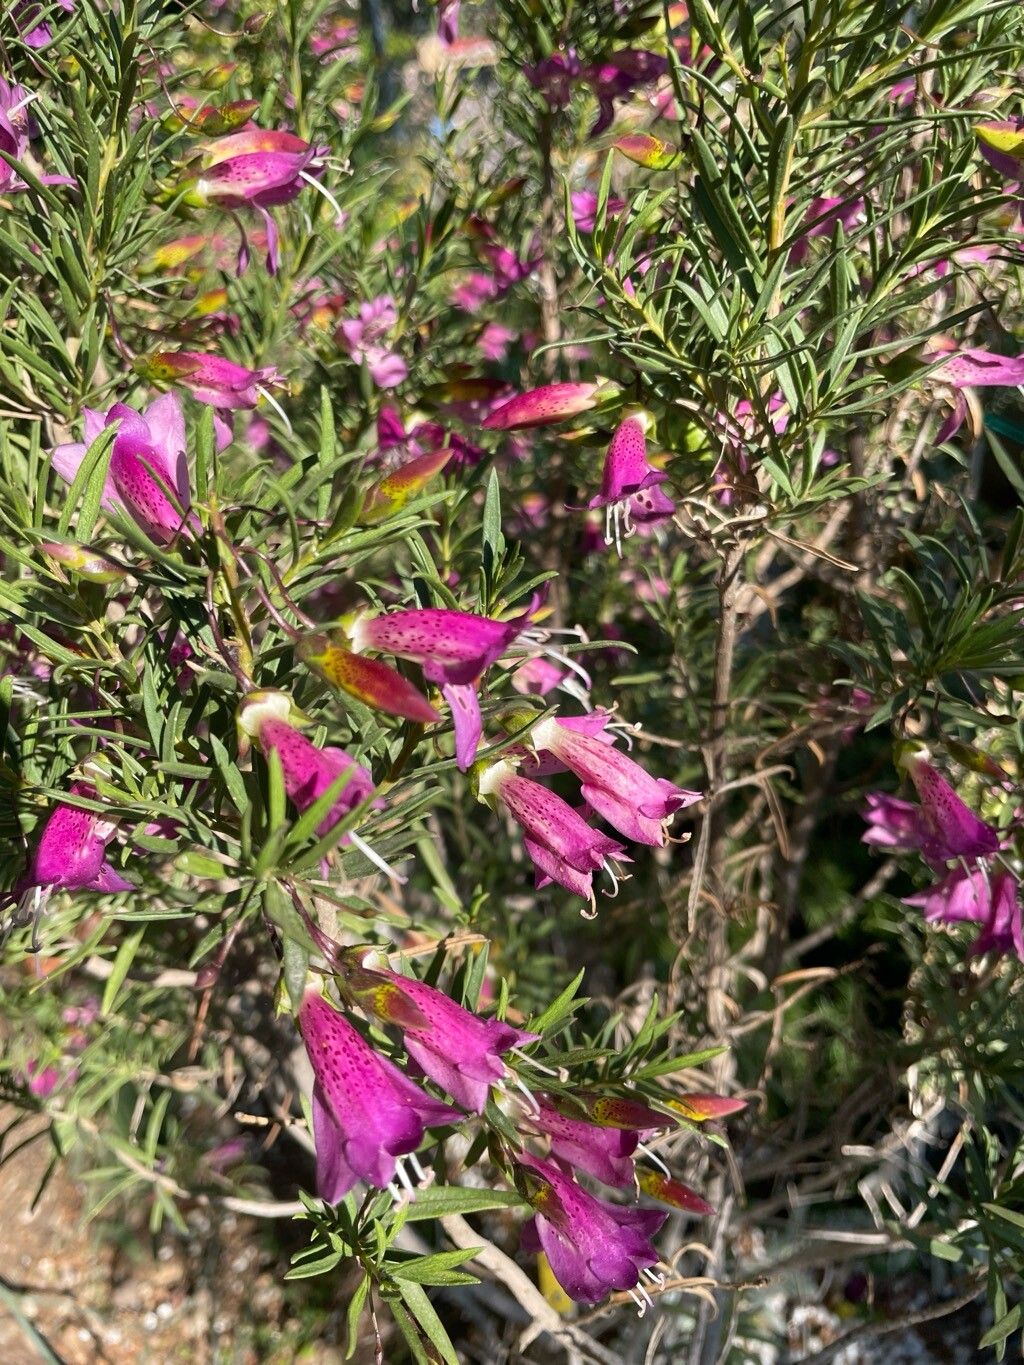
Ah, Eremophila alternifolia! Isn’t she a beauty? I’ve always been drawn to its delicate, silvery foliage and the charming little trumpet-shaped flowers that pop up, often when you least expect it, bringing a splash of unexpected colour. For me, there’s a special kind of joy in taking a piece of a beloved plant and coaxing it into becoming a whole new life. It’s a little bit of magic, really, and Eremophilas, while sometimes a touch fussy, are wonderfully rewarding to propagate. If you’re dipping your toes into propagation for the first time, this might be a moderate challenge, but with a little patience, you’ll find success.
The Best Time to Start
For Eremophila alternifolia, the sweet spot is generally late spring to early summer. This is when the plant is actively growing, and its stems have that perfect balance of being young and flexible, but mature enough to hold their form. You’re looking for what we call “semi-hardwood” cuttings. These are stems that have started to firm up from the current season’s growth, but aren’t yet completely woody and brittle.
Supplies You’ll Need
Gathering your supplies beforehand makes the whole process so much smoother. Here’s what I usually have on hand:
- Sharp, clean pruning shears or a sharp knife: Essential for clean cuts that heal better.
- Rooting hormone powder or gel: This is a real confidence booster for cuttings, encouraging root development.
- A well-draining potting mix: I like a mix that’s roughly equal parts perlite and a good quality potting soil, or a special seedling/cutting mix. You want excellent drainage to prevent rot.
- Small pots or trays: Clean pots are a must! About 4-6 inch pots are great for cuttings.
- A clear plastic bag or propagation dome: This helps maintain high humidity around your cuttings.
- Water: For moistening your soil and, of course, for watering.
- Labels and a marker: Don’t skip this! You’ll thank yourself later.
Propagation Methods
While Eremophilas don’t always take to water propagation as readily as some other plants, stem cuttings are my go-to method for Eremophila alternifolia. It’s tried and true and gives you the best chance of success.
Stem Cuttings:
- Take Your Cuttings: In late spring or early summer, select healthy, non-flowering shoots from your established Eremophila. Using your clean shears or knife, take cuttings about 4-6 inches long. Aim for a cut just below a leaf node (where a leaf attaches to the stem), as this is where roots tend to form.
- Prepare the Cuttings: Gently remove the lower leaves from your cuttings, leaving just a few at the very top. This prevents them from rotting once planted. If your cuttings are very long, you can even trim them in half, using both sections as potential cuttings.
- Dip in Rooting Hormone: Lightly dampen the cut end of each cutting with a little water. Then, dip the cut end into your rooting hormone, tapping off any excess. This coating helps to stimulate root growth.
- Plant Your Cuttings: Fill your pots with the prepared well-draining mix. Make a hole in the center of the soil with your finger or a pencil, large enough for the cutting. Carefully insert the hormone-coated end of the cutting into the hole, and gently firm the soil around it.
- Water Gently: Water the soil thoroughly but gently, ensuring it’s moist but not waterlogged.
- Create a Humid Environment: Place the potted cuttings inside a clear plastic bag, sealing it loosely, or cover them with a propagation dome. This creates a mini-greenhouse effect, keeping humidity high, which is crucial for cuttings to root.
The “Secret Sauce” (Pro Tips)
Here are a couple of little tricks I’ve learned over the years that really make a difference:
- Bottom Heat: If you have the option, placing your pots on a gentle heat mat can significantly speed up root formation. The warmth from below encourages the roots to grow while the top stays cooler. It’s like a cozy spa treatment for your cuttings!
- Don’t Overwater: This is so important for Eremophilas. They hate sitting in soggy soil. Check the moisture level regularly by gently pushing your finger into the soil. Only water when the top inch feels dry. It’s better to err on the side of too dry than too wet.
- Air Circulation is Key: While you want to maintain humidity, giving your cuttings a little fresh air each day is beneficial. Open the plastic bag or dome for a few minutes to prevent fungal issues.
Aftercare & Troubleshooting
Once you’ve potted your cuttings, the waiting game begins! Keep them in a bright spot, but out of direct, harsh sunlight. The humidity within the bag will keep them happy.
When Roots Appear: You’ll know your cuttings are taking root when you gently tug on them and feel a bit of resistance. You might also see new leaf growth starting. This can take anywhere from 4 to 8 weeks, sometimes longer.
Once roots are established, it’s time to gradually acclimatize them to normal conditions. Start by opening the bag for longer periods each day, until you can remove it entirely. Continue to water them as needed, ensuring good drainage.
Troubleshooting:
- Rotting: If your cuttings turn black and mushy, this is usually a sign of too much moisture and poor drainage. Sadly, these are usually a loss, but prevention is key! Make sure your soil mix is very free-draining.
- Wilting: A bit of initial wilting can happen as the cutting adjusts. However, if they remain consistently limp and don’t perk up after watering, it might mean they haven’t rooted, or the conditions aren’t right. Ensure they have adequate humidity.
A Encouraging Closing
So there you have it! Propagating Eremophila alternifolia is a wonderful way to expand your collection or share these lovely plants with friends. Don’t be discouraged if your first attempt isn’t perfect; gardening is all about learning and adapting. Be patient, enjoy the quiet satisfaction of nurturing new life, and celebrate every little victory along the way. Happy propagating!
Resource:
https://identify.plantnet.org/k-world-flora/species/Eremophila%20alternifolia%20R.Br./data