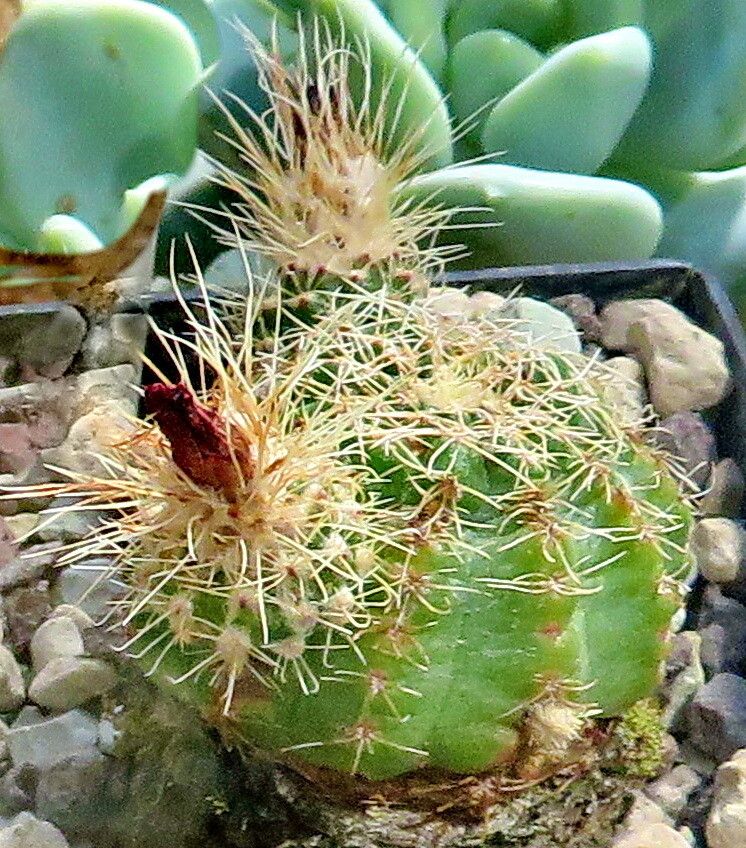
Oh, Echinocereus pulchellus! If you’ve ever marveled at this little gem, with its beautiful pink flowers and compact form, you’re not alone. It’s truly a treat for the eyes. And you know what’s even more rewarding? Growing your own! Propagating these beauties is a wonderful way to expand your collection without breaking the bank, and trust me, seeing those tiny pups take root is a special kind of joy. Now, is it a walk in the park for a complete beginner? To be honest, it can be a little finicky, but with a few pointers, you absolutely can succeed. Don’t let that deter you!
The Best Time to Start
Timing is everything in the garden, and for Echinocereus pulchellus, the sweetest spot is during its active growing season. Think late spring through summer. This is when the plant is energized and ready to put out new growth, meaning your cuttings or divisions will have the best chance of rooting. Starting in the heat of summer is generally fine, but avoid trying this when the plant is dormant in winter.
Supplies You’ll Need
Gathering your tools beforehand makes the whole process so much smoother. Here’s what you’ll want on hand:
- Well-draining cactus/succulent soil mix: You can buy a pre-made one or create your own by mixing equal parts coarse sand, perlite, and potting soil.
- Clean, sharp pruning shears or a very sharp knife: Sterilize them with rubbing alcohol before you start.
- Rooting hormone powder (optional, but helpful): Especially if you’re feeling a bit nervous about rooting.
- Small pots or trays: terracotta or plastic, just make sure they have drainage holes.
- Labels/markers: To keep track of what you’ve planted and when.
- Watering can or spray bottle: For gentle watering.
Propagation Methods
Echinocereus pulchellus is most commonly propagated by offsets, often called “pups,” which grow from the base of the main plant.
- Offset Separation:
- Gently unpot your mature Echinocereus pulchellus. You want to do this carefully to avoid damaging the roots of the main plant.
- Locate the pups. These are smaller, independent plants growing from the sides or base.
- Using your sterilized pruning shears or knife, carefully slice through the connection between the pup and the mother plant. Try to get as much of the pup’s own root system as possible, but don’t fret if it’s minimal.
- Let the cuttings callus. This is crucial. Place the separated offsets in a dry, airy spot out of direct sunlight for several days to a week. You’ll see a dry, protective scab form over the cut surface. This prevents rot when you plant them.
- Plant the callused offsets. Fill your small pots with your well-draining soil mix. Make a small hole in the center and insert the base of the offset.
- Lightly firm the soil around the base. You don’t need to water immediately; wait a few days after planting for the first watering.
The “Secret Sauce” (Pro Tips)
Here are a few things I’ve learned over the years that can really give you a leg up:
- Don’t rush the callusing: I cannot stress this enough. That dry scab is your best friend against rot. If it looks moist or unhealed, give it more time. Patience here saves heartache later!
- Bottom heat is a game-changer: If you can swing it, placing your pots on a seedling heat mat set to a low temperature (around 70-75°F or 21-24°C) will significantly speed up root formation. It mimics the warmth of spring soil.
- A light misting is better than a drenching: When you do start watering, be conservative. A gentle misting to moisten the soil surface is usually enough for the first few weeks. Overwatering is the number one killer of newly potted cacti.
Aftercare & Troubleshooting
Once your offsets have been planted and have had a chance to settle in for a few days, you can start watering them lightly. Water only when the soil is completely dry to the touch. For the first month or so, keep them in bright, indirect light. Avoid direct, hot sun, which can scorch them.
The most common issue you’ll encounter is rot. Signs of rot include the plant becoming mushy, discolored (often brown or black), or developing soft spots. If you see this, act fast. Remove the affected plant immediately, trim away any rotten tissue with your sterilized knife, and re-callus the healthy parts before attempting to replant in fresh, dry soil. Another sign of failure is simply no signs of growth or rooting after many weeks. This can sometimes happen if the cutting was too old, didn’t callus properly, or the conditions weren’t quite right. Don’t be too hard on yourself; it’s part of the learning curve!
A Encouraging Closing
Propagating Echinocereus pulchellus is a journey, not a race. Some will root quickly, others will take their sweet time. Keep an eye on them, provide good care, and remember those pro tips. Celebrate each tiny root you see and each new bit of growth. Enjoy the process, experiment, and you’ll soon have a delightful little army of these amazing cacti to admire! Happy growing!
Resource: