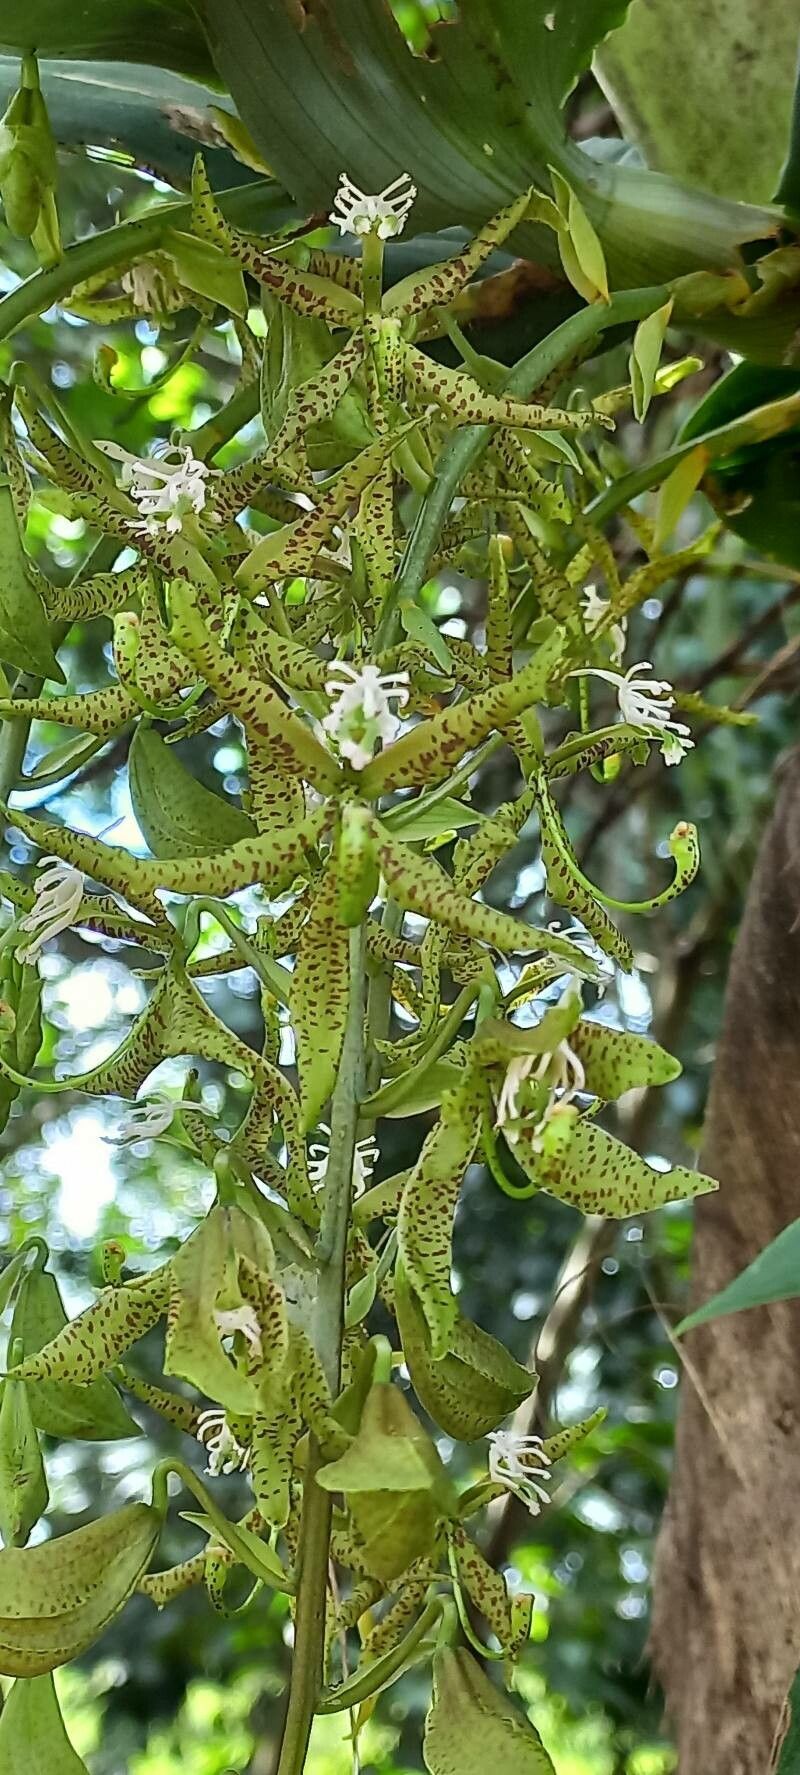
Hello fellow plant enthusiasts! If you’ve ever marveled at the unique, almost alien beauty of the Cycnoches manoelae, then you’re in for a treat. These orchids, with their gracefully arching flowers that often resemble swan necks, possess a charm that’s truly captivating. The thrill of growing your own from a small cutting or division is a deeply rewarding experience, like nurturing a tiny spark into a full bloom. Now, I’ll be honest, propagating Cycnoches manoelae isn’t as straightforward as, say, a pothos, but with a little patience and know-how, it’s absolutely achievable for most home growers. Don’t let that deter you; the satisfaction is immense!
The Best Time to Start
The sweet spot for propagating Cycnoches manoelae is typically in late spring or early summer. This is when the plant is actively growing after its rest period and has plenty of energy to dedicate to developing new roots. You’ll want to begin when the plant is showing signs of new growth, like fresh shoots or developing pseudobulbs.
Supplies You’ll Need
Here’s what you’ll want to gather for your propagation adventure:
- Sharp, sterile pruning shears or a clean knife: Essential for making clean cuts to prevent disease.
- Cinnamon powder or a fungicide: For dusting cut surfaces to ward off infection.
- A well-draining orchid potting mix: I prefer a mix of bark, perlite, and sphagnum moss for good aeration and moisture retention.
- Small pots or containers: Clean ones are a must!
- Clear plastic bags or propagation domes: To create a humid microclimate.
- Optional: Rooting hormone: While not strictly necessary for division, it can give cuttings a helpful boost.
- Optional: Heat mat: For consistent bottom warmth, which many orchids love.
Propagation Methods
Cycnoches manoelae are most successfully propagated through division. This is where you carefully separate a mature plant into smaller sections, each with its own roots and at least a few pseudobulbs (the swollen stems).
Division How-To:
- Gently remove the parent plant from its pot. Turn the pot on its side and carefully slide the orchid out. If it’s stuck, you may need to gently loosen the soil around the edges with a knife.
- Inspect the root system. You’re looking for natural divisions, points where the plant is clearly separating. You might see older pseudobulbs leading to newer growth.
- Carefully untangle the roots. If the roots are very intertwined, you might need to gently tease them apart. Sometimes, a clean cut through thick, woody roots is necessary. Be as gentle as you can to minimize damage.
- Make clean cuts. Use your sterile shears or knife to separate the divisions. Ensure each piece has at least two or three healthy pseudobulbs and a good portion of roots.
- Dust the cut surfaces. Lightly coat any cut areas on both the parent plant and the new divisions with cinnamon powder or a fungicide. This is a crucial step for preventing rot.
- Pot up the new divisions. Place each division in its own clean pot filled with your orchid mix. Position the division so that the base of the pseudobulbs are at the surface of the mix, not buried too deeply.
- Water lightly. Give them a gentle watering.
The “Secret Sauce” (Pro Tips)
Over the years, I’ve learned a few tricks that can make all the difference:
- Don’t over-pot: Give your new divisions just enough room to grow. Too much empty space in the pot can lead to the potting medium staying wet for too long, which is a recipe for rot.
- Humidity is key, but ventilation is vital: After potting, place your divisions in a humid environment, like inside a clear plastic bag with a few air holes or under a propagation dome. However, don’t seal them completely airtight. A bit of air exchange is necessary to prevent fungal issues. I like to open the bag or dome for a few minutes each day.
- Patience with pseudobulbs: Sometimes, a division might look a little rough initially. As long as the pseudobulbs are firm and not shriveled, give them time. New roots and leaves will eventually emerge from the base of the newest pseudobulbs.
Aftercare & Troubleshooting
Once your divisions are potted, keep them in bright, indirect light. Avoid direct sunlight, which can scorch tender new growth. Water only when the potting medium is starting to dry out. Don’t let them sit in soggy conditions.
The most common sign of failure is rot, which often manifests as mushy, brown pseudobulbs or a black, soft base. If you see this, sadly, that division may be lost. It’s usually caused by too much moisture and poor air circulation. If you catch rot early on a pseudobulb, you can try to cut away the affected tissue with a sterile knife and dust with cinnamon, but it’s often difficult to recover at that point. Shriveled pseudobulbs, on the other hand, can sometimes indicate thirst or a need for more humidity, rather than rot.
A Little Encouragement
Propagating orchids is a journey, not a race. There will be moments of anticipation, and sometimes, a bit of trial and error. But with each new leaf or root your Cycnoches manoelae produces, you’ll feel that deep satisfaction of a gardener who has truly nurtured life. So, be patient, observe your plants, and enjoy the process of bringing more of these swan-like beauties into your home! Happy growing!
Resource: