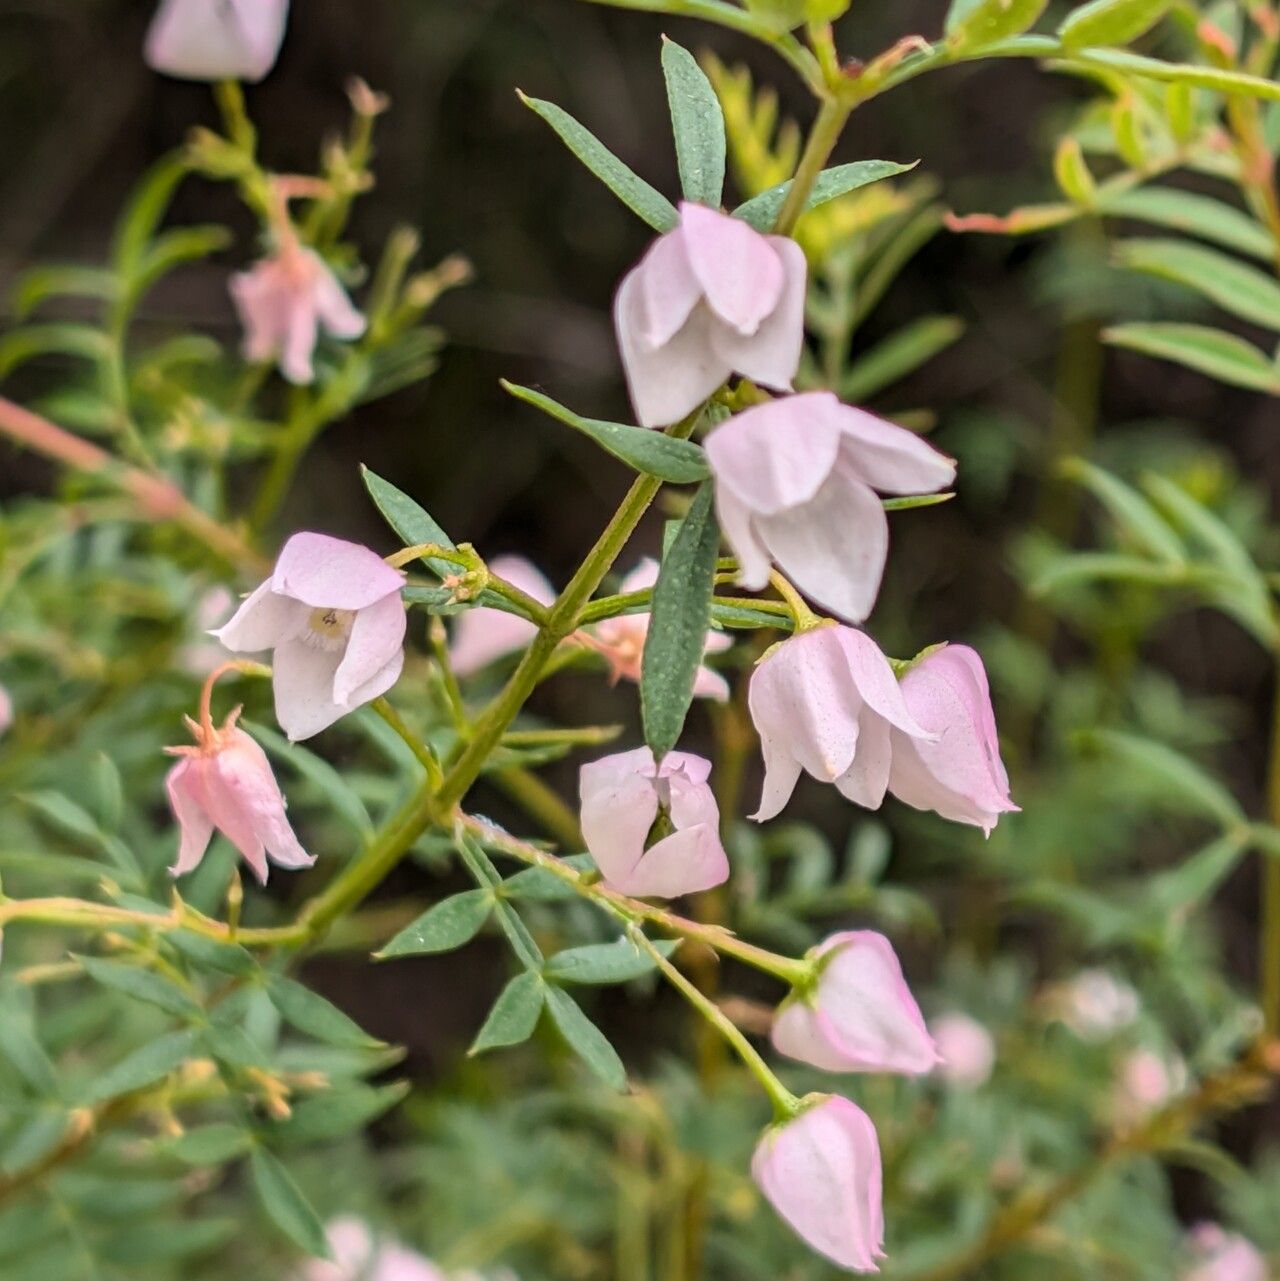
Oh, Boronia floribunda! If you’ve ever seen one of these beauties in full bloom, you know exactly why I’m so excited to talk about propagating them. Those delicate, often fragrant, pink flowers are just a delight, aren’t they? Bringing that little bit of Australian sunshine into your own garden is incredibly rewarding. Now, I won’t lie; Boronia can be a tad bit fussy about propagation, so it might not be the absolute first plant I’d recommend for a complete beginner. But with a little patience and the right approach, you absolutely can succeed. Think of it as a gardening adventure!
The Best Time to Start
For Boronia floribunda, the sweet spot is usually late spring to early summer. You’re looking for stems that are semi-hardwood. This means they’ve started to firm up from the current season’s growth but haven’t become totally woody and rigid. Gently bend a stem – if it snaps cleanly, it’s likely perfect. If it bends without breaking, it’s still too soft. This is when they have the best energy reserves and hormone levels for rooting.
Supplies You’ll Need
Gathering your supplies beforehand makes the whole process much smoother. Here’s what I usually have on hand:
- Sharp, clean pruning shears or a craft knife: Precision is key to getting clean cuts.
- Rooting hormone powder or gel: This is your secret weapon for encouraging those roots to sprout. I prefer a powder that contains IBA (indole-3-butyric acid).
- A well-draining potting mix: This is crucial for Boronia. I like to mix equal parts perlite, coarse sand, and a good quality potting compost. Sometimes I’ll add a bit of fine bark for extra aeration.
- Small pots or seed trays: Clean ones, please! Terracotta pots are great because they breathe.
- Plastic bags or a propagator: To create a humid environment. A clear plastic bag works wonders.
- Labels and a marker: Don’t forget to label your cuttings!
- A small watering can or spray bottle: For gentle watering.
Propagation Methods: Stem Cuttings
This is generally the most successful way to propagate Boronia floribunda.
- Take Your Cuttings: In late spring or early summer, select healthy, semi-hardwood stems. Aim for cuttings about 10-15 cm (4-6 inches) long. Make a clean cut just below a leaf node (where a leaf attaches to the stem).
- Prepare the Cuttings: Gently remove the lower leaves, leaving just a couple of leaves at the very top. If the top leaves are very large, you can even snip them in half to reduce water loss.
- Apply Rooting Hormone: Dip the cut end of each stem into your rooting hormone powder or gel, tapping off any excess.
- Pot Them Up: Fill your clean pots or trays with your special well-draining mix. Make a small hole in the center of each pot with a pencil or your finger. Carefully insert the cutting into the hole, ensuring the leaf nodes are below the soil surface. Gently firm the mix around the stem.
- Water Gently: Give them a light watering. You want the soil to be moist but not waterlogged. A spray bottle is excellent here.
- Create Humidity: Cover the pots with a clear plastic bag, securing it around the rim of the pot with a rubber band or tape. If you’re using a propagator, close the lid. Make sure the leaves aren’t touching the plastic if possible.
The “Secret Sauce” (Pro Tips)
Over the years, I’ve learned a few little tricks that make a big difference.
- Temperature Matters! Boronia roots much better with a little warmth. Placing your pots on a heat mat set to around 20-22°C (70-75°F) can dramatically speed up root formation and increase success rates. It encourages those root cells to get going.
- Air Circulation is Key: While humidity is essential, stagnant air can lead to rot. “Huff” your plastic bag daily for a few seconds to refresh the air inside. If you notice condensation building up excessively, lift the bag for a few minutes to let it vent.
- Be Patient with the Watering: Once they’re potted, resist the urge to overwater. Let the top centimeter of soil dry out slightly between waterings. Too much moisture is the quickest way to lose your cuttings to rot.
Aftercare & Troubleshooting
Once your cuttings have begun to show signs of rooting – usually after 6-8 weeks, but sometimes longer – you’ll see new leaf growth appearing. This is a great sign!
- Acclimatize: Gradually start to remove the plastic bag, increasing the time the cuttings are exposed to the open air over a week or two. This helps them adjust to normal humidity levels.
- Care for Young Plants: Continue to water them gently, keeping the soil consistently moist but not wet. Move them to a spot with bright, indirect light.
- Troubleshooting: The most common problem is rot. If you see your cutting turning mushy or black, especially at the soil line, it’s likely too much moisture. Unfortunately, a rotted cutting can’t usually be saved. If they just refuse to root and look healthy, they might be too young or too old. Sometimes, nature just doesn’t cooperate, and that’s okay. Learn from it and try again!
A Gentle Encouragement
Propagating Boronia floribunda is a journey, not a race. There will be times when some cuttings don’t make it, and that’s a normal part of gardening. Don’t get discouraged! Each attempt teaches you something new. Celebrate the successes, learn from the challenges, and most importantly, enjoy the process of coaxing new life from your favorite plants. Happy gardening!
Resource:
https://identify.plantnet.org/k-world-flora/species/Boronia%20floribunda%20Sieber%20ex%20Rchb./data