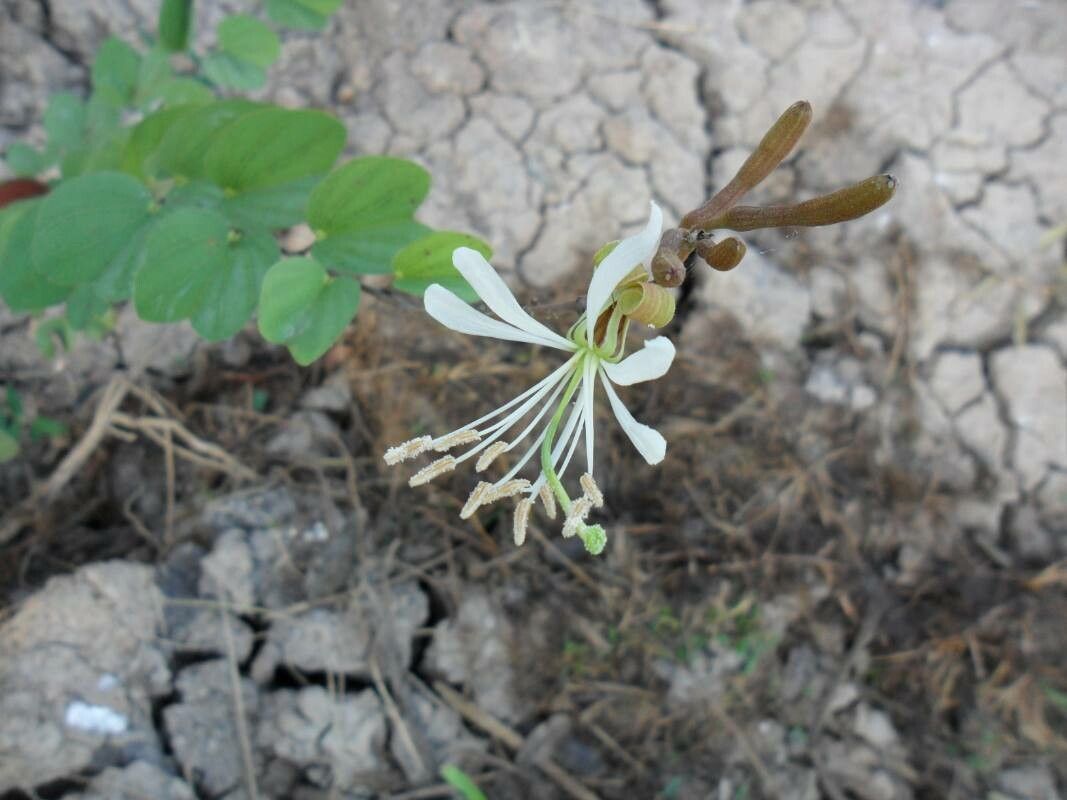
Hello, fellow plant enthusiasts! Today, I want to talk about a plant that truly captivates me: Bauhinia rufa. You might know it by its common name, often the ‘Red Bauhinia’ or ‘Scarlet Orchid Tree,’ and its spectacular display of vibrant red, orchid-like flowers is simply stunning. Watching those blooms unfurl is a real treat, and propagating your own Bauhinia rufa from a parent plant is incredibly rewarding. It’s a wonderful way to share this beauty or simply to expand your own collection without having to buy new plants. For beginners, I’d say it’s moderately easy – a little patience and a few key steps are all you need to get started.
The Best Time to Start
For the highest chance of success with Bauhinia rufa propagation, I always recommend working with semi-hardwood cuttings taken in late spring or early summer. This is when the plant is actively growing but the stems have started to firm up a bit. You want stems that are flexible but not yet woody. Taking them when the plant is in full growth means they have the energy reserves to put into developing roots.
Supplies You’ll Need
Here’s what you’ll want to have on hand before you dive in:
- Sharp, clean pruning shears or a sharp knife: Essential for making clean cuts to avoid damaging the stem.
- Rooting hormone powder or gel: This really gives your cuttings a boost, encouraging faster and stronger root development.
- A well-draining potting mix: I like a blend of equal parts peat moss, perlite, and coarse sand for cuttings. This ensures good aeration and prevents waterlogging.
- Small pots or seed trays: Choose containers with drainage holes.
- A clear plastic bag or humidity dome: To maintain high humidity around your cuttings.
- Optional: Bottom heat mat: This can significantly speed up rooting, especially in cooler environments.
- Labels and a permanent marker: To keep track of what you’ve planted and when.
Propagation Methods: Stem Cuttings
This is my go-to method for Bauhinia rufa, and it’s usually quite effective.
- Select Your Cuttings: Look for healthy, vigorous stems on your parent plant. Choose pieces that are about 4-6 inches long. Make your cuts just below a leaf node (where a leaf attaches to the stem). Remove any flower buds or developing flowers; we want the plant to focus its energy on roots, not flowers.
- Prepare the Cuttings: Gently remove the lower leaves, leaving only the top 2-3 leaves intact. This reduces moisture loss. If the remaining leaves are very large, you can cut them in half horizontally to further minimize transpiration.
- Apply Rooting Hormone: Dip the cut end of each stem into your rooting hormone. Gently tap off any excess.
- Plant Your Cuttings: Fill your pots or trays with your prepared potting mix. Make a small hole in the center of the mix using a pencil or your finger. Insert the treated end of the cutting into the hole, ensuring the leaf nodes are buried in the soil. Gently firm the soil around the stem to ensure good contact.
- Create a Humid Environment: Water the potting mix thoroughly until water drains from the bottom. Then, cover the pots with a clear plastic bag or a humidity dome. Make sure the plastic doesn’t touch the leaves of your cuttings. If using a bag, you can support it with stakes or chopsticks. Place the pots in a bright, indirect light location.
The “Secret Sauce” (Pro Tips)
Here are a couple of things I’ve learned over the years that can make a big difference:
- Don’t Let Leaves Touch the Water: If you ever decide to try water propagation (which can work but is often less successful for woody plants like Bauhinia), remember this: any part of the stem or leaves submerged in water is prone to rot. Only the very bottom of the stem should be in contact with the water.
- Bottom Heat is Your Friend: Especially if your home is on the cooler side, investing in a bottom heat mat can be a game-changer. This gentle warmth from below mimics spring soil temperatures and can significantly speed up root formation, giving your cuttings a much better start. About 70-75°F (21-24°C) is ideal.
Aftercare & Troubleshooting
Once your cuttings are planted, keep the potting mix consistently moist but not soggy. Check the humidity dome or plastic bag daily and wipe away any condensation to prevent fungal issues. You can also gently ventilate by lifting the bag for a few minutes each day.
Here’s what to look out for:
- Signs of Rooting: This usually takes anywhere from 4-8 weeks, sometimes longer. You’ll know they’re rooting when you see new leaf growth, or if you gently tug on a cutting and feel resistance. You can also carefully dig around the base of a cutting to inspect for roots.
- Wilting: Occasional wilting can happen, especially if the humidity drops or the plant is a bit stressed. Ensure the soil is moist and increase humidity if needed. If the wilting is severe and the stem looks soft or mushy, it’s likely rot.
- Rot: This is the most common killer of cuttings. It’s usually caused by overwatering, poor drainage, or lack of air circulation. If you see dark, mushy stems or leaves, the cutting is likely lost. Prevention is key – use that well-draining mix and don’t let them sit in water.
Once your cuttings have developed a good root system, you can carefully transplant them into individual pots filled with a standard, good-quality potting mix. Continue to water them regularly and provide bright, indirect light. Gradually introduce them to more direct sunlight as they establish.
A Encouraging Closing
Watching a new plant emerge from a simple cutting is one of gardening’s true joys. Bauhinia rufa may take a little time and care, but the reward of seeing those roots form and new leaves unfurl is absolutely worth it. Be patient with your little green babies, and don’t be discouraged if not every cutting takes. Every attempt is a learning experience. Happy propagating, and enjoy the beautiful journey!
Resource:
https://identify.plantnet.org/k-world-flora/species/Bauhinia%20rufa%20(Bong.)%20Steud./data