Bringing More Sunshine to Your Garden: Propagating Aurinia saxatilis
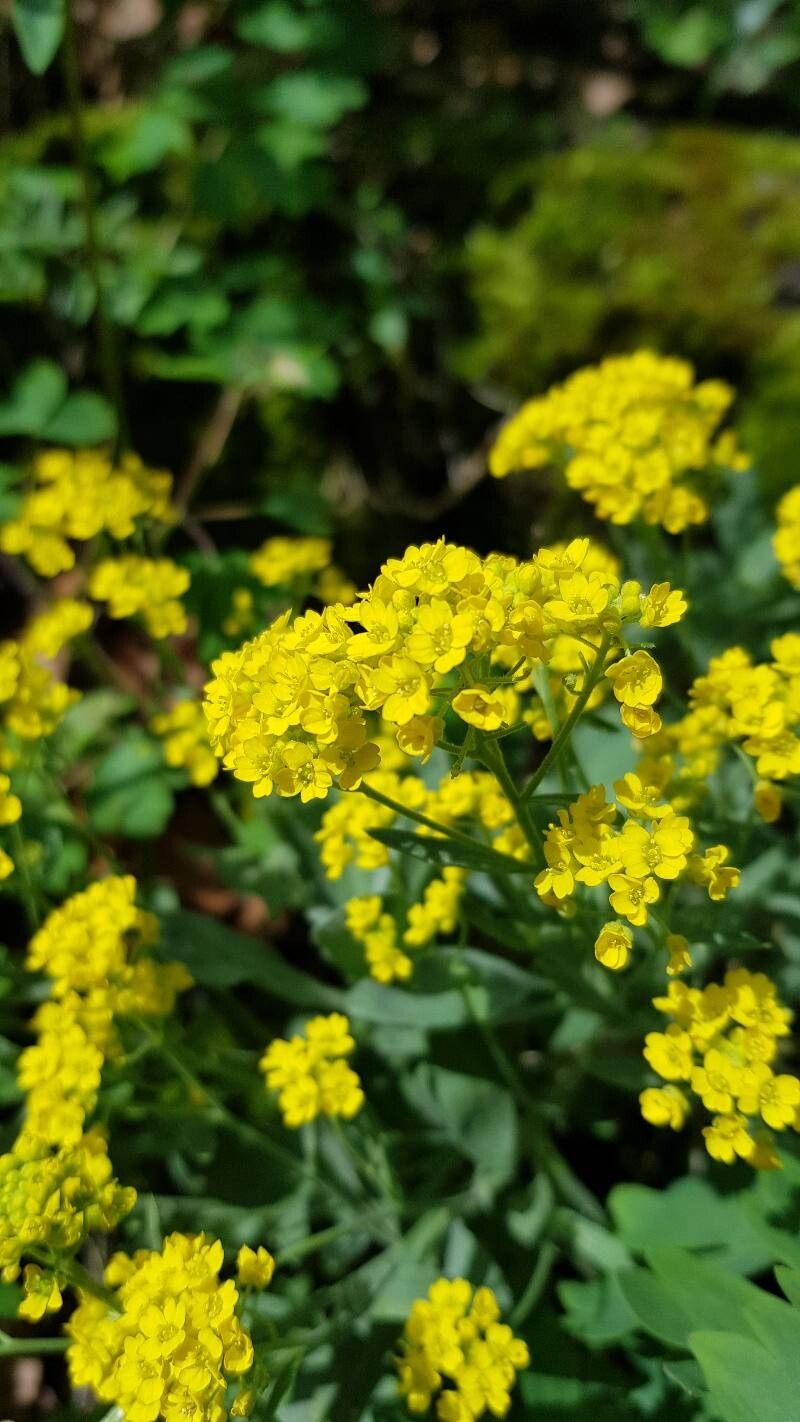
Oh, Aurinia saxatilis! If you’ve ever seen these cheerful little mounds of bright yellow blossoms carpeting a rock garden or spilling over a wall, you know exactly why I adore them. Also known as Basket of Gold, they are simply sunshine in plant form. And the best part? They’re surprisingly simple to propagate, meaning you can easily expand your collection or share these golden beauties with fellow garden enthusiasts. If you’re new to plant propagation, this is a fantastic starting point. You’ll be amazed at how rewarding it is to grow a new plant from a tiny piece of an old one!
The Best Time to Start
For Aurinia saxatilis, I’ve found the sweet spot for propagation is late spring or early summer, right after they’ve finished their spectacular bloom. The stems are still somewhat tender, which makes them ideal for taking cuttings, and the warmer weather gives them a great boost for rooting. Think of it as capturing that last bit of post-bloom energy.
Supplies You’ll Need
Gathering your supplies before you start makes the whole process much smoother. Here’s what I keep handy:
- Sharp pruning shears or a clean knife: For making precise, clean cuts.
- Rooting hormone (optional but recommended): This little helper can significantly increase your success rate. Ask for a powdered, stem-cutting specific type.
- Small pots or seed trays: With good drainage holes, of course!
- A well-draining potting mix: I like a blend of equal parts peat moss or coco coir, perlite, and horticultural sand. You can also buy a commercial seed-starting or cactus/succulent mix.
- Watering can or spray bottle: For gentle watering.
- Plastic bag or propagation dome: To create a humid environment for cuttings.
- Labels and a pen: To keep track of your new plants!
Propagation Methods
My go-to method for Aurinia saxatilis is stem cuttings. It’s straightforward and highly effective.
- Select Your Cuttings: In late spring or early summer, choose healthy, non-flowering stems. Look for stems that are about 4-6 inches long. They should be firm but not woody.
- Make the Cut: Using your clean pruners or knife, make a clean cut just below a leaf node (where the leaves attach to the stem). This is where roots are most likely to form.
- Prepare the Cuttings: Gently remove the lower leaves from the bottom half of each cutting. This prevents them from rotting in the soil. You can leave 2-3 sets of leaves at the top.
- Dip in Rooting Hormone (Optional): If you’re using rooting hormone, dip the cut end of each stem into the powder, tapping off any excess.
- Plant Your Cuttings: Fill your pots or trays with your prepared potting mix. Make small holes in the soil with a pencil or your finger, and insert the cuttings, ensuring the cut end is buried. Gently firm the soil around the base of each cutting.
- Water Gently: Water the soil surface lightly. You want it to be moist, not waterlogged.
- Create Humidity: Place the pots inside a clear plastic bag, sealing it loosely, or cover them with a propagation dome. This traps moisture and mimics the humid conditions cuttings love.
The “Secret Sauce” (Pro Tips)
Over the years, I’ve picked up a few tricks that really seem to make a difference:
- Don’t Overcrowd: Give your cuttings a little breathing room in the pot. Too many crammed together can lead to fungal issues. Space them about 2 inches apart.
- Bottom Heat is Your Friend: If you have a seedling heat mat, placing your pots on it can dramatically speed up root development. Aurinia loves a bit of warmth to get things going.
- Watch for Wilting, Not Just Dryness: While you want to keep the soil consistently moist, I’ve found that if a cutting looks a little wilted, it might be a sign it desperately needs more humidity, not necessarily more water at the roots. Check the plastic bag or dome.
Aftercare & Troubleshooting
Once your cuttings are planted, place them in a bright location out of direct, harsh sunlight. A north-facing windowsill or a spot under grow lights works beautifully.
You’ll want to check the moisture level regularly. The soil should feel consistently damp, like a wrung-out sponge. If the leaves start to feel loose and papery, that’s a sign of dehydration. If you see condensation building up heavily inside the bag, open it for a few hours to let some air circulate.
After 3-6 weeks, you should start to see signs of rooting. You can gently tug on a cutting; if there’s resistance, roots are forming! You’ll also notice new growth appearing at the top. Once they have a good root system, you can carefully transplant them into individual pots.
The most common problem you might encounter is rot, which usually happens if the soil stays too wet or there isn’t enough air circulation. If you see a cutting turning black or mushy at the base, it’s best to remove it to prevent it from spreading.
A Encouraging Closing
Propagating Aurinia saxatilis is a wonderful way to fill your garden with even more of that glorious golden charm. Be patient with your little cuttings – nature has its own pace. Enjoy the process of nurturing them, and soon you’ll have a whole new generation of these sun-kissed beauties to admire. Happy gardening!
Resource:
https://identify.plantnet.org/k-world-flora/species/Aurinia%20saxatilis%20(L.)%20Desv./data