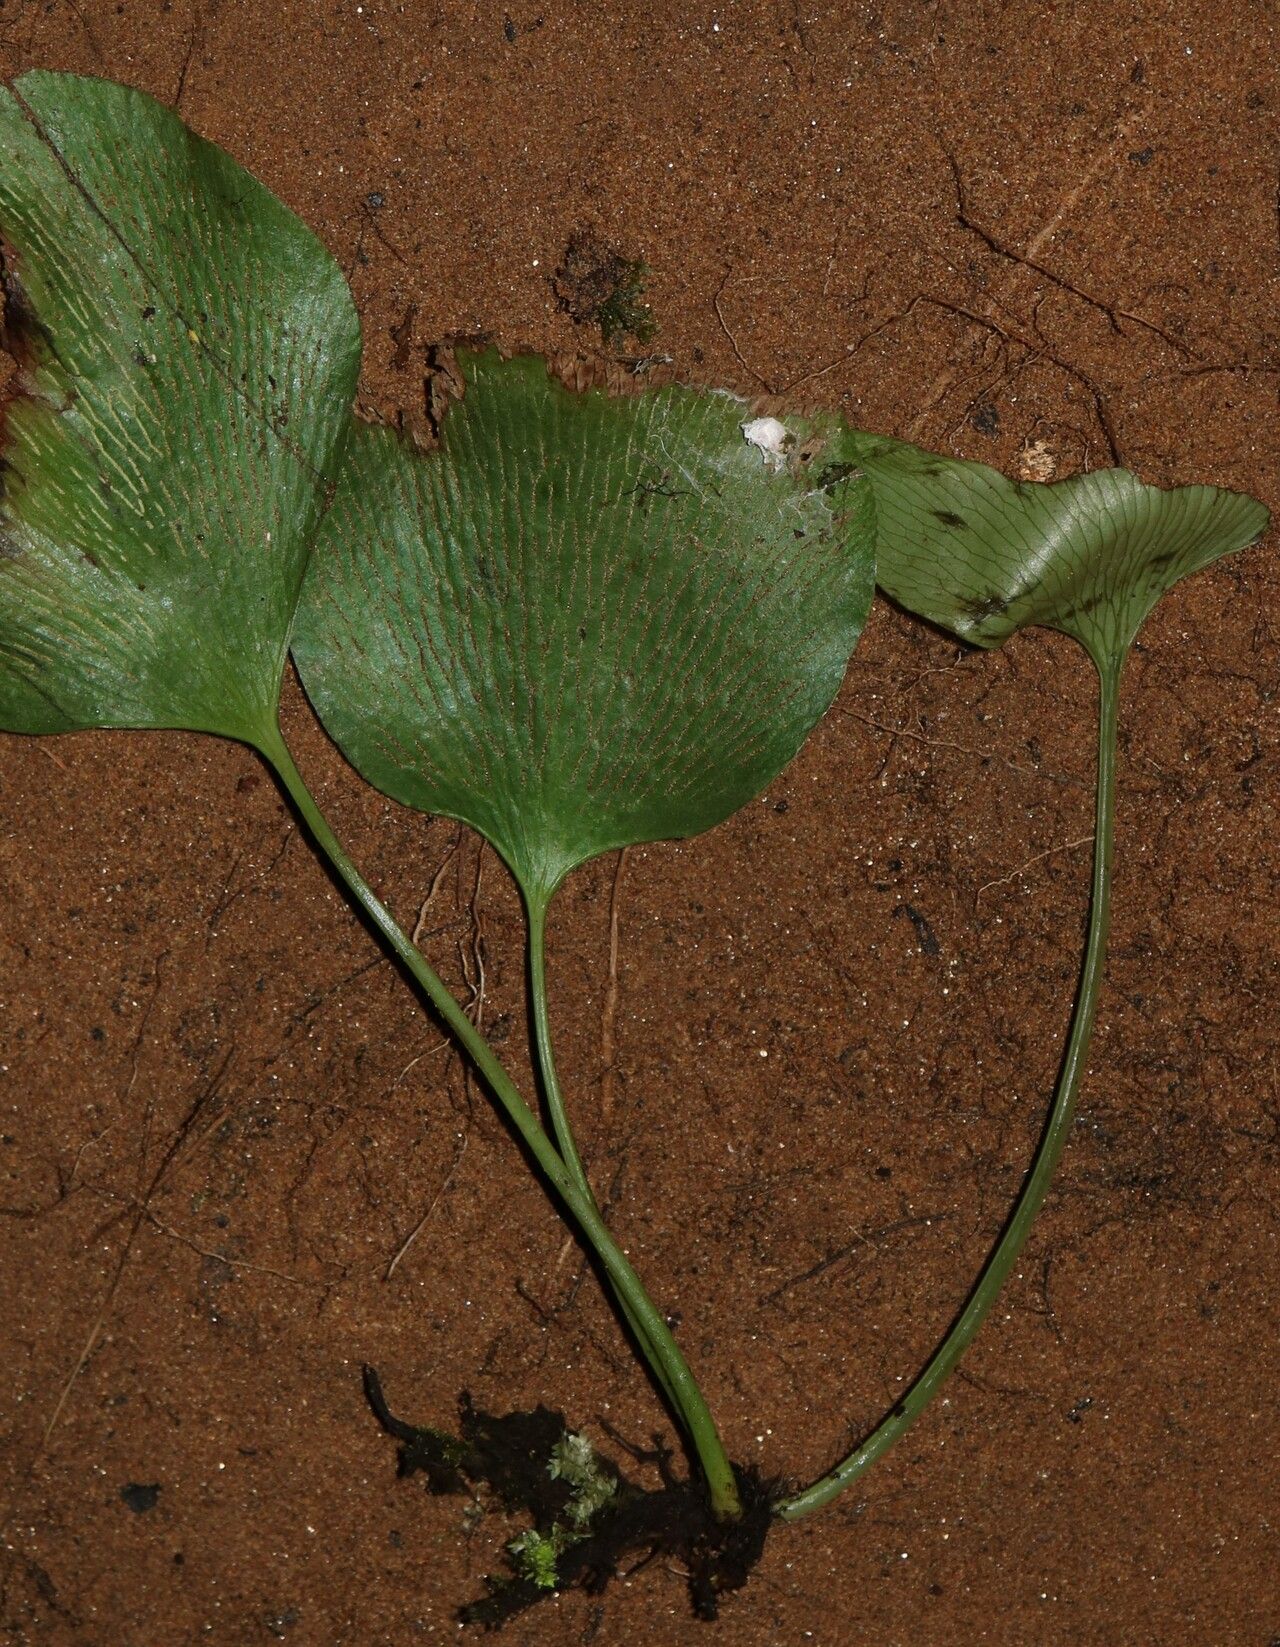
Hello, fellow plant lovers! Today, we’re diving into the wonderful world of propagating Antrophyum mannianum, often called the Wandering Oakleaf Fern. If you’ve ever seen this beauty with its intricate, wavy fronds and thought, “I wish I had more of those!” then this guide is for you.
Why Propagate Wandering Oakleaf Ferns?
There’s something incredibly satisfying about coaxing new life from an existing plant. With the Wandering Oakleaf Fern, it’s not just about getting more plants; it’s about understanding its unique needs and celebrating its resilience. While it might seem a little more delicate than your average spider plant, with a bit of know-how, propagating Antrophyum mannianum is a truly rewarding endeavor. Beginners, don’t be shy; you can absolutely do this!
The Best Time to Start
For the highest success rate, spring and early summer are your golden windows. This is when the plant is actively growing and has the most energy to put into developing new roots. You’re looking for healthy, vigorous growth – no sad, droopy bits!
Supplies You’ll Need
Here’s your shopping list to get ready:
- Sharp, clean pruning shears or a sterile knife: This is crucial for making clean cuts and preventing disease.
- A well-draining potting mix: A blend of peat moss, perlite, and a bit of orchid bark works wonderfully. You want something that holds moisture but doesn’t become waterlogged.
- Small pots or propagators: Clean, shallow containers are best.
- Rooting hormone (optional but helpful): A powdered or gel form can give your cuttings a boost.
- A clear plastic bag or dome: This creates a humid microclimate, which these ferns absolutely adore.
- Water mister: For keeping humidity levels up.
- A warm, bright location: But out of direct, scorching sunlight.
Propagation Methods
The most common and successful way to propagate Antrophyum mannianum is through division. These ferns tend to form clumps over time, and separating these clumps is the key.
- Gently remove the parent plant from its pot. This might require a little coaxing. If it’s really stuck, you can run a knife around the edge.
- Inspect the root ball. Look for natural divisions where a new frond is emerging from established roots.
- Carefully tease apart the divisions. Use your fingers or a clean, blunt tool to gently separate sections of the plant, ensuring each new piece has roots attached. If a division is particularly stubborn, don’t force it. You might need to use your clean pruners to make a cut, but aim to preserve as many roots as possible.
- Pot up the new divisions. Plant each division in its own small pot filled with your prepared potting mix. Ensure the base of the plant is at soil level.
- Water gently but thoroughly. You want the soil to be moist but not swimming.
The “Secret Sauce” (Pro Tips)
Here are a few little tricks I’ve learned over the years:
- Don’t over-pot. New divisions get stressed in too-large pots. Start them in smaller containers where the soil will dry out a little more predictably. This also helps you monitor moisture levels better.
- Humid, humid, humid! This is where the plastic bag or dome comes in. Make sure the bag or dome isn’t touching the leaves too much. Constant high humidity is their happy place, and it dramatically increases the chances of successful root development.
- Bottom heat is a game-changer. If you have a heating mat designed for seedlings, placing your pots on top of it can really speed up root formation, especially if your room is on the cooler side.
Aftercare & Troubleshooting
Once your new divisions are potted, spritz them with water and cover them to maintain that lovely high humidity. Keep them in bright, indirect light. Avoid direct sun at all costs – it will scorch those delicate new fronds.
Check the soil regularly. It should stay consistently moist but never soggy. If you see signs of rot (mushy stems, blackening leaves), it’s a clear indication of too much moisture and not enough air circulation. You might need to pull back on watering slightly or ensure your potting mix is extra well-draining. If a division looks completely limp and sad after a few weeks, don’t despair. Sometimes they need a bit longer to gather their strength.
A Little Patience Goes a Long Way
Propagating any plant is a journey, and the Wandering Oakleaf Fern is no different. Be patient, observe your new babies, and enjoy the process. Watching those first new roots emerge and unfurl is a truly special moment for any gardener. Happy propagating!
Resource:
https://identify.plantnet.org/k-world-flora/species/Antrophyum%20mannianum%20Hook./data