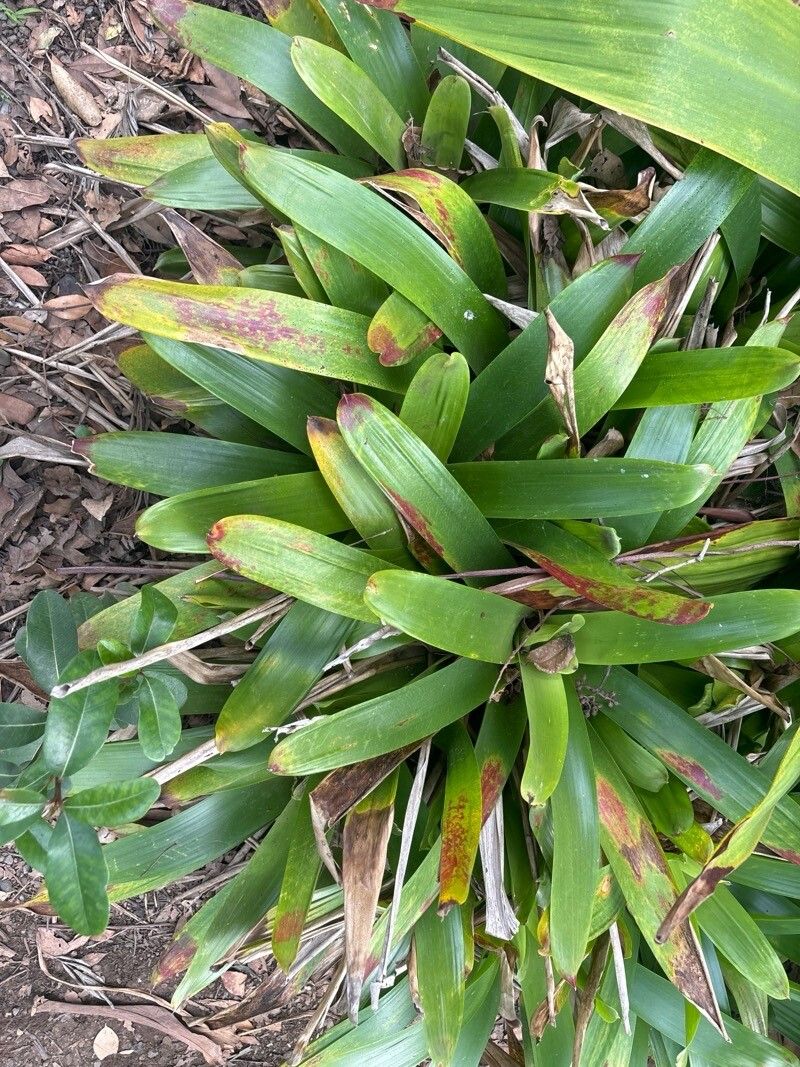
Oh, hello there, fellow plant enthusiast! It’s so good to have you join me today. We’re going to dive into the wonderful world of propagating Vriesea philippocoburgi. This bromeliad, with its dramatic, sword-like leaves often flushed with vibrant reds and oranges, is a real showstopper. If you’ve ever admired one and thought, “I wish I had more of those!”, you’re in luck. Propagating your own is a deeply satisfying way to expand your collection, and it’s not nearly as daunting as you might think. While it’s not quite a “set it and forget it” situation, even beginners can achieve success with a little care and attention.
Best Time to Start Your Propagation Journey
For Vriesea philippocoburgi, the sweet spot for propagation is typically late spring or early summer. This is when the plant is in its most vigorous growth phase, fueled by longer days and warmer temperatures. It’s also generally after the plant has produced a flower stalk or set seed, meaning it’s likely to be producing new offsets, which is what we’re after!
The Essential Toolkit for Propagation
Gathering your supplies beforehand makes the whole process smoother. Here’s what you’ll want to have on hand:
- Sharp, clean pruning shears or a sharp knife: Sterilize them with rubbing alcohol to prevent disease spread.
- Well-draining potting mix: A blend of orchid bark, perlite, and coir is excellent. Avoid heavy, water-retentive soils.
- Rooting hormone (optional but helpful): A powder or gel formula can give your cuttings a boost.
- Small pots or containers: Terra cotta pots are great as they allow for good air circulation.
- Watering can or spray bottle: For gentle watering.
- Labels and a permanent marker: To keep track of what you’ve propagated and when.
- A warm location: With bright, indirect light.
Bringing New Vriesea to Life: Propagation Methods
The most common and effective way to propagate Vriesea philippocoburgi is through offset division. These beautiful plants naturally produce little baby plants, called pups or offsets, around their base.
Step-by-Step Offset Division:
- Wait for the Right Moment: Look for offsets that are at least one-third the size of the mother plant and have started to develop their own roots. This usually happens after the parent plant has bloomed.
- Gently Excavate: Carefully remove the entire Vriesea from its pot. You want to get a good look at the base of the plant where the offsets are emerging. Gently brush away some of the soil to expose the connection between the offset and the mother plant.
- The Clean Cut: Using your sterilized pruning shears or knife, make a clean cut to separate the offset from the parent plant. Try to get as much of the offset’s base, including any developed roots, as possible. If the offset doesn’t have roots yet, don’t worry, it can still root.
- A Moment to Air Out (Crucial Step!): This is a vital part of preventing rot. Lay the separated offsets on a clean surface in a well-ventilated, dry spot for a day or two. This allows any cut surfaces to callus over.
- Planting Time: Fill your small pots with your prepared, well-draining potting mix. Make a small indentation in the center and place the offset into it, ensuring the roots (if present) are covered. Position it so the base sits at the soil line.
- Initial Watering: Water gently to settle the soil around the offset. Avoid the central “cup” of the bromeliad leaves initially, as excess water can lead to rot.
The “Secret Sauce”: Insider Tips from My Garden
I’ve learned a few things over the years that can really make a difference for your Vriesea propagation.
- Avoid the Cup Tragedy: When watering initially, never let water sit in the central cup of the young offset’s leaves. This is a prime spot for rot to set in, especially on a newly potted plant that hasn’t established itself. Water the soil directly.
- Embrace Bottom Heat: If you can, place your pots on a seedling heat mat. Bromeliads, like many tropical plants, absolutely love a bit of warmth from below to encourage root development. It’s like a cozy little spa for your new plants!
- Don’t Over-Pot: Resist the urge to put a tiny offset into a huge pot. A small pot that the offset fits snugly into actually helps with aeration and discourages overwatering.
Aftercare and What to Watch For
Once your offsets are potted, place them in a location with bright, indirect light. Avoid direct sun, which can scorch their delicate leaves. Water when the top inch of the potting mix feels dry. You can use a spray bottle to mist the leaves occasionally for humidity, but again, be mindful of the central cup.
Keep an eye out for these common issues:
- Rot: This is the most frequent problem. If you notice the base of the offset turning mushy or black, it’s likely rot. Unfortunately, this is often fatal, but it’s a lesson learned. Ensuring good drainage and avoiding waterlogged soil is your best defense.
- Wilting: This can happen if the offset isn’t getting enough water, or if the roots haven’t yet established. In this case, ensure the soil is consistently (but not soggily) moist.
- No Growth: Be patient! Sometimes it takes several weeks, or even months, for new roots and growth to appear.
Go Forth and Propagate!
Growing new plants from your existing treasures is one of the most rewarding aspects of gardening. Don’t be discouraged if your first attempt isn’t perfect. Each plant you work with teaches you something new. Be patient, keep them in a warm, bright spot, and before you know it, you’ll have a whole collection of gorgeous Vriesea philippocoburgi. Happy propagating!
Resource:
https://identify.plantnet.org/k-world-flora/species/Vriesea%20philippocoburgi%20Wawra/data