Hey there, fellow plant lovers! It’s so lovely to have you join me at my little corner of the internet, where we get our hands dirty and grow some magic. Today, let’s talk about a plant that always catches my eye: Voyria aphylla.
Welcoming the Ghost Orchid’s Cousin into Your Home
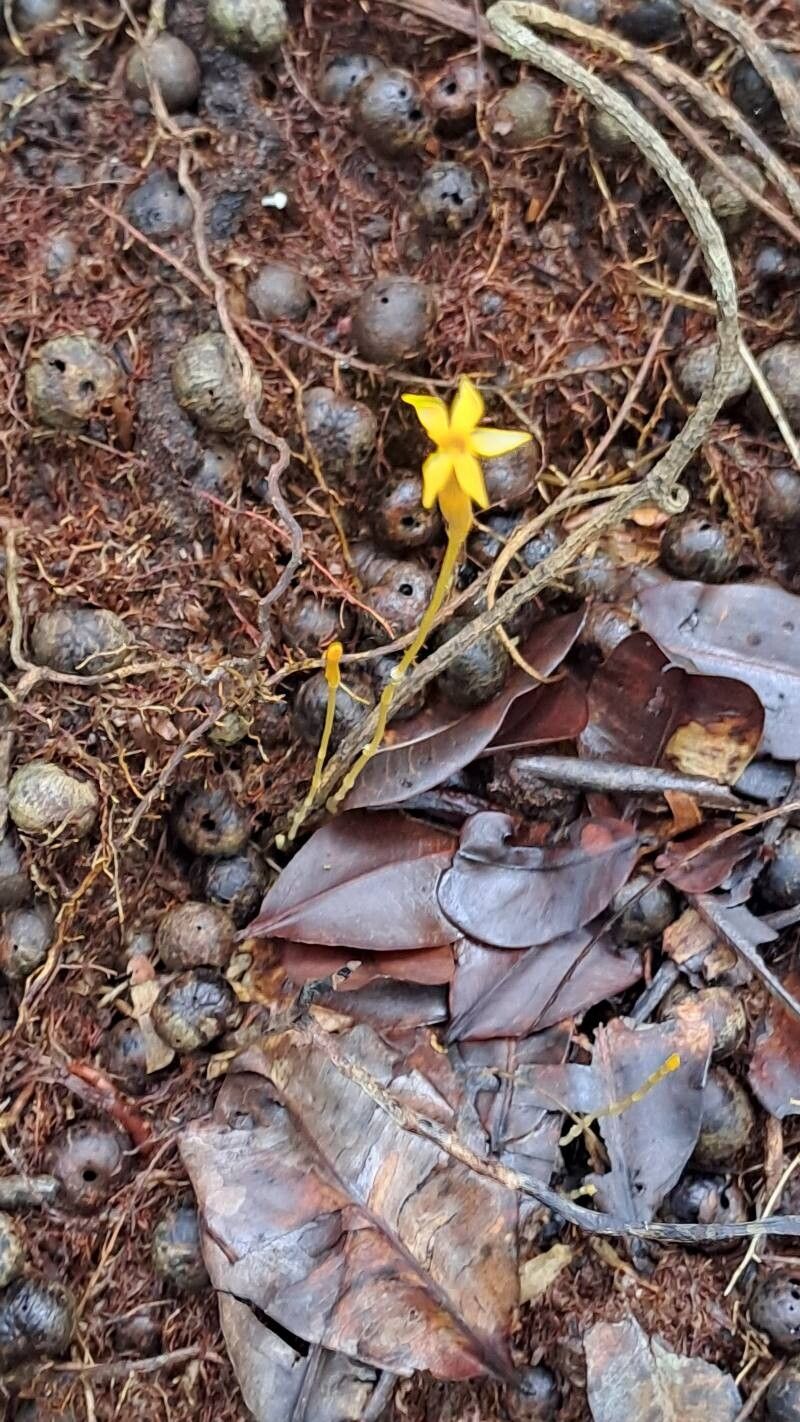
Voyria aphylla, often called the ghost flower or fairy orchid, has this ethereal, almost an otherworldly beauty. Its translucent, white stems and delicate blooms are just captivating. Propagating it feels like unlocking a little bit of that magic for yourself, and the reward of seeing a new plant unfurl its beauty is truly special. Now, I’ll be honest, while I cherish Voyria aphylla, it’s not the most straightforward plant for absolute beginners. It needs a bit of specific care, but don’t let that deter you! With a little patience and these tips, you’ll be well on your way.
When Your Voyria is Ready for a Clone
The best time to start propagating Voyria aphylla is actually when the plant is in its active growing phase. This is typically late spring through early summer. You’ll notice new shoots emerging and the plant looking vibrant and healthy. Trying to propagate when the plant is stressed or dormant will significantly reduce your chances of success.
Your Propagation Toolkit
Before we get our hands dirty, let’s gather our supplies:
- Sharp, clean pruning shears or a sterile knife: For taking clean cuts.
- Well-draining potting mix: I like a blend of perlite, orchid bark, and sphagnum moss. This mimics its natural habitat and prevents soggy roots.
- Small pots or propagation trays: Choose ones with drainage holes, of course!
- Rooting hormone (optional but recommended): A dip in rooting hormone can give your cuttings a helpful boost.
- Spray bottle with water: For maintaining humidity.
- Plastic bag or humidity dome: To create a mini greenhouse effect.
- Small pebbles or coarse sand (for water propagation): To keep stems upright.
Bringing New Life: Propagation by Stem Cuttings
This is generally the most successful method for Voyria aphylla.
- Identify a healthy stem: Look for a mature stem that’s about 4-6 inches long. It should have at least one or two nodes where leaves would have been (even though Voyria aphylla has very reduced leaves).
- Make the cut: Using your sterilized shears or knife, make a clean cut just below a node. This is where the magic of root development happens.
- Prepare the cutting: Gently remove any lower leaves or vestigial leaf structures if they’re present and likely to be submerged in soil or water.
- Apply rooting hormone (if using): Dip the cut end of the stem into your rooting hormone, tapping off any excess.
- Plant your cutting: Fill your small pot with your well-draining potting mix. Make a small hole in the center with your finger or a pencil. Gently insert the cutting into the hole, ensuring the node is buried in the soil. Firm the soil gently around the stem.
- Water gently: Water the potting mix thoroughly but carefully, making sure not to disturb the cutting.
The “Secret Sauce”: My Insider Tips
Now, here are a few things I’ve learned over the years that make a real difference:
- Humidity is King: Voyria aphylla loves a humid environment. After planting your cuttings, cover the pot with a clear plastic bag or place it under a humidity dome. Open it for a few minutes each day to allow for air circulation and prevent fungal issues.
- The Gentle Approach to Water: If you’re trying water propagation (which I find a bit trickier with Voyria but possible), make sure absolutely no part of the stem below the node touches the water. This is crucial! Only the very bottom tip should be submerged. Also, change the water every few days to keep it fresh. Floating a few small pebbles or coarse sand at the base of the cutting can help keep it upright.
- Bottom Heat Works Wonders: Voyria aphylla responds really well to gentle bottom heat. Placing your pots on a propagation mat set to a low temperature (around 70-75°F or 21-24°C) can significantly speed up root formation. It mimics the warmth of a tropical forest floor.
Welcoming Your New Sprouts: Aftercare and What to Watch For
Once you start seeing new growth appearing at the base of the cutting or tiny roots poking through the drainage holes, you’re in business!
- Gradual Acclimation: Begin to gradually acclimate your new plant to lower humidity by opening the bag or dome for longer periods each day over a week or two.
- Continued Care: Continue to water moderately and allow the soil to dry out slightly between waterings. Voyria aphylla doesn’t like to be waterlogged.
- Troubleshooting: The most common sign of failure is rot. If your cutting turns mushy, black, or starts collapsing, it’s usually due to too much moisture and poor air circulation. If you catch it early, you might be able to salvage a healthy section, but often it’s best to start fresh. Yellowing leaves that aren’t accompanied by rot might indicate not enough light or incorrect watering.
Patience is Your Best Friend
Propagating Voyria aphylla is a journey, not a race. It might take a few weeks, or even a couple of months, for roots to develop strongly. Don’t get discouraged if your first attempt isn’t a runaway success. Each plant and each cutting is a learning experience. Keep trying, enjoy the process of nurturing something new, and soon you’ll have multiple of these enchanting ghost flowers gracing your home. Happy propagating!
Resource:
https://identify.plantnet.org/k-world-flora/species/Voyria%20aphylla%20(Jacq.)%20Pers./data