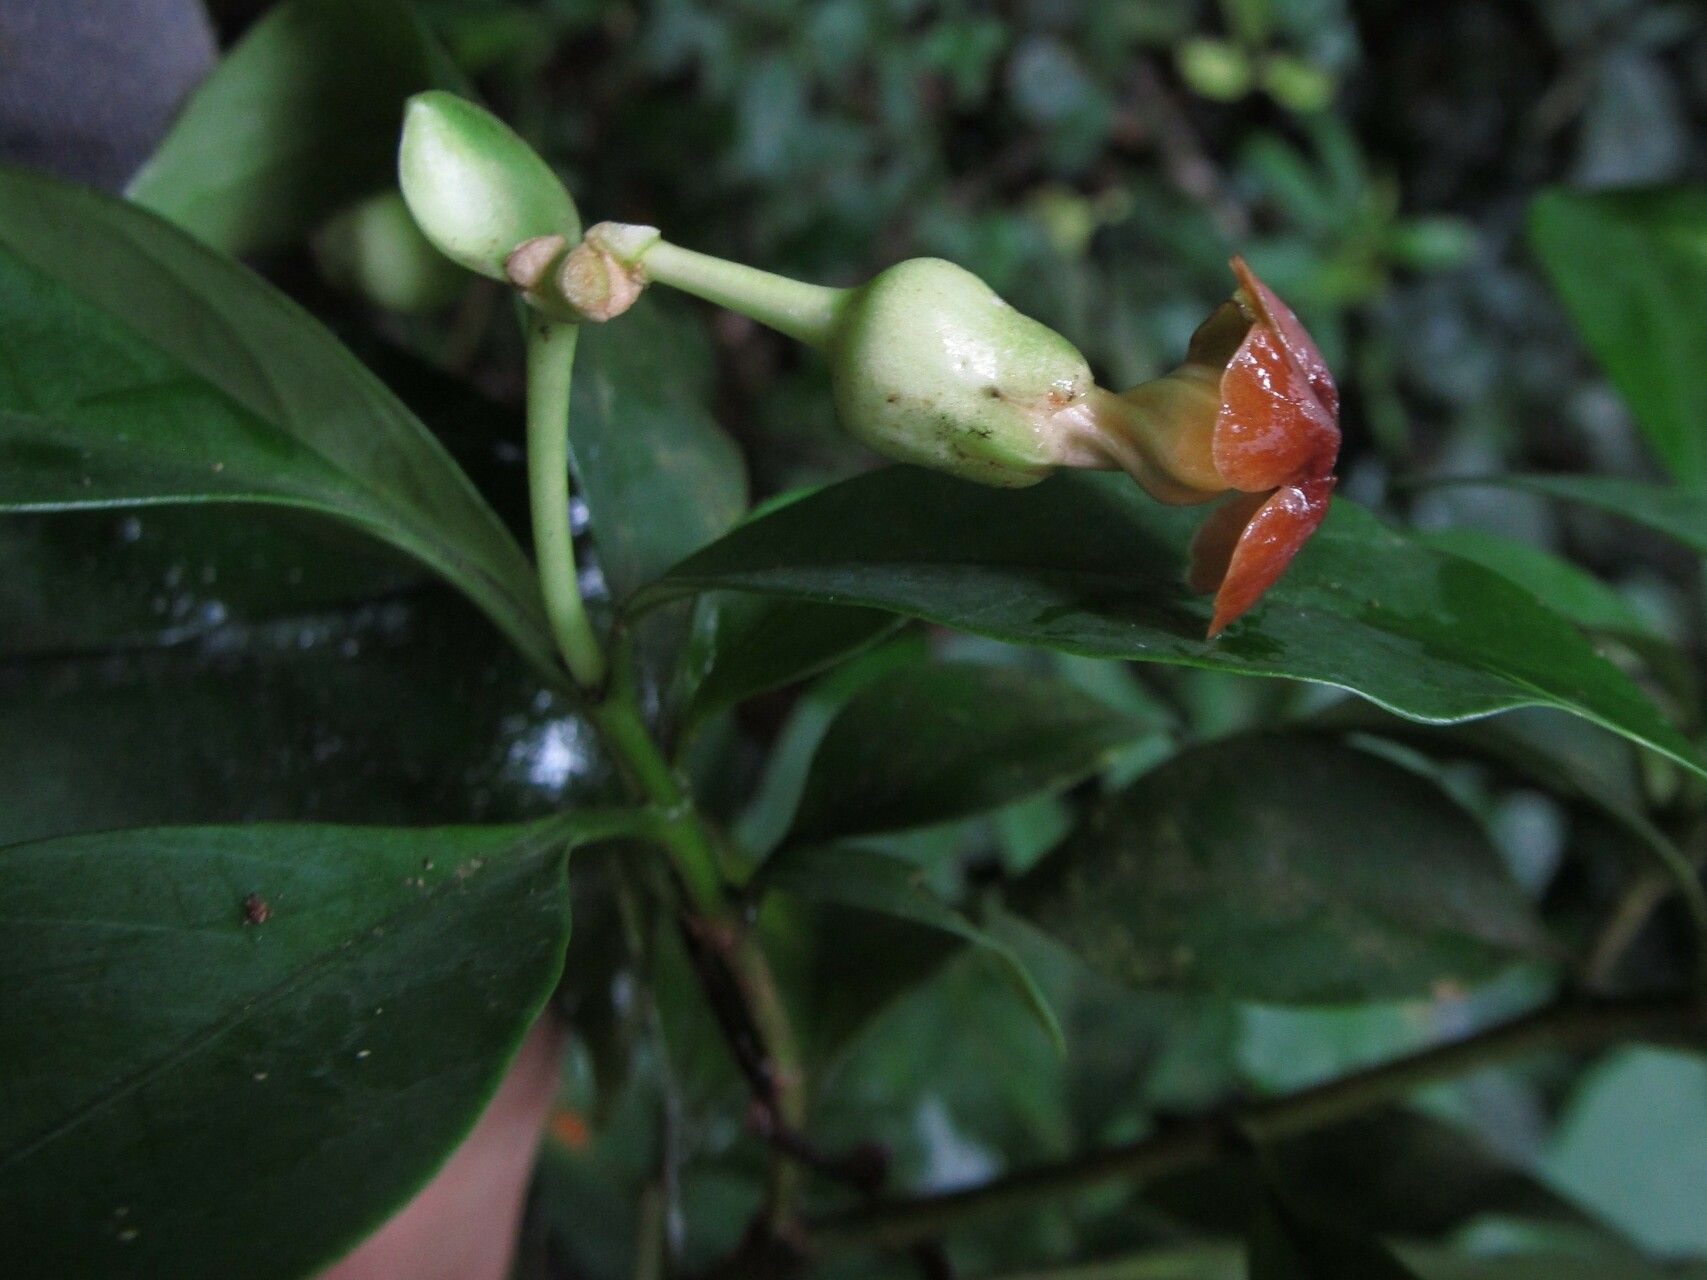
Hey there, fellow plant lovers! Today, we’re diving into the wonderful world of Voacanga bracteata. If you’re looking for a plant that brings a touch of the exotic to your home, with its lovely foliage and unique blooms, then you’ve come to the right place. Propagating Voacanga bracteata is a truly rewarding endeavor, allowing you to share its beauty with friends or simply expand your own green collection. Now, I’ll be honest, it’s not the absolute easiest plant for a complete beginner to propagate, but with a little patience and attention, you absolutely can achieve success.
The Best Time to Start
The sweet spot for propagating Voacanga bracteata is undeniably late spring to early summer. This is when the plant is in its most vigorous growth phase, meaning it has plenty of energy to put into developing new roots. You’re looking for stems that are firm and actively growing, but not yet woody. Think of it as taking cuttings when the plant is feeling its best and most robust!
Supplies You’ll Need
To get your Voacanga bracteata propagation party started, here’s what you’ll want to have on hand:
- Sharp, clean pruning shears or a sharp knife: For making clean cuts. Dirty tools are a recipe for disaster!
- A well-draining potting mix: I usually opt for a mix of equal parts perlite and peat moss, or a commercial seed-starting mix. The key is good aeration.
- Rooting hormone (optional but recommended): This can give your cuttings the extra boost they need to root. I prefer powdered forms.
- Small pots or trays: Clean ones, of course. Small terracotta pots work beautifully.
- A clear plastic bag or propagating dome: To create a humid environment for your cuttings.
- Water: For keeping things moist.
- A spray bottle: For misting.
Propagation Methods
The most reliable way to get new Voacanga bracteata plants is through stem cuttings. It’s straightforward once you get the hang of it.
- Select Your Cuttings: Look for healthy, non-flowering stems that are about 4-6 inches long. Make sure each cutting has at least two to three sets of leaves.
- Make The Cut: Using your clean pruning shears or knife, cut the stem just below a leaf node. This is where new roots tend to emerge.
- Prepare The Cutting: Gently remove the lower leaves from the cutting, leaving just two or three at the top. This helps the plant focus its energy on rooting rather than keeping leaves alive. If your leaves are quite large, you can even cut them in half, which reduces water loss.
- Apply Rooting Hormone (If Using): Dip the cut end of the stem into your rooting hormone, tapping off any excess.
- Plant Your Cuttings: Moisten your well-draining potting mix. Make a small hole in the center of each pot with your finger or a pencil. Insert the cutting, ensuring the leaf nodes are below the soil surface. Gently firm the soil around the base of the cutting.
- Create Humidity: Water the soil lightly. Then, cover the pot with a clear plastic bag or place it under a propagating dome. This traps moisture and creates a humid microclimate, which is crucial for root development. You can secure the bag with a rubber band.
- Place in Bright, Indirect Light: Find a warm spot that receives bright, indirect sunlight. Avoid direct sun, as it can scorch your delicate cuttings.
The “Secret Sauce” (Pro Tips)
Alright, time for a few insider tricks that have served me well over the years:
- Bottom Heat is Your Friend: If you have a small heating mat designed for plants, placing your pots on it can significantly speed up root formation. It mimics the warmth of spring soil and really encourages those roots to get going.
- Don’t Let Those Top Leaves Drip: When you water, try your best not to let the leaves of your cuttings sit in soggy water within the plastic bag. Condensation is good, but pooled water at the leaf base can lead to rot. If you see this happening, gently wipe them dry.
- Be Patient with the “Wobble Test”: You’ll know your cutting has rooted when you feel a gentle resistance if you try to lightly tug on it. Don’t be tempted to pull it out to check! Wait for that slight tug-back, which usually takes anywhere from 4-8 weeks.
Aftercare & Troubleshooting
Once you feel that resistance (the “wobble test”!), it’s time to transition your new plantlet.
- Acclimate Slowly: Gradually remove the plastic bag or open the propagating dome for a few hours each day over a week. This allows the new plant to adjust to normal humidity levels.
- Watering: Water your rooted cutting when the top inch of soil feels dry. Avoid overwatering, as this is a common cause of root rot.
- Fertilizing: Wait until you see new growth before starting a very weak feeding schedule with a balanced liquid fertilizer.
Now, what if things don’t go as planned? The most common culprit is rot. If your cutting turns black and mushy, it’s usually a sign of too much moisture and not enough airflow. Don’t despair! Just discard the rotten cutting and try again, focusing on that well-draining mix and careful watering. Another sign of failure is if the cutting simply shrivels and dries out, which means it didn’t establish roots before it ran out of stored energy. This could be due to poor light or a lack of humidity.
A Encouraging Closing
Propagating Voacanga bracteata is a journey, and like all good gardening endeavors, it celebrates patience and observation. Don’t be discouraged if your first few attempts aren’t perfect. Each cutting you take is a little experiment, a chance to learn and refine your technique. So, gather your supplies, get your hands in the soil, and enjoy the process of coaxing new life into being. Happy propagating!
Resource:
https://identify.plantnet.org/k-world-flora/species/Voacanga%20bracteata%20Stapf/data