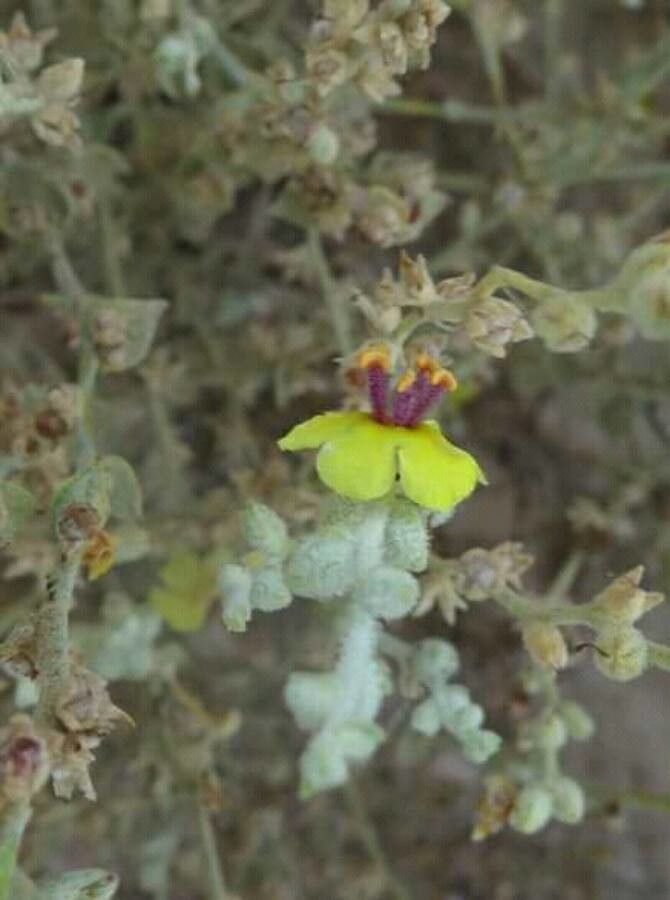
Hello fellow garden enthusiasts! It’s your friendly neighborhood plant whisperer here, ready to dive into one of my favorite, albeit slightly less common, garden beauties: Verbascum eriophorum. If you’ve ever seen these tall, elegant spires of fuzzy, grey-green foliage topped with delicate, often starry, white or pale yellow flowers, you know exactly why it’s a standout. They bring a touch of airy sophistication to any garden, and the reward of creating more of them yourself? Pure gardening joy! Now, for the good news: while not as commonplace as propagating geraniums, Verbascum eriophorum is surprisingly approachable, even for those just starting out. You’ve got this!
The Best Time to Start
For the most success, I always recommend working with young, vigorous growth. The sweet spot for propagating Verbascum eriophorum is generally late spring through early summer. This is when the plant is actively growing and has plenty of energy to put into developing new roots. Think of it as catching the plant at its peak performance – it’s just brimming with vitality!
Supplies You’ll Need
Gathering your tools beforehand makes the whole process so much smoother. Here’s what I always have on hand:
- Sharp pruning shears or a clean knife: For making clean cuts.
- Rooting hormone (optional but recommended): This is like a little booster shot for your cuttings.
- Potting mix: A well-draining mix is crucial. I often use a blend of equal parts peat moss or coco coir and perlite or coarse sand. You can also buy specialized seed starting or succulent mixes.
- Small pots or propagation trays: Whatever fits your space and the number of cuttings you’re taking. Make sure they have drainage holes!
- Plastic bags or domes: To create a humid environment for your cuttings.
- Watering can with a fine rose or spray bottle: For gentle watering.
- Labels and a permanent marker: Because once they start rooting, you’ll forget what’s what!
Propagation Methods
Let’s get our hands dirty! For Verbascum eriophorum, I find stem cuttings to be the most reliable method.
-
Take Your Cuttings: On a cool, overcast day is ideal, but good light is also fine. Select healthy, non-flowering stems. Look for stems that are about 4-6 inches long. Using your clean shears or knife, make a clean cut just below a leaf node (where a leaf grows from the stem).
-
Prepare the Cuttings: Gently remove the lower leaves from the bottom half of each cutting. You want to expose the nodes where the roots will emerge. If your cuttings are quite long, you can even pinch off the very tip to encourage branching later.
-
Apply Rooting Hormone (Optional): Dip the cut end of each stem into your rooting hormone powder. Tap off any excess. This step isn’t strictly necessary for Verbascum eriophorum, but it can significantly speed up the rooting process and increase your success rate.
-
Plant Your Cuttings: Fill your pots or trays with your pre-moistened potting mix. Make little holes with a pencil or your finger, large enough to accommodate the cut end of the stem. Insert each cutting into a hole, ensuring that at least one leaf node is below the soil surface.
-
Water Gently: Water the soil thoroughly but gently. You don’t want to wash away the rooting hormone or dislodge your cuttings.
-
Create Humidity: This is key! Cover your pots or trays with a clear plastic bag (make sure it doesn’t touch the leaves) or a propagation dome. This creates a mini-greenhouse effect, keeping the humidity high and preventing the cuttings from drying out.
The “Secret Sauce” (Pro Tips)
Here are a few little tricks that I’ve learned over the years that can make a big difference:
- Don’t let the leaves touch the water (if water propagating): While I’m focusing on soil propagation here, if you were to try water propagation, never let the leaves of your cutting be submerged. They’ll just rot. Only the lower stem, above the nodes, should be in the water.
- Consider bottom heat: If you can, placing your pots on a gentle heat mat can work wonders. It encourages root development from below, mimicking the warmth of spring soil. Just make sure the heat isn’t too intense – we’re aiming for lukewarm, not hot!
- Air circulation is important too: While we want humidity, we don’t want stagnant air, which can lead to fungal issues. So, every day or two, lift the plastic bag or dome for a few minutes to allow fresh air to circulate.
Aftercare & Troubleshooting
Be patient! Rooting can take anywhere from 2-6 weeks, sometimes longer. You’ll know your cuttings have rooted when you see new leaf growth or feel a gentle tug when you lightly try to pull the cutting.
Once roots are established, gradually introduce them to less humid conditions. You can start by removing the plastic bag for longer periods each day. Once they are actively growing and look robust, you can transplant them into individual pots. Continue to water them regularly, keeping the soil consistently moist but not waterlogged.
The most common sign of trouble is rotting. If your cuttings turn black and mushy, it’s usually a sign of too much moisture or poor air circulation. Don’t be discouraged; just start again with fresh cuttings and ensure your soil drains well and that you’re providing adequate air exchange.
A Encouraging Closing
Propagating plants is such a rewarding journey, and Verbascum eriophorum is a wonderful plant to practice with. Embrace the process, enjoy the anticipation, and remember that even experienced gardeners have their failures. Each cutting is a little bit of hope, and watching it flourish into a new plant is truly magical. Happy propagating!
Resource:
https://identify.plantnet.org/k-world-flora/species/Verbascum%20eriophorum%20Godr./data