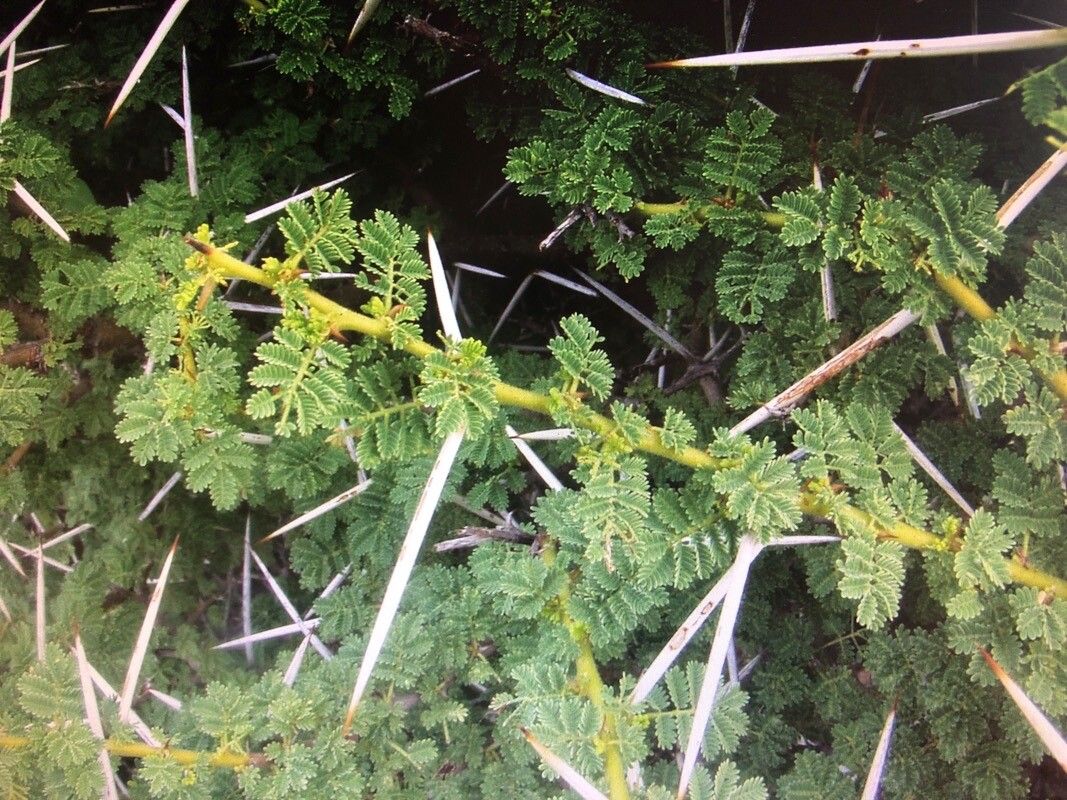
Okay, fellow plant lovers! Let’s talk about a real showstopper: Vachellia tortilis. You know, that one with the wonderfully twisted branches and the delicate, feathery leaves? It’s like a little piece of the savanna right in your garden, and honestly, it’s such a joy to watch grow. And guess what? You can grow your own from scratch! It’s a wonderfully rewarding process, though I’ll be upfront, it can be a touch more challenging for absolute beginners than, say, a pothos. But don’t let that deter you! With a little patience and the right guidance, you’ll be well on your way.
When the Magic Happens: The Best Time to Start
For Vachellia tortilis, timing is definitely key to success. I’ve found that late spring to early summer is your sweet spot. This is when the plant is actively growing and has enough energy reserves to put into rooting new cuttings. You’re looking for stems that are firm but not yet woody – think of it as “semi-hardwood.” Avoid taking cuttings from brand new, floppy growth or old, hard wood.
Your Propagation Toolkit
Here’s what you’ll want to have on hand before you dive in:
- Sharp Pruning Shears or a Knife: Cleanliness is critical here.
- Rooting Hormone: I prefer a powder or gel for ease of use with cuttings.
- Well-Draining Potting Mix: A good blend would be equal parts perlite, coarse sand, and a peat-free potting soil. You want to mimic its natural, somewhat arid habitat.
- Small Pots or Seedling Trays: With drainage holes, of course!
- Plastic Bag or Clear Cover: To create a mini-greenhouse effect.
- Watering Can or Spray Bottle: For gentle watering.
- Optional: Heating Mat: This can significantly speed up root development.
Bringing New Life: Propagation Methods
While you can sometimes get Vachellia tortilis to grow from seed, propagating from cuttings is generally more reliable and quicker for home gardeners.
Stem Cuttings: The Most Common Route
- Select Your Stem: Choose a healthy stem about 4-6 inches long. Make a clean cut just below a leaf node (where a leaf attaches to the stem).
- Prepare the Cutting: Remove the lower leaves, leaving just a few at the very top. This reduces water loss.
- Dip in Rooting Hormone: Dip the cut end into your rooting hormone, tapping off any excess.
- Plant Your Cutting: Make a small hole in your prepared potting mix with a pencil or your finger. Gently insert the cutting into the hole and lightly firm the soil around it.
- Create a Humid Environment: Water the soil thoroughly but gently. Then, cover the pot with a plastic bag or a clear plastic dome. Make sure the leaves don’t touch the plastic.
- Find a Bright Spot: Place the pot in a bright location with indirect sunlight. Direct sun will scorch the leaves.
Water Propagation (A Bit Trickier for This One!)
While possible for some plants, I find water propagation for Vachellia tortilis to be a bit more prone to rot. If you do try it:
- Make your cutting as described above.
- Gently rinse off any soil residue.
- Place the cutting in a jar of clean water, ensuring no leaves are submerged.
- Change the water every 2-3 days to keep it fresh.
- Once you see decent root growth (about an inch or so), you’ll need to carefully transplant it into your well-draining potting mix. This transplant shock can be a hurdle, so be gentle!
The “Secret Sauce” for Success
Now, here are a few things I’ve learned over the years that make a real difference:
- Bottom Heat is Your Best Friend: If you have a heating mat, place your cuttings on it. Warmer soil temperatures encourage root development much faster and more reliably. It’s like giving those little roots a cozy incubator.
- Don’t Overwater! This is huge. Vachellia tortilis, being a desert-adapted plant, is very susceptible to root rot. Allow the top inch of soil to dry out between waterings. When you do water, water thoroughly, but then let it drain completely.
- Patience with the Hormone: Rooting hormone just gives your cutting a little nudge. It’s not a magic wand. Some cuttings will root in a few weeks, others might take a couple of months. Don’t give up too soon!
Aftercare and When Things Go Awry
Once you start to see new growth appearing from your cuttings, congratulations! This is a good sign that roots have formed. You can gently tug on the cutting – if there’s resistance, you’ve got roots!
- Acclimatize Slowly: Gradually remove the plastic cover over a week or two, allowing the new plant to adjust to the ambient humidity.
- Continue Watering Wisely: Keep the soil consistently moist but never waterlogged.
- Avoid Fertilizing Too Soon: Wait until you see several sets of new leaves before introducing a very diluted fertilizer.
Troubleshooting: The most common issue is rot. If your cutting starts to turn black and mushy, it’s usually a sign of too much moisture and not enough airflow. Unfortunately, this is often a lost cause, but don’t despair! Just learn from it and try again with your next batch, paying extra attention to watering and drainage. Yellowing leaves can sometimes indicate you’re still in the early stages, or perhaps it’s not getting enough light.
Keep Growing!
Propagating Vachellia tortilis is a journey, and like any good journey, it requires a bit of patience. Don’t be discouraged if your first attempt isn’t perfect – every gardener has had their share of disappointments! Just keep experimenting, observe your plants, and most importantly, enjoy the process of bringing new life into your world. Happy gardening!
Resource: