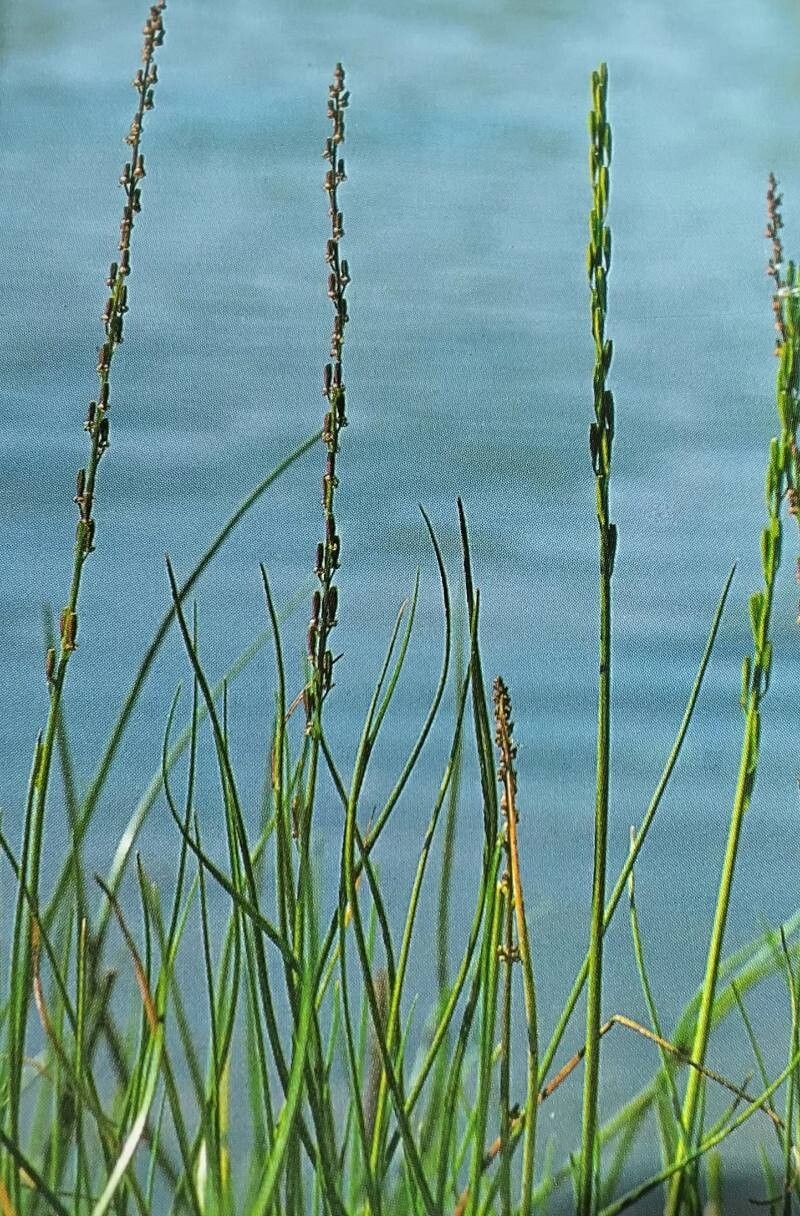
Hello, fellow plant enthusiasts! I’m so glad you’ve stopped by my little corner of the internet. Today, we’re diving into the fascinating world of Triglochin palustris, also known as Marsh Arrowhead. If you’re looking for a unique aquatic or waterside plant that brings a touch of the wild to your garden pond or bog garden, you’ve come to the right place. Propagating this beauty is a really satisfying endeavor, letting you expand your collection or share these lovely plants with friends. While it’s not the absolute easiest plant for a complete beginner, with a little guidance, you’ll find yourself with a bounty of Marsh Arrowheads in no time.
The Best Time to Start
For Triglochin palustris, the sweet spot for propagation is generally late spring to early summer. This is when the plant is actively growing and has the most energy to put into developing new roots or offspring. You’ll see the most success if you can work with healthy, established plants after they’ve woken up from their winter dormancy.
Supplies You’ll Need
Before we get our hands dirty (or rather, muddy!), let’s gather our tools:
- Clean containers: Small pots, trays, or even shallow dishes will work.
- Sharp, sterile pruning shears or a sharp knife: For making clean cuts.
- A suitable planting medium: This depends on your method, but for many, a well-draining, nutrient-poor soil mix is ideal. Think a blend of sand, peat, and perhaps a little compost for bog conditions. Or, simply clean water for water propagation.
- Labels: To keep track of what you’re growing!
- A watering can or spray bottle: For gentle watering.
- Optional: Rooting hormone powder: While not always necessary for Triglochin palustris, it can sometimes give a little boost.
Propagation Methods
Let’s explore the ways we can multiply our lovely Marsh Arrowheads.
Seed Propagation
If you’re patient, collecting seeds from your mature plants is a natural way to go.
- Harvesting Seeds: Wait until the seed heads mature and begin to dry on the plant. Carefully collect these.
- Sowing: Sow the seeds thinly on the surface of your prepared bog soil or float them in shallow water.
- Germination: Keep them consistently moist and in a bright, but not scorching, location. Germination can be a bit slow and erratic, so don’t be discouraged if it takes some time.
Division
This is often the easiest and most successful method for Triglochin palustris.
- Timing: Gently lift the entire plant from its container or location in late spring or early summer.
- Separating: You’ll notice that the plant naturally forms clumps or offsets. Carefully tease apart these sections with your fingers or a blunt tool. Try to ensure each division has some healthy roots attached.
- Replanting: Pot up each division into its own container filled with your bog-friendly soil mix, or replant directly into a suitable spot in your pond or bog garden.
- Watering: Immediately water thoroughly to settle the soil.
Water Propagation (for some forms or cuttings)
While less common for the main plant, you might be able to root small offshoots in water.
- Selection: Gently remove a small, healthy shoot or side offset from the parent plant.
- Placement: Place this cutting in a jar or container of clean, still water. Make sure the water level is sufficient to keep the base submerged.
- Location: Keep the container in a bright spot, but out of direct, intense sunlight.
- Rooting: You should start to see tiny roots emerging from the cut end in a few weeks. Once the roots are about an inch long, you can pot them up into your soil mix.
The “Secret Sauce” (Pro Tips)
Here are a few of my little tricks that can help ensure your propagation efforts are a resounding success:
- Don’t force it: When dividing, patience is key. If a clump isn’t coming apart easily, try soaking the roots in water for a bit. Sometimes, a bit of gentle persuasion is all that’s needed.
- Nutrient-poor is best: Unlike many houseplants, Triglochin palustris thrives in lean conditions. Overly rich soil can actually hinder root development and encourage rot. Stick to simple sand and peat blends.
- Keep it consistent: For both seed and water propagation, maintaining consistent moisture levels (or water levels) is crucial. Avoid letting things dry out completely or sitting in stagnant, decomposing water.
Aftercare & Troubleshooting
Once your new Triglochin palustris divisions are potted up, give them a good drink. For the first few weeks, keep the soil consistently moist, but not waterlogged. If you’ve done water propagation and moved them to soil, similar moist conditions are important.
Keep an eye out for any signs of distress. Wilting leaves can be a sign of too little water or transplant shock. Mushy, brown stems at the soil line are usually a sign of rot, often caused by overwatering or poor drainage. If you spot rot, act quickly! You might be able to salvage healthy parts by trimming away the affected areas and repotting into fresh, suitable soil, ensuring better air circulation.
A Little Encouragement
Growing plants is as much about the journey as it is about the destination. Be patient with your Triglochin palustris cuttings and divisions. Nature works at its own pace, and sometimes the most rewarding plants require just a little bit of extra care and time. Enjoy the process, and soon you’ll have more of these wonderful marsh dwellers to admire! Happy gardening!
Resource:
https://identify.plantnet.org/k-world-flora/species/Triglochin%20palustris%20L./data