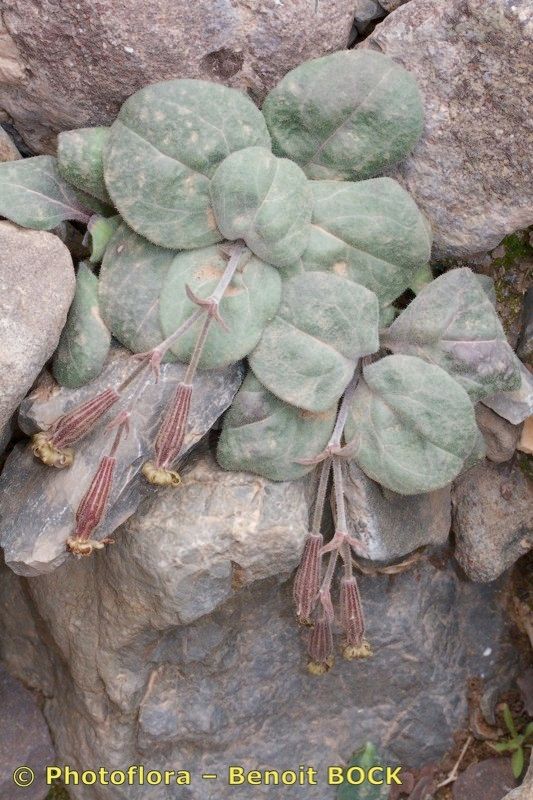
Hello, fellow garden enthusiasts! Today, we’re diving into the wonderful world of Silene ayachica. This plant, with its delicate blossoms and charming habit, is a real treasure, and the joy of coaxing new life from an existing one? Pure magic! If you’ve ever admired this silene, you’ll be delighted to know that propagating it is a wonderfully rewarding endeavor. And for those of you just dipping your toes into the world of propagation, I’m happy to say, Silene ayachica is quite forgiving and a great plant to practice your skills on.
The Best Time to Start
For the highest success rate, I find that late spring to early summer is the sweet spot. This is when the plant is actively growing and has plenty of energy to put into developing new roots. You’ll want to take cuttings from healthy, vigorous stems that aren’t flowering yet. If you’re considering dividing, spring, as the plant begins its ascent, is also an excellent time.
Supplies You’ll Need
Gathering your tools beforehand makes the whole process so much smoother. Here’s what I always have on hand:
- Sharp pruning shears or a clean knife: For making clean cuts.
- Rooting hormone (optional but recommended): Especially useful for stem cuttings.
- Well-draining potting mix: A blend of perlite, peat moss, and a bit of sand works wonderfully.
- Small pots or seedling trays: With drainage holes, of course!
- A spray bottle: For keeping cuttings moist.
- Labels: To keep track of your new babies!
- For division: A trowel or small spade.
Propagation Methods
Silene ayachica can be propagated using a couple of straightforward methods. I’ll walk you through my favorites.
Stem Cuttings
This is my go-to for Silene. It’s efficient and I usually get a good strike rate.
- Select healthy stems: Look for non-flowering, new growth from the current year. Aim for stems about 4-6 inches long.
- Make the cut: Using your clean shears or knife, make a clean cut just below a leaf node (where a leaf attaches to the stem). This is where the magic happens for root development.
- Prepare the cutting: Gently remove the lower leaves, leaving just a few at the top. This prevents them from rotting when they touch the soil or water.
- Apply rooting hormone (optional): Dip the cut end into your rooting hormone powder or gel. Tap off any excess.
- Plant your cuttings: Fill your small pots with your well-draining mix. Make a pilot hole with a pencil or your finger, and then insert the cutting, ensuring the leaf nodes are below the soil surface. Gently firm the soil around it.
- Water gently: Water thoroughly but gently to settle the soil.
Division
This method is perfect if your Silene ayachica has become a bit full or woody.
- Gently unearth the plant: Carefully dig around the base of the plant and lift it out of its pot or the ground.
- Inspect the root ball: You’ll often see natural divisions already starting to form.
- Separate the sections: Using your hands or a trowel, gently pull or cut the root ball apart into sections. Each section should have a good portion of roots and some leafy growth.
- Pot up the divisions: Plant each division into its own pot filled with your well-draining mix.
The “Secret Sauce” (Pro Tips)
Here are a few tricks that I’ve learned over my years in the garden that often make a big difference:
- Bottom Heat is Your Friend: For stem cuttings, especially early in the season, placing your pots on a heat mat designed for seedlings can significantly speed up root formation. It mimics the warmth of summer soil.
- Humidity Tent for Cuttings: After planting your stem cuttings, I like to pop a clear plastic bag or a clear plastic dome over the pot. This creates a mini-greenhouse effect, keeping the humidity high and preventing the cuttings from drying out. Just make sure the leaves aren’t touching the plastic!
- Don’t Overwater: This is crucial. While cuttings and divisions need moisture, they hate soggy feet. Let the soil surface dry out slightly between waterings. Overwatering is the quickest way to invite rot.
Aftercare & Troubleshooting
Once your cuttings have developed roots (you can gently tug on them to feel resistance, or look for new growth), or your divisions are planted, give them a bit of attentive care.
- Light: Place your newly potted plants in a bright, but indirect light location. Direct sun can be too much for them at this tender stage.
- Watering: Continue to water when the top inch of soil feels dry. Gradually introduce them to more light as they establish.
- Troubleshooting: The most common issue you’ll encounter is rot. If a cutting turns black and mushy, it’s likely succumbed to rot. Remove it immediately to prevent it from spreading. This usually means the conditions were too wet or not enough air circulation. If your cuttings simply wither and dry up, they might be getting too much light or not enough humidity. Be patient; not every attempt will be a success, and that’s perfectly okay! You’ll learn something from each one.
May your propagating adventures be fruitful and filled with the joy of watching new life emerge. Happy gardening!
Resource:
https://identify.plantnet.org/k-world-flora/species/Silene%20ayachica%20Humbert/data