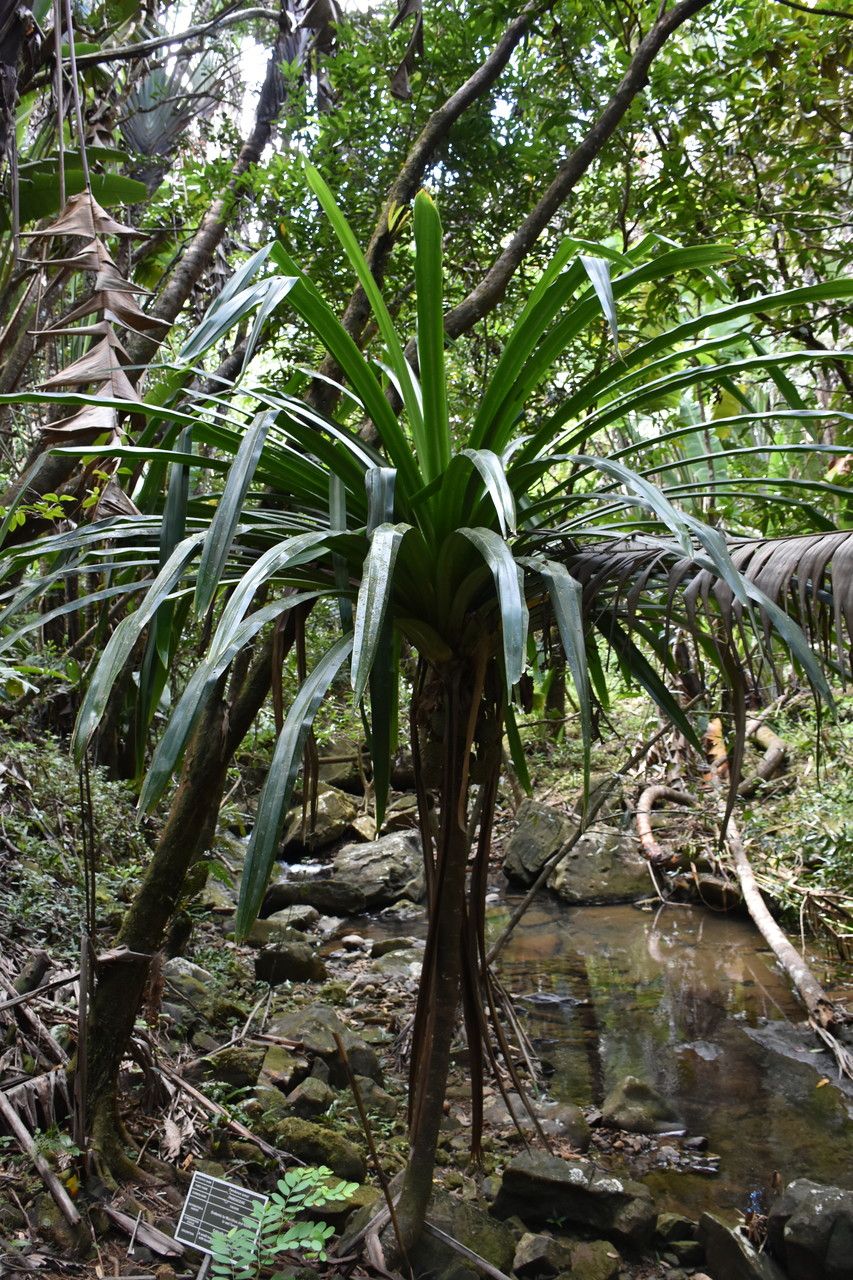
Oh, hello there! Come on in, grab a mug. Let’s chat about something wonderfully unusual: Pandanus iceryi. You know, the Screw Pine? I’ve always been drawn to its architectural, spiky leaves that spiral upwards. It’s like a living sculpture, isn’t it? And the best part? You can bring more of that magic into your own home by propagating them! It’s a deeply satisfying process, watching a tiny piece of your beloved plant grow into its own. Now, are they a walk in the park for absolute beginners? I’d say they’re a little bit more involved than, say, a spider plant, but certainly not impossible. With a bit of care and attention, you’ll be successful.
The Best Time to Start
For Pandanus, the spring or early summer months are truly your golden ticket. This is when the plant is really in its active growing phase. You’ll find it’s more vigorous, and any cuttings you take will have the best chance of rooting quickly. Think of it as giving your new little plants the longest, warmest growing season possible to establish themselves. Trying in the dead of winter is just asking for a slow, frustrating experience.
Supplies You’ll Need
Let’s get your propagation station ready. Here’s what you’ll want to have on hand:
- Sharp Pruning Shears or a Clean Knife: A clean cut is crucial to prevent disease.
- Rooting Hormone (Optional but Recommended): This gives your cuttings a little boost to get those roots going. I like to use a powder form.
- Well-Draining Potting Mix: A mix designed for succulents or cacti works wonderfully. You can also create your own by combining potting soil with perlite or coarse sand.
- Small Pots or Trays: Whatever you have available, as long as they have drainage holes.
- Watering Can or Spray Bottle: For gentle watering.
- Clear Plastic Bag or Dome: To create a humid environment if needed.
- Perlite or Coarse Sand: To add to your potting mix for extra drainage.
Propagation Methods
Pandanus iceryi is most commonly propagated by offsets or stem cuttings. Offsets are the little baby plants that grow at the base of the mother plant. They’re like bonus surprises!
Method 1: Propagating Offsets
- Gently Excavate: Carefully wiggle the soil around the base of your mature Pandanus. You’re looking for those little plantlets that have their own small root system forming.
- Separate with Care: Once you’ve located an offset with at least a few developing roots, use your sharp, clean knife to carefully slice it away from the parent plant. Make sure you don’t damage the roots on either the offset or the mother.
- Allow to Callus: Let the cut end of the offset dry out for a day or two in a shaded spot. This helps prevent rot when you plant it.
- Potting Up: Fill your small pot with your well-draining potting mix. Make a little hole in the center and place the offset, covering its base with soil.
- Initial Watering: Water gently, just enough to settle the soil. Don’t drench it.
Method 2: Stem Cuttings (More Advanced)
This method is best if your Pandanus hasn’t produced many offsets, or if you’re feeling adventurous!
- Select a Healthy Shoot: Look for a strong, healthy side shoot or a section of the main stem that has at least a few leaves.
- Make the Cut: Using your clean pruners or knife, cut off a section of the stem that’s about 4-6 inches long. Ensure it has a few leaves. You might even have a piece of the main stem with a few shoots attached.
- Remove Lower Leaves: Strip off any leaves from the bottom half of the cutting. This prevents them from rotting in the soil.
- Rooting Hormone: Dip the bottom cut end into your rooting hormone. Tap off any excess.
- Planting: Make a hole in your well-draining potting mix. Insert the cutting so that the leafless part is covered by soil.
- Water and Cover: Water lightly. Then, you can cover the pot with a clear plastic bag or place it in a propagator to maintain humidity. This is key!
The “Secret Sauce”
When I’m propagating my Pandanus, here are a couple of things I’ve learned that make a real difference:
- The Water Test: If you’re experimenting with a cutting in water (though I generally prefer soil for Pandanus), absolutely do not let the leaves touch the water. Even the lower ones. They’ll just turn that nasty brown mush, and it’ll spread. Stick to just the stem in the water.
- Bottom Heat is Your Friend: For stem cuttings, placing the pot on a gentle heat mat can dramatically speed up root development. It mimics that warm springtime soil perfectly. You don’t want it too hot, just a gentle warmth.
- Be Patient with Pups: For offsets, sometimes they look completely fine sitting there for a few weeks before you see a surge of new leaf growth. Don’t panic if nothing happens immediately. They’re just getting their roots established underground.
Aftercare & Troubleshooting
Once your little Pandanus has roots – you can gently tug on a stem cutting to feel for resistance, or look for new growth on an offset – it’s time for a bit more consistent care.
- Gradual Acclimation: If you used a plastic bag, start opening it up for an hour or two each day to let the plant get used to drier air. Gradually increase the time until you can remove the bag entirely.
- Bright, Indirect Light: Place your new plant in a spot with bright, indirect sunlight. They don’t like harsh, direct sun, especially when they’re young and vulnerable.
- Watering: Water when the top inch or two of soil feels dry. Again, avoid waterlogged roots.
- Troubleshooting: The most common issue you’ll face is rot, usually from overwatering or lack of drainage. If you see leaves turning yellow and mushy, or the stem becomes soft and brown, it’s likely rot. If caught early, you might be able to salvage a healthy section by cutting away the rot and starting again. If a cutting just refuses to root after several weeks and shows no signs of life, it might have just been an unsuccessful attempt. Don’t be discouraged! That’s part of the learning curve.
A Encouraging Closing
So there you have it! Propagating Pandanus iceryi is a rewarding journey. It takes a bit of patience, a touch of observation, and a whole lot of green-thumb love. Don’t be afraid to experiment, and remember that every experienced gardener has had their fair share of failed attempts. Just enjoy the process, celebrate your successes, and soon you’ll have a whole collection of these amazing architectural plants. Happy propagating!
Resource:
https://identify.plantnet.org/k-world-flora/species/Pandanus%20iceryi%20Horne%20ex%20Balf.f./data