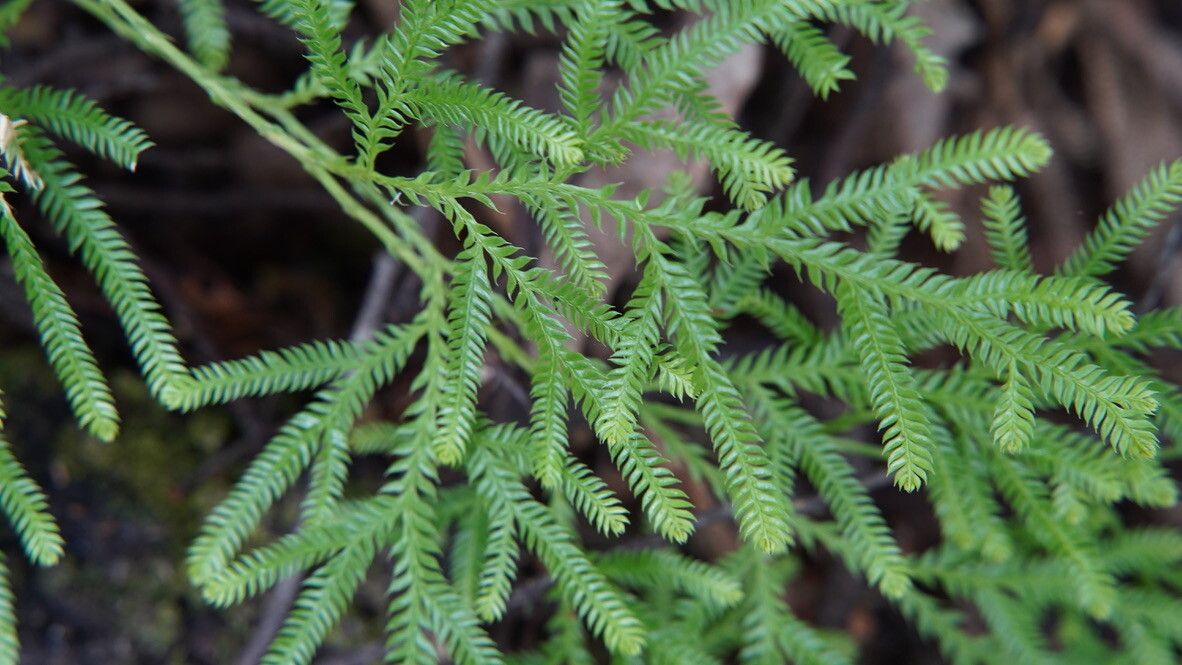
Oh, hello there! Pull up a chair and let’s chat about one of my absolute favorite ferns: Lycopodium volubile. Also known as the climbing clubmoss, this beauty is like a miniature jungle creeper, with its delicate, trailing stems that can create such a lush, natural look. If you’ve ever admired its graceful habit and thought, “I wish I had more of that!”, you’re in luck. Propagating it is a wonderfully rewarding journey, and while it might not be quite as straightforward as tossing some marigold seeds, it’s absolutely achievable with a little patience. Newbies, don’t be discouraged – with these tips, you’ll be well on your way.
The Best Time to Start
For the highest chance of success, I find that late spring to early summer is your sweet spot. This is when the plant is in its most vigorous growth phase, meaning it has the energy reserves to put towards establishing new roots. Look for stems that are actively growing and have a good, firm feel to them.
Supplies You’ll Need
Gathering your tools beforehand makes the whole process smoother. Here’s what I always have on hand:
- Sharp, clean pruning shears or scissors: You want a clean cut to prevent disease.
- Rooting hormone (optional but recommended): A gentle touch of this can really speed things up.
- Small pots or trays: Seedling trays work perfectly, or choose small individual pots.
- Well-draining potting mix: I like a blend of peat moss, perlite, and a bit of orchid bark. This mimics the airy, slightly acidic conditions they love.
- Plastic bags or a propagation dome: To create a humid microclimate.
- Spray bottle: For misting.
- Labels: Don’t forget to label your new babies!
Propagation Methods
Lycopodium volubile is best propagated through stem cuttings. It’s a straightforward technique once you get the hang of it.
- Take Your Cuttings: With your clean shears, select vibrant, healthy stems that are at least 4-6 inches long. You want to cut just below a leaf node – that’s the point where a leaf or branch emerges from the stem. This is where new roots are most likely to form.
- Prepare the Cuttings: Gently remove the lower leaves from your cuttings. You want to expose a few nodes for root development, and it prevents those submerged leaves from rotting. If you’re using rooting hormone, dip the cut end into the powder, tapping off any excess.
- Plant Your Cuttings: Fill your chosen pots or trays with your prepared potting mix. Make a small hole in the soil with your finger or a pencil. Insert the cut end of the prepared stem cutting into the hole, ensuring at least one or two leaf nodes are buried beneath the surface. Gently firm the soil around the base of the cutting.
- Create a Humid Environment: This is crucial! Mist the cuttings thoroughly with your spray bottle. Then, cover the pots loosely with a clear plastic bag or place them inside a propagation dome. This traps moisture and humidity, which Lycopodium adores.
The “Secret Sauce” (Pro Tips)
Now for a couple of little tricks I’ve learned over the years that can really make a difference:
- Keep those leaves clear of water: If you are attempting water propagation (though I find soil is generally better for these guys), never let the leaves or stem above the nodes touch the water. Stagnant water around the foliage will almost always lead to rot. Use a narrow-necked container or props to keep them elevated.
- Bottom heat works wonders: Many tropical and subtropical plants, including Lycopodium, absolutely thrive with a little gentle warmth from below. A heating mat designed for seedlings can significantly boost root formation. Just place your pots on the mat – it doesn’t need to be too hot, just a gentle warmth.
- Don’t overcrowd: While it’s tempting to fill your pots, give your cuttings a little breathing room. Overcrowding can increase humidity to the point of disease and also makes it harder to monitor individual cuttings.
Aftercare & Troubleshooting
Once your cuttings have been planted, place them in a spot with bright, indirect light. Avoid direct sun, as it can scorch their delicate foliage. Keep the soil consistently moist, but not waterlogged. The humidity inside your plastic bag or dome should help with this.
You’ll know your cuttings are rooting when you start to see new growth, either at the tip of the stem or from the base. This can take anywhere from 4 to 8 weeks, or sometimes even longer. Gently tug on a cutting – if there’s resistance, you’ve got roots!
The most common problem you’ll encounter is rot. If you notice your cuttings turning soft, mushy, or black, it’s usually a sign of too much moisture and not enough air circulation. Remove any affected cuttings immediately and ensure your potting mix is draining well. If you’ve got a lot of condensation build-up, you might need to air out your propagation setup for a few hours each day.
A Little Bit of Patience Goes a Long Way
Propagating Lycopodium volubile is a bit of a slow burn, but oh, is it worth it! Don’t get discouraged if your first attempt isn’t a roaring success. Every gardener has those moments. Just keep at it, learn from each batch, and enjoy the quiet satisfaction of nurturing new life. Happy propagating!
Resource:
https://identify.plantnet.org/k-world-flora/species/Lycopodium%20volubile%20G.Forst./data