Oh, hello there! It’s so wonderful to connect with you today. I’ve been spending my days in the garden for two decades now, and I still get a thrill from coaxing an entirely new plant into existence from a tiny piece of an existing one. It’s like magic, isn’t it?
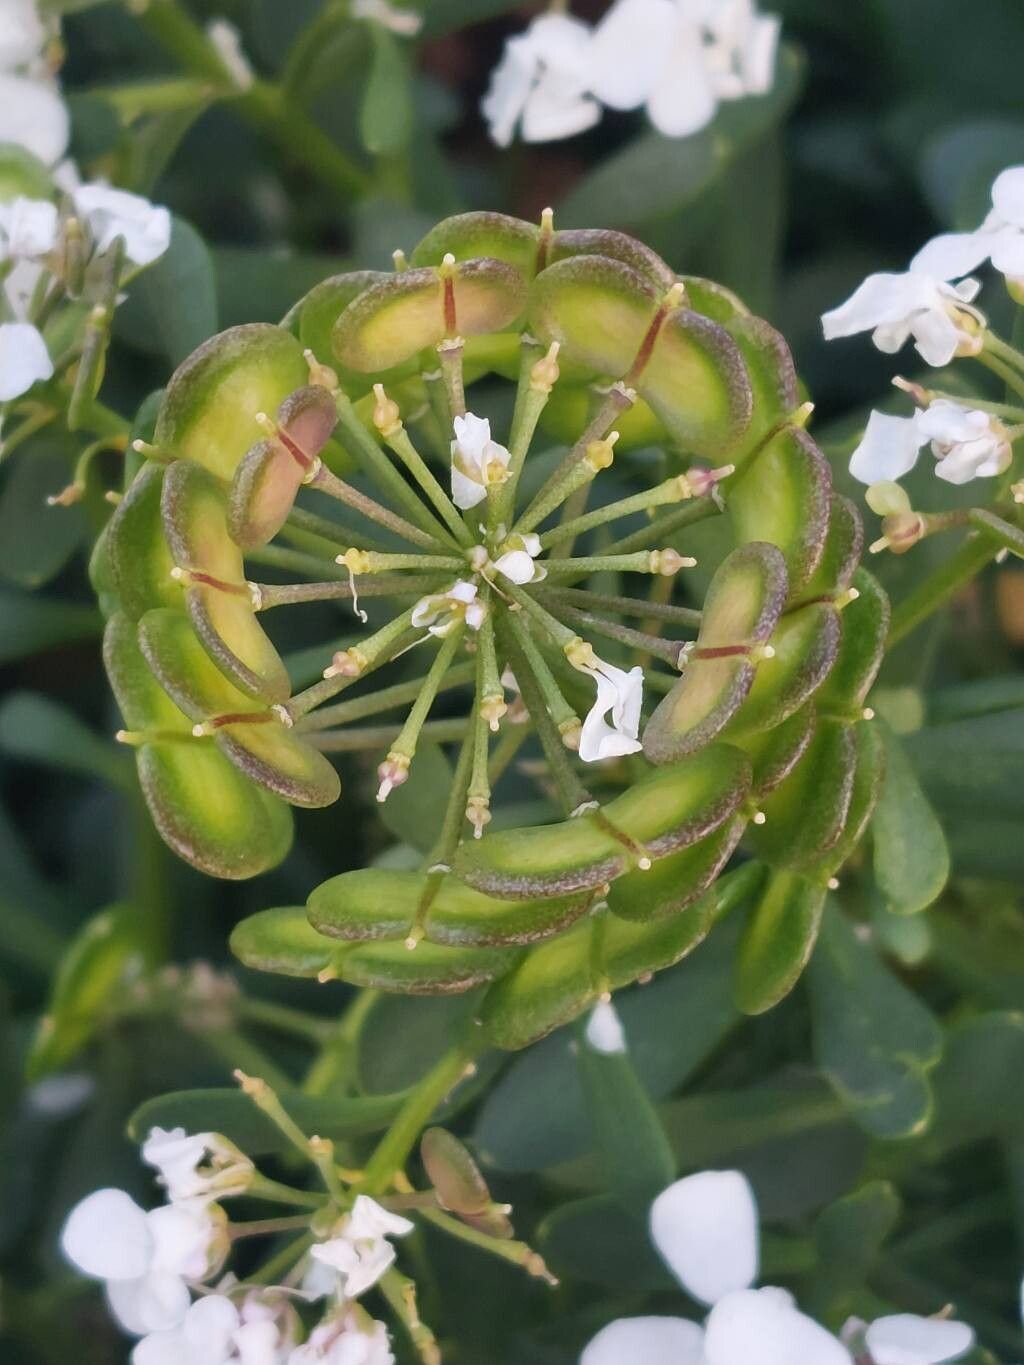
Today, we’re diving into the delightful world of Iberis semperflorens, also known as evergreen candytuft. This plant is just a dream for any garden. Imagine delicate clusters of pure white flowers that seem to bloom endlessly, chasing away the dullness. It’s a fantastic groundcover, a lovely addition to rock gardens, or even cascading over the edge of a pot. And the best part? It’s genuinely rewarding to propagate. If you’re new to plant propagation, you’ll be happy to know Iberis semperflorens is quite forgiving. We’ll get you growing!
The Best Time to Start
For the highest success rates, I find late spring to early summer is absolutely perfect for propagating Iberis. This is when the plant is in an active growth phase, meaning those new cuttings have the best energy reserves to put towards developing roots. Wait until after it has finished its main flush of blooming for the season.
Supplies You’ll Need
Here’s what I always have on hand when I’m ready to start some new Iberis:
- Sharp, clean pruning shears or a sharp knife: Clean cuts are crucial to prevent disease.
- Rooting hormone powder or gel: This isn’t strictly essential for Iberis, but it definitely gives cuttings a little boost.
- A well-draining potting mix: I like to use a mix of equal parts peat moss or coco coir and perlite or coarse sand. This ensures good aeration and prevents waterlogging.
- Small pots or seed trays: Clean them thoroughly before use.
- A plastic bag or propagator lid: This will create a mini-greenhouse to keep humidity levels up.
- Watering can with a fine rose: For gentle watering.
- A sharpie and plant labels: To keep track of what you’ve planted!
Propagation Methods
Iberis semperflorens is quite amenable to stem cuttings, which I find to be the most reliable method.
- Take Cuttings: Head out to your plant in late spring or early summer. Look for healthy, non-flowering stems. You want stems that are semi-hardwood – they’ll be firm but still have a bit of flexibility, not brittle like old wood. Using your clean shears, take cuttings that are about 3-4 inches long. Trim off any lower leaves that might fall below the soil line once planted.
- Prepare the Cuttings: If you’re using rooting hormone, lightly dip the cut end of each stem into it, tapping off any excess. This helps stimulate root development.
- Plant the Cuttings: Fill your clean pots with your prepared potting mix. Make a small hole in the center of each pot with your finger or a pencil. Gently insert the cut end of each Iberis cutting into the hole, ensuring the part treated with hormone is covered. Firm the soil gently around the base of the cutting.
- Water and Cover: Water the pot thoroughly but gently. You want the soil to be moist, not soggy. Next, cover the pot with a plastic bag or a propagator lid. This helps maintain high humidity, which is essential for cuttings to root before they dry out. I like to make sure the leaves don’t touch the plastic if possible.
The “Secret Sauce” (Pro Tips)
Now, for a couple of little tricks I’ve picked up over the years that can make a big difference:
- Bottom Heat is Your Friend: While not strictly necessary for Iberis, placing your pots on a gentle heat mat can significantly speed up root formation. It mimics the warmth of spring soil and encourages those roots to get a move on. Just be sure the heat isn’t too intense – lukewarm is perfect.
- Don’t Be Afraid to Mist: Even with the plastic cover, I sometimes like to give the inside of the bag a light misting with water every few days. This ensures consistent humidity, especially in drier climates.
- Air Them Out! Once a day, for a few minutes, lift the plastic cover or lid to allow for some fresh air circulation. This helps prevent fungal diseases from setting in.
Aftercare & Troubleshooting
Once your Iberis cuttings are planted, place them in a bright location with indirect sunlight. Direct sun can scorch those tender young cuttings. Keep the soil consistently moist, but never waterlogged. You’ll know your Iberis have rooted when you see new leafy growth appearing. Gently tugging on a cutting – if there’s resistance, roots are forming! Once they’re well-rooted, you can gradually acclimate them to open air by removing the plastic cover for longer periods each day before potting them up into their own individual pots.
The most common issue you might encounter is rot, which is usually a sign of overwatering and poor drainage. If you see a cutting turning brown and mushy, sadly, it’s usually too late to save it. Just discard it and try again, ensuring better drainage and less moisture next time.
A Little Patience Goes a Long Way
Propagating plants is a journey, and it’s one that’s filled with anticipation. Don’t get discouraged if not every cutting takes. Each attempt is a learning experience, and the satisfaction of seeing those tiny white flowers on a plant you grew yourself from a simple stem cutting is truly unparalleled. So, be patient, enjoy the process, and happy gardening!
Resource:
https://identify.plantnet.org/k-world-flora/species/Iberis%20semperflorens%20L./data