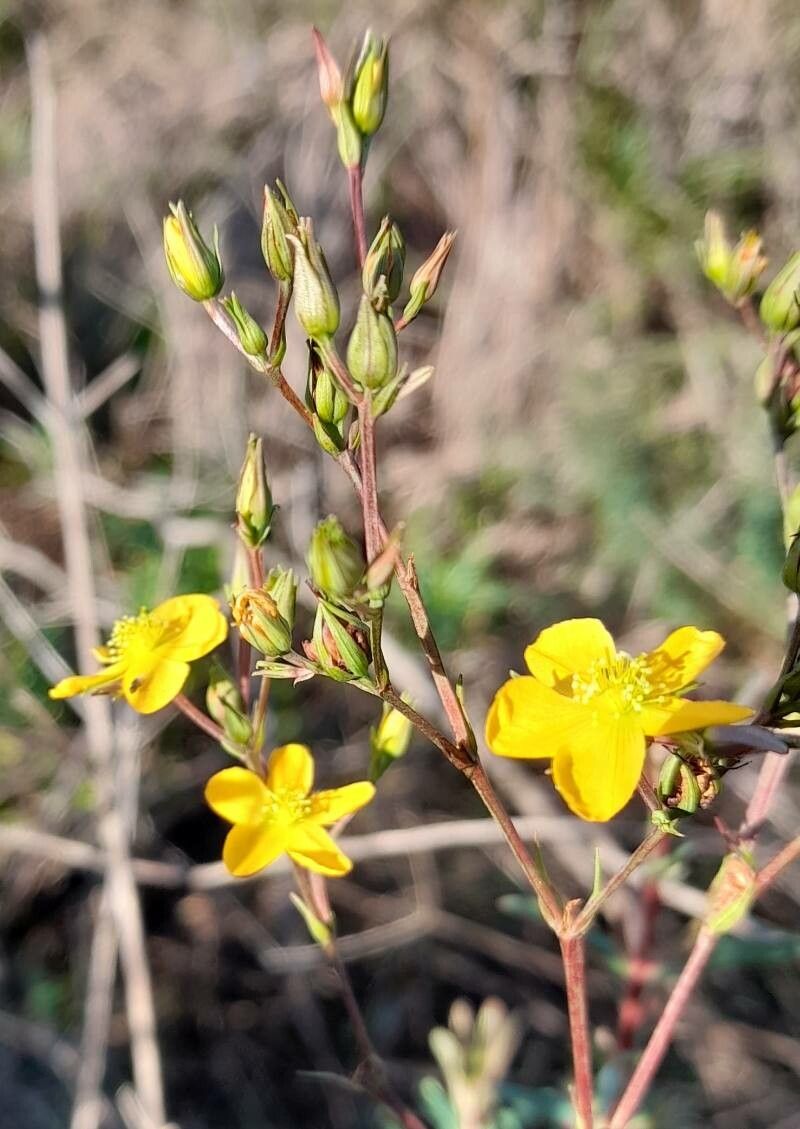
Hey there, fellow plant lovers! I’m so excited to chat with you today about a plant that truly brightens my garden and my mood: Hypericum brasiliense, often known as Brazilian St. John’s Wort. Those cheerful, golden-yellow flowers are just pure sunshine, aren’t they? And the best part? They’re remarkably easy to grow and even easier to propagate. If you’ve been admiring this beauty, get ready, because making more of them is a truly rewarding experience, even for absolute beginners. Let’s get started!
The Best Time to Start
Honestly, Hypericum brasiliense is a pretty forgiving plant. I find the sweetest spot for propagation is late spring to early summer. This is when the plant is actively growing and has plenty of energy. You’re looking for semi-hardwood cuttings – stems that are no longer fully soft and green but aren’t yet woody and mature. Think of a pencil that’s just starting to firm up.
Supplies You’ll Need
Gathering your supplies beforehand makes the whole process smooth sailing. Here’s what I always have on hand:
- Clean, sharp pruning shears or a sharp knife: Crucial for making clean cuts that heal well. Stale tools can introduce disease.
- Rooting hormone (optional but recommended): This little bit of magic really gives cuttings a boost. Look for one with a moderate IBA concentration.
- Well-draining potting mix: I like a blend of roughly equal parts peat moss or coco coir, perlite, and a bit of compost. This provides aeration and moisture retention without getting waterlogged.
- Small pots or trays with drainage holes: Clean pots are a must to prevent fungal issues.
- A spray bottle: For misting your cuttings.
- Clear plastic bags or a propagation dome/lid: To create a humid environment, which is vital for cuttings.
- Labels and a pen: Trust me, you’ll thank yourself later!
Propagation Methods
Let’s get our hands dirty! For Hypericum brasiliense, stem cuttings are my go-to method. They’re reliable and produce lovely new plants.
Stem Cuttings:
- Take Your Cuttings: On a healthy, actively growing stem, select pieces that are about 4-6 inches long. Make your cut just below a leaf node (where the leaves attach to the stem). Remove the lower leaves, leaving just a few at the top. This prevents them from rotting in the soil.
- Prepare the Cuttings: If you’re using rooting hormone, dip the cut end of each stem into it, tapping off any excess.
- Plant Your Cuttings: Fill your small pots or trays with your well-draining potting mix. Make a hole in the center of each pot with a pencil or your finger. Gently insert the cut end of your Hypericum cutting into the hole, ensuring the rooting hormone (if used) stays intact. Firm the soil gently around the stem.
- Create a Humid Environment: Water the soil lightly. Then, cover the pot with a clear plastic bag (you can secure it with a rubber band or tape) or place it under a propagation dome. Make sure the leaves don’t touch the plastic if possible; if they do, you can prop up the bag with small sticks or skewers.
The “Secret Sauce” (Pro Tips)
Here are a couple of things I’ve learned over the years that really make a difference with these cuttings:
- Don’t Drench, Mistem: While the cuttings need moisture, overwatering is the quickest way to invite fungal issues and rot. Keep the soil consistently lightly moist, not soggy. Misting the leaves occasionally also helps keep them happy, especially in their humid little environment.
- Think Warmth, Not Roasting Sun: Yes, these little guys love warmth, but they don’t love direct, scorching sunlight. Place your pots in a bright location but out of direct sun. A windowsill that gets bright, indirect light is perfect. If you have the option, gentle bottom heat (like a seedling heat mat set to a low temperature) can significantly speed up root development.
Aftercare & Troubleshooting
Once your cuttings are happily nestled in their pots, the waiting game begins. You should start to see new leaves or signs of growth within 3-6 weeks. Gently tug on a cutting; if you feel resistance, it means roots have formed!
- Acclimatization: Once you see good root formation, it’s time to start acclimating them to the outside world. Gradually increase ventilation by opening the plastic bag or propagation dome for longer periods each day. This prevents shock.
- Watering: Continue to keep the soil consistently moist but not wet.
- Transplanting: When the new plants are sturdy and have a good root system (you can usually see roots peeking out of the drainage holes), you can transplant them into slightly larger pots with your regular potting mix.
Troubleshooting: If you see your cuttings wilting, turning yellow, or developing mushy, dark spots, it’s usually a sign of too much water or a fungal infection. Remove any affected cuttings immediately. Ensure your soil is draining well and that the environment isn’t too wet. Sometimes, even with the best care, a few cuttings just don’t make it, and that’s okay! It’s all part of the learning curve.
A Little Encouragement
Propagating plants is a journey, and with Hypericum brasiliense, it’s a delightfully accessible one. Don’t be discouraged if every single cutting doesn’t succeed right away. Each attempt teaches you something new. Be patient, enjoy the process of nurturing these tiny new lives, and soon you’ll have even more of that beautiful golden sunshine to share. Happy propagating!
Resource:
https://identify.plantnet.org/k-world-flora/species/Hypericum%20brasiliense%20Choisy/data