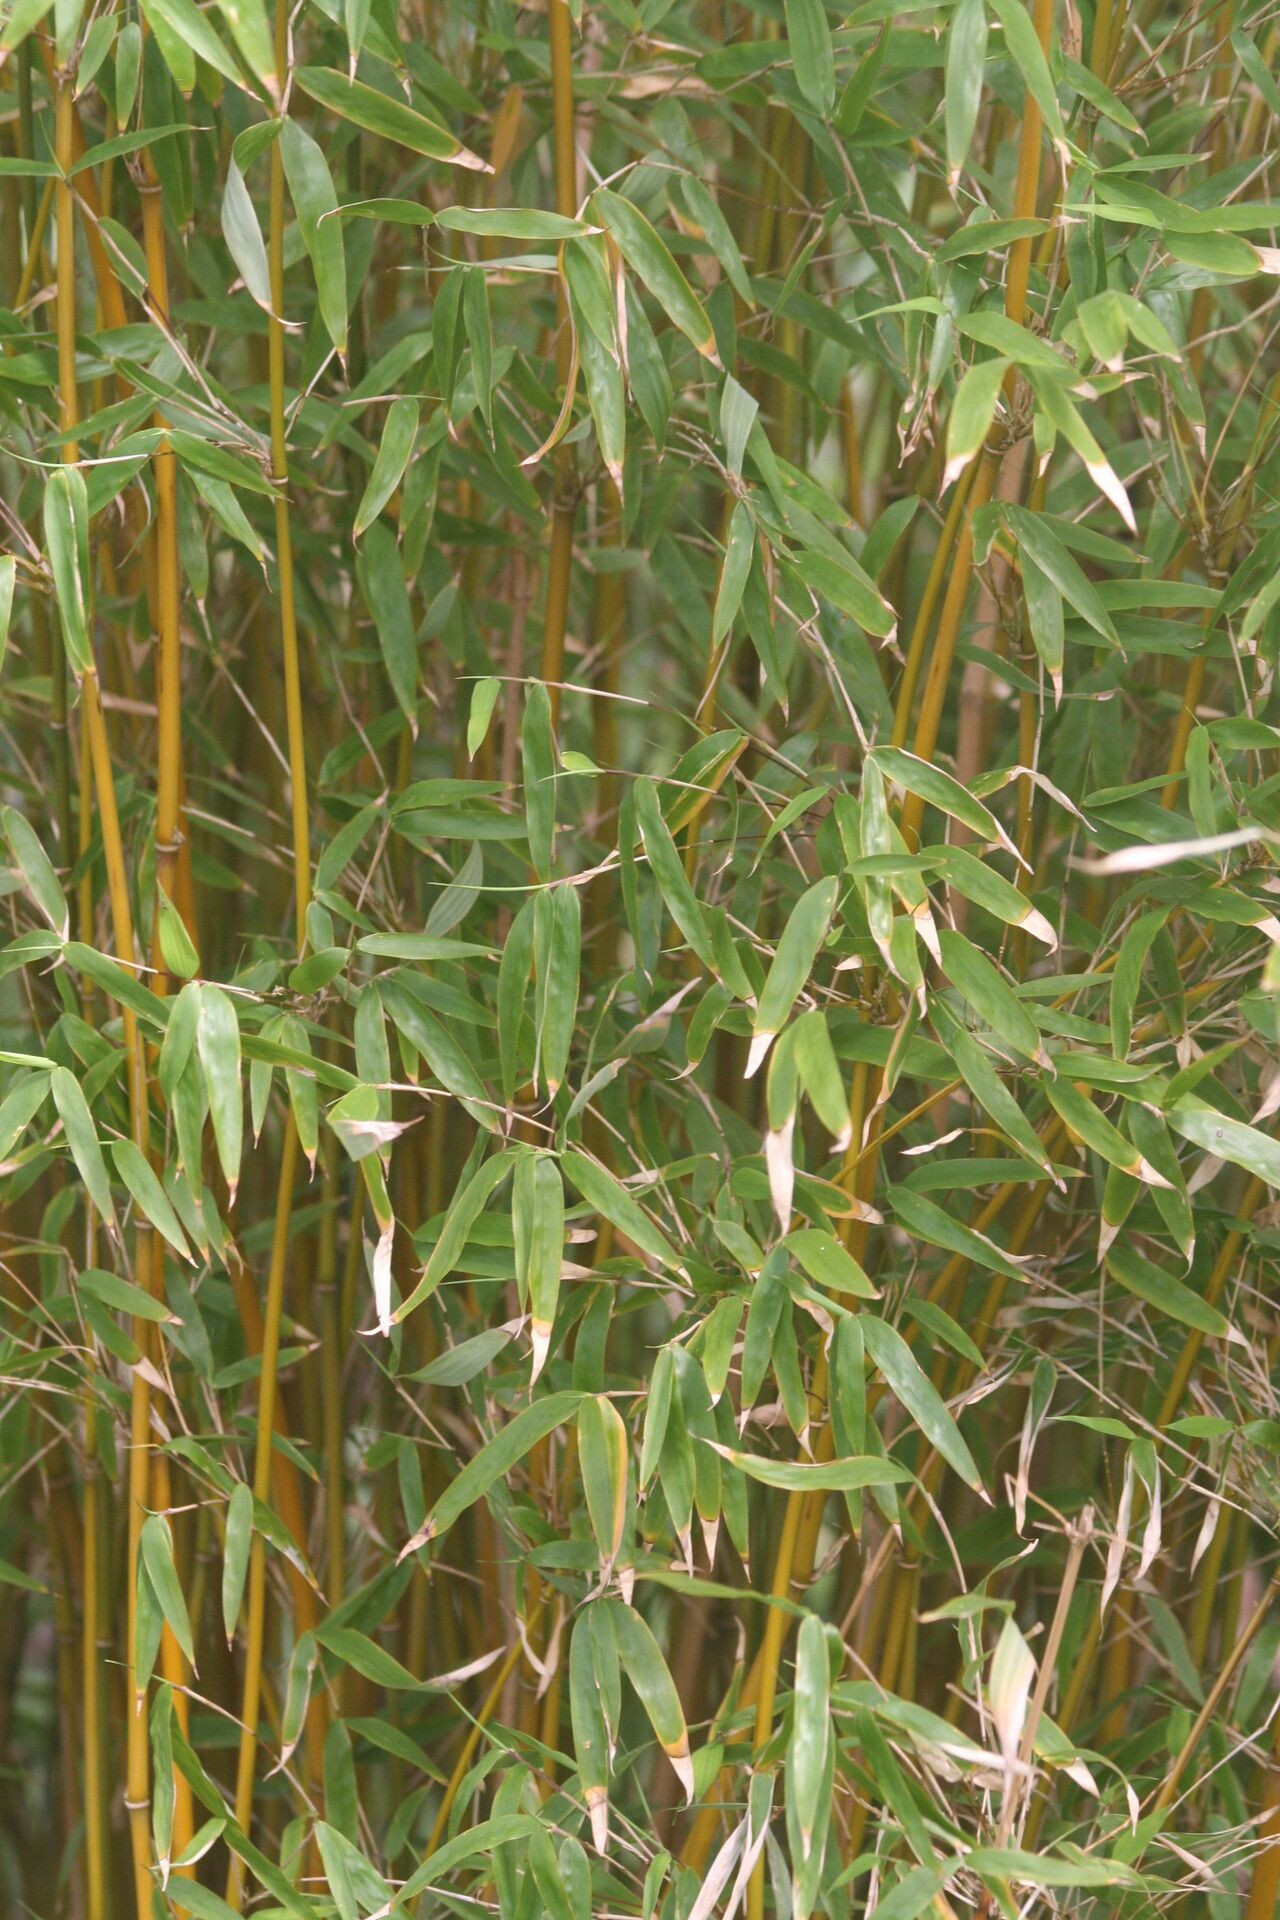
Oh, Fargesia denudata! If you’re looking for a graceful, elegant clump of bamboo that doesn’t want to take over your whole yard, this is your gal. Her weeping habit and fine, delicate foliage bring a whisper of the Orient to any garden. It’s so satisfying to share this beauty, and propagating it means more of you can enjoy it! For beginners, it’s certainly manageable, especially if you’re patient.
The Best Time to Start
My favorite time to get Fargesia denudata going is in late spring or early summer. This is when the plant is actively growing, bursting with new energy. The stems are flexible, and the new shoots have a good chance of taking hold. You’ll want to select healthy, vigorous new shoots that are about a year old.
Supplies You’ll Need
Here’s what I always have on hand:
- Sharp pruning shears or a clean knife: For making clean cuts.
- Well-draining potting mix: I like a blend of good quality potting soil with perlite or coarse sand. A mix specifically for bamboo or a general seed-starting mix works wonders.
- Small pots or seed trays: Clean ones, of course!
- Rooting hormone (optional but recommended): This really gives cuttings a boost.
- Plastic bags or propagation domes: To create a humid environment.
- Watering can with a fine rose: For gentle watering.
- A heating mat (optional but helpful): Especially if your propagation area is on the cooler side.
Propagation Methods
I find that division is the most reliable method for Fargesia denudata, especially if you want a head start. But stem cuttings can also work!
Division (My Go-To!)
- Excavate with Care: In late spring or early summer, gently dig up your Fargesia denudata clump. Try not to disturb the roots too much.
- Loosen Up: Using your hands or a blunt trowel, gently tease apart the root ball. You’re looking to separate sections that have at least a couple of vigorous shoots and a good hank of roots. Don’t try to pull it apart with brute force; be gentle.
- Trim if Needed: If you have any damaged roots, trim them off with your clean shears.
- Pot Them Up: Plant each division in its own pot filled with your well-draining mix. Ensure the crown (where the shoots emerge from the roots) is at soil level.
- Water Thoroughly: Give them a good soak.
Stem Cuttings
- Select Your Cuttings: Look for semi-hardwood cuttings from your healthy, new growth. Aim for pieces about 6-8 inches long.
- Prepare the Cutting: Using your sharp shears, cut just below a leaf node (where a leaf attaches to the stem). Remove the lower leaves, leaving just a couple at the top.
- Dip in Hormone: If you’re using rooting hormone, dip the cut end into it. Tap off any excess.
- Planting Time: Make a hole in your prepared potting mix with a pencil or your finger. Insert the cutting, and gently firm the soil around it.
- Create Humidity: Water gently and then cover the pot with a plastic bag or propagation dome to keep the humidity high.
The “Secret Sauce” (Pro Tips)
Here are a couple of tricks I’ve learned over the years that make a difference:
- For divisions, I like to give them a light drink of diluted fish emulsion or seaweed fertilizer a week or two before I plan to dig them up. This seems to give them a little extra oomph.
- When doing stem cuttings, don’t let the leaves on your cuttings touch the soil. They’ll just rot. Make sure they’re all above the surface.
- If you’re struggling to get cuttings to root, don’t underestimate the power of bottom heat. A gentle warming from below really encourages root development.
Aftercare & Troubleshooting
Once your divisions or cuttings are potted up, keep them in a bright, but indirect light location. Water them when the top inch of soil starts to feel dry. Mist them occasionally, especially if you’re not using a dome.
You’ll know they’re happy when you see new growth appearing. For divisions, this might be within a few weeks. For cuttings, it could take several months.
The most common issue you’ll face is rot, especially with stem cuttings. If you see leaves turning yellow and mushy, or the cutting itself looks black and slimy, it’s probably too wet or not draining well. Unfortunately, once rot sets in, it’s hard to recover. Don’t be discouraged though! It happens to the best of us. Just try again with fresh material and ensure excellent drainage.
A Bit More Patience, A Lot More Bamboo!
Propagating Fargesia denudata might take a little time and perhaps a few tries, but the reward is so worth it. Enjoy the process of nurturing these new plants, and soon you’ll have a whole grove of your own elegant bamboo. Happy gardening!
Resource:
https://identify.plantnet.org/k-world-flora/species/Fargesia%20denudata%20T.P.Yi/data