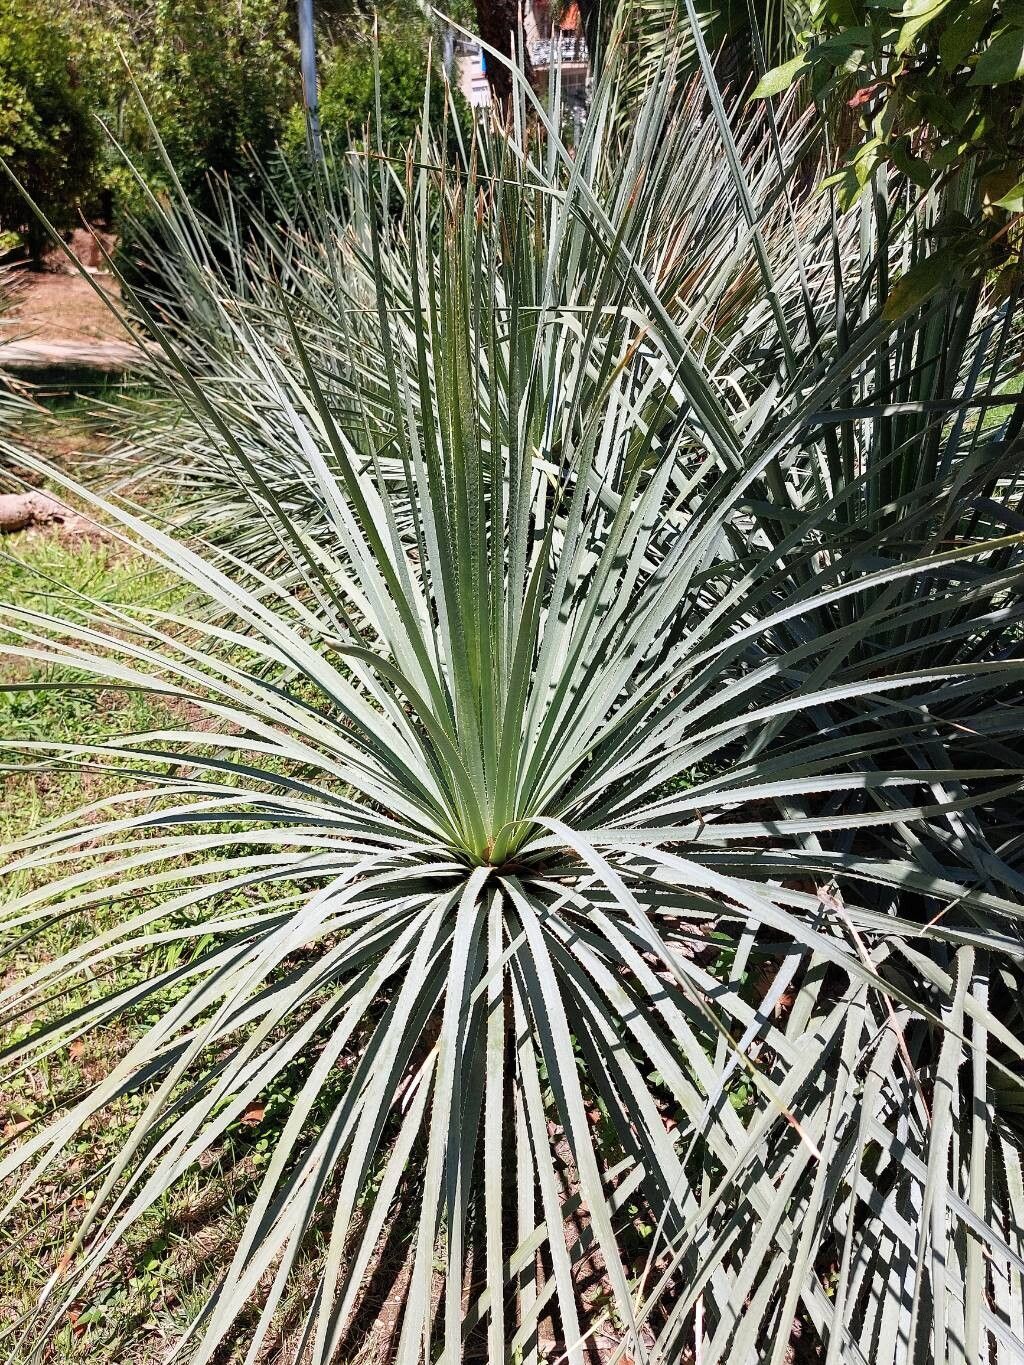
Oh, hello there! I’m so glad you stopped by. Today, we’re diving into the wonderful world of Dasylirion wheeleri, or the Desert Spoon as it’s affectionately known. If you’ve ever admired those striking, silvery-blue rosettes with their incredibly architectural form, you’re not alone. They’re simply breathtaking, adding such a unique texture and coolness to any arid garden. And the best part? You can actually grow your own! Propagating these beauties is a truly rewarding experience, though I’ll be honest, it’s not quite as straightforward as popping a begonia cutting in water. It requires a little patience and some specific know-how, but the results are so worth it. Let’s get started!
The Best Time to Start
When it comes to Dasylirion wheeleri, spring is absolutely your golden ticket. The plant is waking up from its winter dormancy, and its energy is directed towards new growth. Starting propagation in early spring, just as temperatures begin to warm consistently, means your cuttings or divisions will have the whole growing season to establish themselves. This is the time when they’re most receptive to rooting and vigorous development. Forget about trying this in the dead of winter or the peak of summer heat – spring gives you the best chance for success.
Supplies You’ll Need
Gathering your tools beforehand makes the whole process so much smoother. Here’s what I usually have on hand:
- Sharp, clean pruning shears or a strong knife: For making clean cuts.
- Rooting hormone (optional but recommended): A rooting powder specifically for woody plants can give your cuttings a boost.
- Well-draining potting mix: I love a gritty succulent and cactus mix. You can also make your own by combining equal parts potting soil, perlite, and coarse sand.
- Small pots or trays: Terracotta is great because it breathes.
- Gravel or small stones: For drainage in the bottom of pots and for supporting cuttings.
- Watering can with a fine rose: To water gently.
- Gloves: Desert Spoon leaves can be a bit prickly!
- A warm, bright location: With indirect sunlight.
Propagation Methods
Dasylirion wheeleri can be a bit stubborn, but two methods tend to work best: division and, with a bit of care, basal offshoots. We’ll focus on these, as typical stem cuttings can be trickier.
Division (for mature plants with multiple crowns)
If your Desert Spoon has started to form clusters of new rosettes at its base, this is your best bet.
- Gently excavate: Carefully dig around the base of your established plant. You want to get a good look at the root structure and where the new crowns are attached.
- Identify natural breaks: Look for sections that are already separating from the main plant or have their own distinct root base.
- Make the cut: Using your sharp, clean pruning shears or knife, carefully sever the offshoot from the mother plant. Try to get as many roots attached to the division as possible.
- Allow to callus: This is CRUCIAL. Set the separated division aside in a dry, shaded spot for at least 2-3 days, or even up to a week. You want the cut surface to dry and form a protective callous. This prevents rot from setting in when you plant it.
- Pot it up: Plant your calloused division in a pot filled with your well-draining mix. Don’t bury it too deeply; the base of the rosette should be just above the soil line.
- Water sparingly: Water very lightly initially. You want the soil to be just moist, not soggy.
Basal Offshoots (pups)
Sometimes, smaller plantlets, or “pups,” will emerge from the base of the main plant. These are usually easier to separate.
- Clear the base: Gently brush away soil from the bottom of the plant to expose the pup and its connection to the mother plant.
- Separate carefully: Use your knife to slice the pup away from the main stem. Again, try to retain as much of its own root system as possible. If there are no roots, don’t worry, it’s still possible!
- Callus king: Just like with larger divisions, let this pup dry and callus over for at least a couple of days in a dry, airy location.
- Planting time: Pot your callused pup in suitable soil. If it had roots, plant it as you would a division. If it had no roots, you can nestle the base into the soil.
- Patience with watering: Again, water very cautiously. You’re aiming for barely damp.
The “Secret Sauce” (Pro Tips)
Here are a couple of things I’ve learned over the years that can really make a difference:
- Don’t overwater the cuttings! This is the number one killer of new Dasylirions. They’re desert plants, and their roots hate sitting in soggy soil. It’s far better to underwater and let them dry out a bit between waterings. Think of it as a light misting every week or two, rather than a good soak.
- A touch of bottom heat is fantastic. If you have them, a plant heating mat set to a low temperature can encourage root development. It mimics the warmth of spring soil and gives your young plants that extra nudge. Just make sure your pots aren’t sitting directly in water.
Aftercare & Troubleshooting
Once your divisions or pups have rooted, you’ll notice new growth appearing. That’s your cue! You can gradually increase watering to a more regular schedule, allowing the soil to dry out between waterings. Continue to provide bright, indirect light. As they grow, you can transplant them into larger pots.
Now, what if things don’t go as planned? The most common issue is rot. If you see your cutting becoming mushy, blackening, or smelling unpleasant, it’s likely rot. This is almost always due to too much moisture. If you catch it early, you might be able to cut away the rotted parts, let the healthy section callus again, and replant. If it’s too far gone, sadly, it’s time to compost. Another sign of stress is wilting, which can be from underwatering or, ironically, transplant shock even after rooting. Your best bet is to let the soil partially dry out before watering again.
A Warm Encouraging Closing
Propagating Dasylirion wheeleri is a journey, and like all rewarding journeys, it requires a bit of patience. Don’t be discouraged if your first attempt isn’t a roaring success! Each plant is a little different, and you’ll learn so much with every new cutting you try. Savor the process, enjoy the satisfaction of nurturing new life, and soon you’ll have your very own Desert Spoons to admire and share. Happy gardening!
Resource: