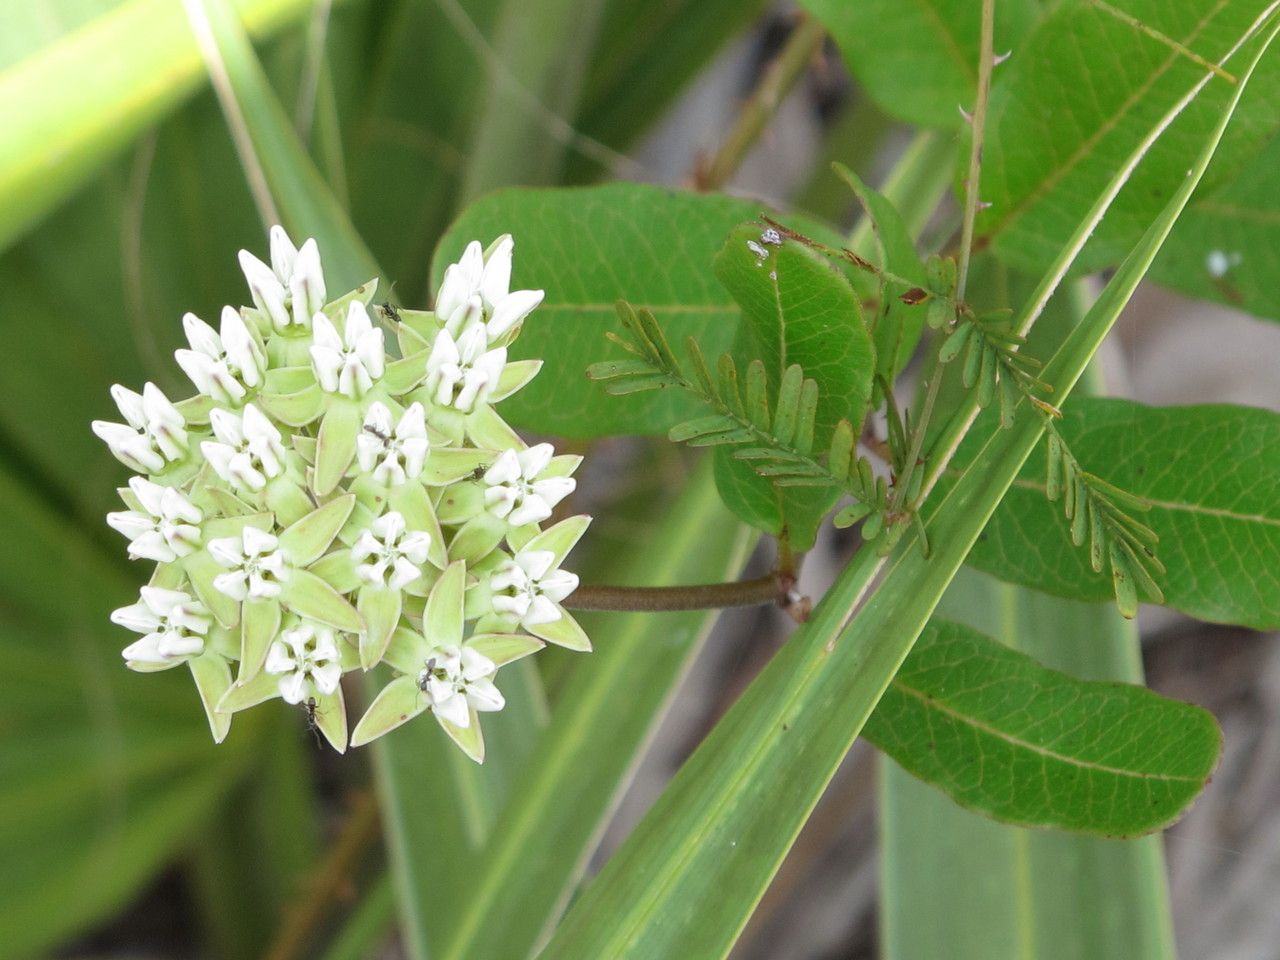
Oh, hello there! Come on in, grab a cup of tea. I’m so excited to chat with you today about a real gem in the garden: Asclepias curtissii, or Curtiss’s milkweed. If you’ve ever seen these beauties gracing a meadow or even a well-tended garden, you know they’re a magnet for all sorts of fascinating pollinators, especially monarchs! Their cheerful blooms and ability to support our precious butterfly friends make them incredibly rewarding to grow.
Now, about propagating Asclepias curtissii. If you’re just dipping your toes into the wonderful world of plant propagation, I’d say this one falls into the moderately achievable category. It’s not as straightforward as a spider plant, but with a little patience and the right approach, you’ll be celebrating success.
The Best Time to Start
For the highest chance of success, I always recommend starting your Asclepias curtissii propagation in the late spring or early summer. This is when the plant is actively growing and has plenty of energy to put into developing new roots. You want to be looking for healthy, non-woody stems that are just starting to mature. Avoid anything that looks stressed, is flowering prolifically, or has already started to feel tough.
Supplies You’ll Need
Gathering your supplies beforehand makes the whole process much smoother, doesn’t it? Here’s what I keep on hand:
- Sharp, clean pruning shears or a craft knife: Essential for clean cuts that heal well.
- Rooting hormone (optional but recommended): A little dip in this magic powder can really encourage root development.
- Well-draining potting mix: I like a blend of peat moss, perlite, and a bit of compost. You want it to feel light and airy.
- Small pots or seed trays: Enough for your cuttings.
- Plastic bags or a propagator lid: To create a humid environment for your cuttings.
- Watering can with a fine rose: For gentle watering.
- A bright spot out of direct sun: Your new babies don’t want to be scorched!
Propagation Methods
While you can start Asclepias curtissii from seed (which is a whole other adventure!), I find stem cuttings to be the most direct and rewarding way to multiply your plants.
Stem Cuttings
- Take your cuttings: Select a healthy stem about 4-6 inches long. Using your sterile shears or knife, make a clean cut just below a leaf node. A leaf node is where a leaf attaches to the stem; this is where roots are most likely to form.
- Prepare the cutting: Gently remove the lower leaves, leaving just the top 2-3 sets. If the leaves are particularly large, you can even cut them in half to reduce water loss.
- Dip in rooting hormone: If you’re using rooting hormone, dip the cut end of the stem into the powder, tapping off any excess.
- Plant your cuttings: Fill your small pots with your well-draining potting mix. Make a small hole in the center with your finger or a pencil. Insert the cut end of the stem into the hole, making sure the leaf nodes you removed are below the soil surface. Gently firm the soil around the stem.
- Water gently: Water the soil until it’s moist but not waterlogged.
- Create humidity: Cover the pots with a plastic bag or place them under a propagator lid. This traps moisture and creates that crucial humid environment. Make sure the leaves don’t touch the sides of the bag if possible.
- Place in a bright spot: Find a location that receives bright, indirect light.
The “Secret Sauce” (Pro Tips)
After many years of coaxing reluctant plants into rooting, I’ve learned a few little tricks that can make all the difference.
- The Sticky Sap: Asclepias famously exude a milky sap when cut. This can sometimes inhibit rooting. My trick is to run the cut end under cool water for a few seconds immediately after making the cut. This helps to rinse away some of that latex and can prevent it from hardening over too quickly.
- Bottom Heat is Your Friend: If you have a heat mat designed for seedlings, place your pots on it. Mild bottom heat (around 70-75°F or 21-24°C) significantly speeds up root formation. It tells the plant “it’s warm enough to get growing down here!”
- Don’t Overwater! This is probably the biggest mistake beginners make. Cuttings don’t have established roots to absorb excess water, so constantly soggy soil is a recipe for rot. Check the soil moisture by touch. It should feel slightly moist, not wet.
Aftercare & Troubleshooting
Once your cuttings have been planted for a few weeks, you can start to gently tug on them. If you feel resistance, congratulations! You’ve got roots.
- Acclimatize slowly: Once roots are established, gradually remove the plastic cover over a few days to let the new plants get used to the drier air.
- Transplant with care: When the new plants have developed a good root system and a few new leaves, you can transplant them into slightly larger pots. Continue to keep them in bright, indirect light for a while longer.
- Watch for rot: The most common sign of failure is rot. If your cutting turns black and mushy, it’s likely a goner. This is usually due to overwatering or poor drainage.
- Wilting can be a sign: Sometimes wilting can indicate rot, but it can also simply mean the cutting hasn’t rooted yet and is struggling to get enough water. Keep the humidity up and be patient.
A Gentle Encouragement
Propagating plants, especially something as special as Asclepias curtissii, is a journey of observation and patience. Don’t get discouraged if your first attempts aren’t perfect. Every cutting you try is a learning experience. Enjoy the process, celebrate the tiny successes, and soon you’ll have even more of these pollinator magnets to share with your garden and maybe even your friends! Happy propagating!
Resource:
https://identify.plantnet.org/k-world-flora/species/Asclepias%20curtissii%20A.Gray/data