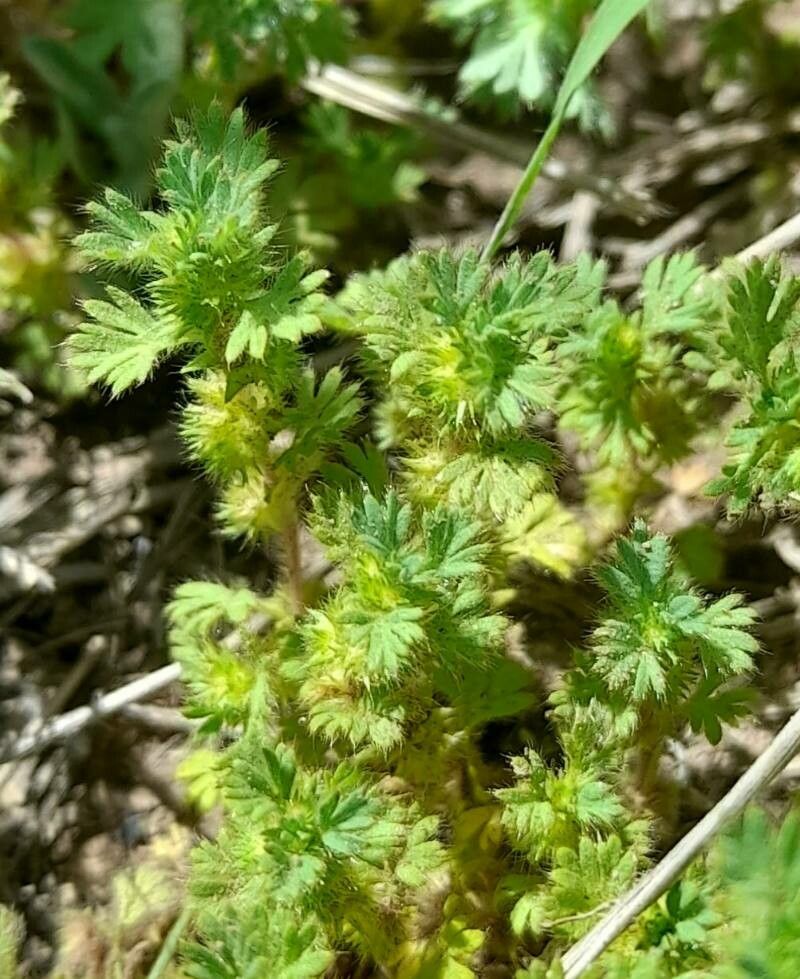
Oh, Alchemilla parodii! If you’ve ever admired those delicate, fan-shaped leaves, often with a lovely subtle shimmer, you’re not alone. This little gem, also known as Lady’s Mantle, has a charm all its own. And let me tell you, coaxing new plants from it is one of those deeply satisfying garden joys, almost like a magic trick you perform yourself. Good news for you: it’s generally quite an easy and rewarding plant to propagate, making it a wonderful project for even the newest of gardeners.
The Best Time to Start
When is your Alchemilla parodii happiest and most receptive to a little propagation adventure? Generally, I find the late spring to early summer is your sweet spot. After the plant has pushed out its main flush of growth and is really getting settled into its season, it’s producing plenty of healthy stems that are perfect for taking cuttings. You can also get away with it in early autumn, but the growth will be a bit slower.
Supplies You’ll Need
To set yourself up for success, gather these handy helpers:
- Sharp, clean pruning shears or a sharp knife: To make clean cuts and avoid damaging the plant.
- A well-draining potting mix: I like a blend of peat moss or coir, perlite, and a bit of compost. It needs to hold some moisture but let excess drain away quickly.
- Small pots or trays: For your cuttings to get their start. Make sure they have drainage holes!
- Rooting hormone (optional but helpful): This can give your cuttings a little boost.
- A watering can with a fine rose: For gentle watering.
- A clear plastic bag or a propagator lid: To create a humid environment for your cuttings.
Propagation Methods
Alchemilla parodii is a trooper and can be propagated in a couple of straightforward ways:
Stem Cuttings
This is my go-to method for Alchemilla.
- Choose your stems: Look for healthy, non-flowering stems that are about 4-6 inches long.
- Make the cut: Using your sharp shears, take a cutting just below a leaf node (where a leaf attaches to the stem). You want to include at least two leaf nodes on your cutting.
- Prepare the cutting: Gently remove the lower leaves, leaving just a couple of sets at the top. If you’re using rooting hormone, dip the cut end into it now.
- Plant your cuttings: Fill your small pots with your well-draining mix. Make a small hole with your finger or a pencil and insert the cut end of the Alchemilla stem, ensuring at least one leaf node is buried. Firm the soil gently around it.
- Water gently: Lightly water the soil until it’s moist but not soggy.
- Create humidity: Cover the pot with a clear plastic bag (propping it up with a stick so it doesn’t touch the leaves) or place it in a propagator with a lid.
Division
If your Alchemilla parodii has formed a nice clump, division is a super simple way to get more plants – and give your original plant a little refresh!
- Lift the plant: In late spring or early autumn, carefully dig up the entire plant.
- Examine the roots: Gently shake off excess soil to see the root structure.
- Divide gently: You can usually pull a clump apart with your hands. If it’s tough, use a clean trowel or even your knife to make divisions. Aim for sections that have good roots and a few leafy shoots.
- Replant: Immediately replant your divisions into their new spots in the garden or into pots filled with fresh potting mix. Water them well.
The “Secret Sauce” (Pro Tips)
Here are a couple of little tricks I’ve picked up over the years that can really help your Alchemilla cuttings thrive:
- Think “air circulation” for the leaves: When you’re using that plastic bag to create humidity for cuttings, make absolutely sure the leaves aren’t touching the plastic. They need a bit of air to breathe, and this prevents fungal issues. If the bag droops, prop it up!
- Embrace a little warmth: Alchemilla roots love a bit of gentle warmth from below. If you have a heat mat designed for seedlings, placing your pots on that can significantly speed up root development. If not, just a warm windowsill will do!
Aftercare & Troubleshooting
Once your Alchemilla cuttings have rooted (you’ll usually see new leaf growth after a few weeks, and if you gently tug, there will be resistance), it’s time to start treating them like little independent plants. Gradually remove the plastic bag over a few days to help them acclimatize to drier air. Keep the soil consistently moist but not waterlogged.
What if things go wrong? The most common culprit is rot. If your cuttings look limp, mushy, or develop dark spots, it’s often a sign of too much moisture and not enough air. If you see this, try to increase ventilation and ensure your soil drains well. Occasionally, cuttings just won’t take, and that’s okay! Don’t get discouraged.
A Bit of Patience, A Lot of Reward
Growing new plants from cuttings is a journey, and the most important ingredient is patience. Give them time, provide the right conditions, and soon enough, you’ll have adorable little Alchemilla parodii plants to fill your garden or share with fellow plant lovers. Happy propagating!
Resource:
https://identify.plantnet.org/k-world-flora/species/Alchemilla%20parodii%20I.M.Johnst./data