Hello, fellow garden enthusiasts! I’m so excited to talk to you today about a plant that truly steals the show in my garden: Verbascum adrianopolitanum. You know, those statuesque beauties with their spires of dazzling flowers, often a soft, buttery yellow or a lovely pale pink? They bring such a wonderful, almost regal presence, and their long bloom time means they provide joy for weeks on end.
Growing them from scratch is incredibly rewarding. It’s a chance to multiply that breathtaking beauty and share it with friends, or simply fill even more of your own garden beds. Now, let me be honest, Verbascum adrianopolitanum isn’t the absolute easiest plant to propagate for a complete beginner. It requires a little care and attention, but don’t let that deter you! With these tips, you’ll be well on your way to success.
The Best Time to Start
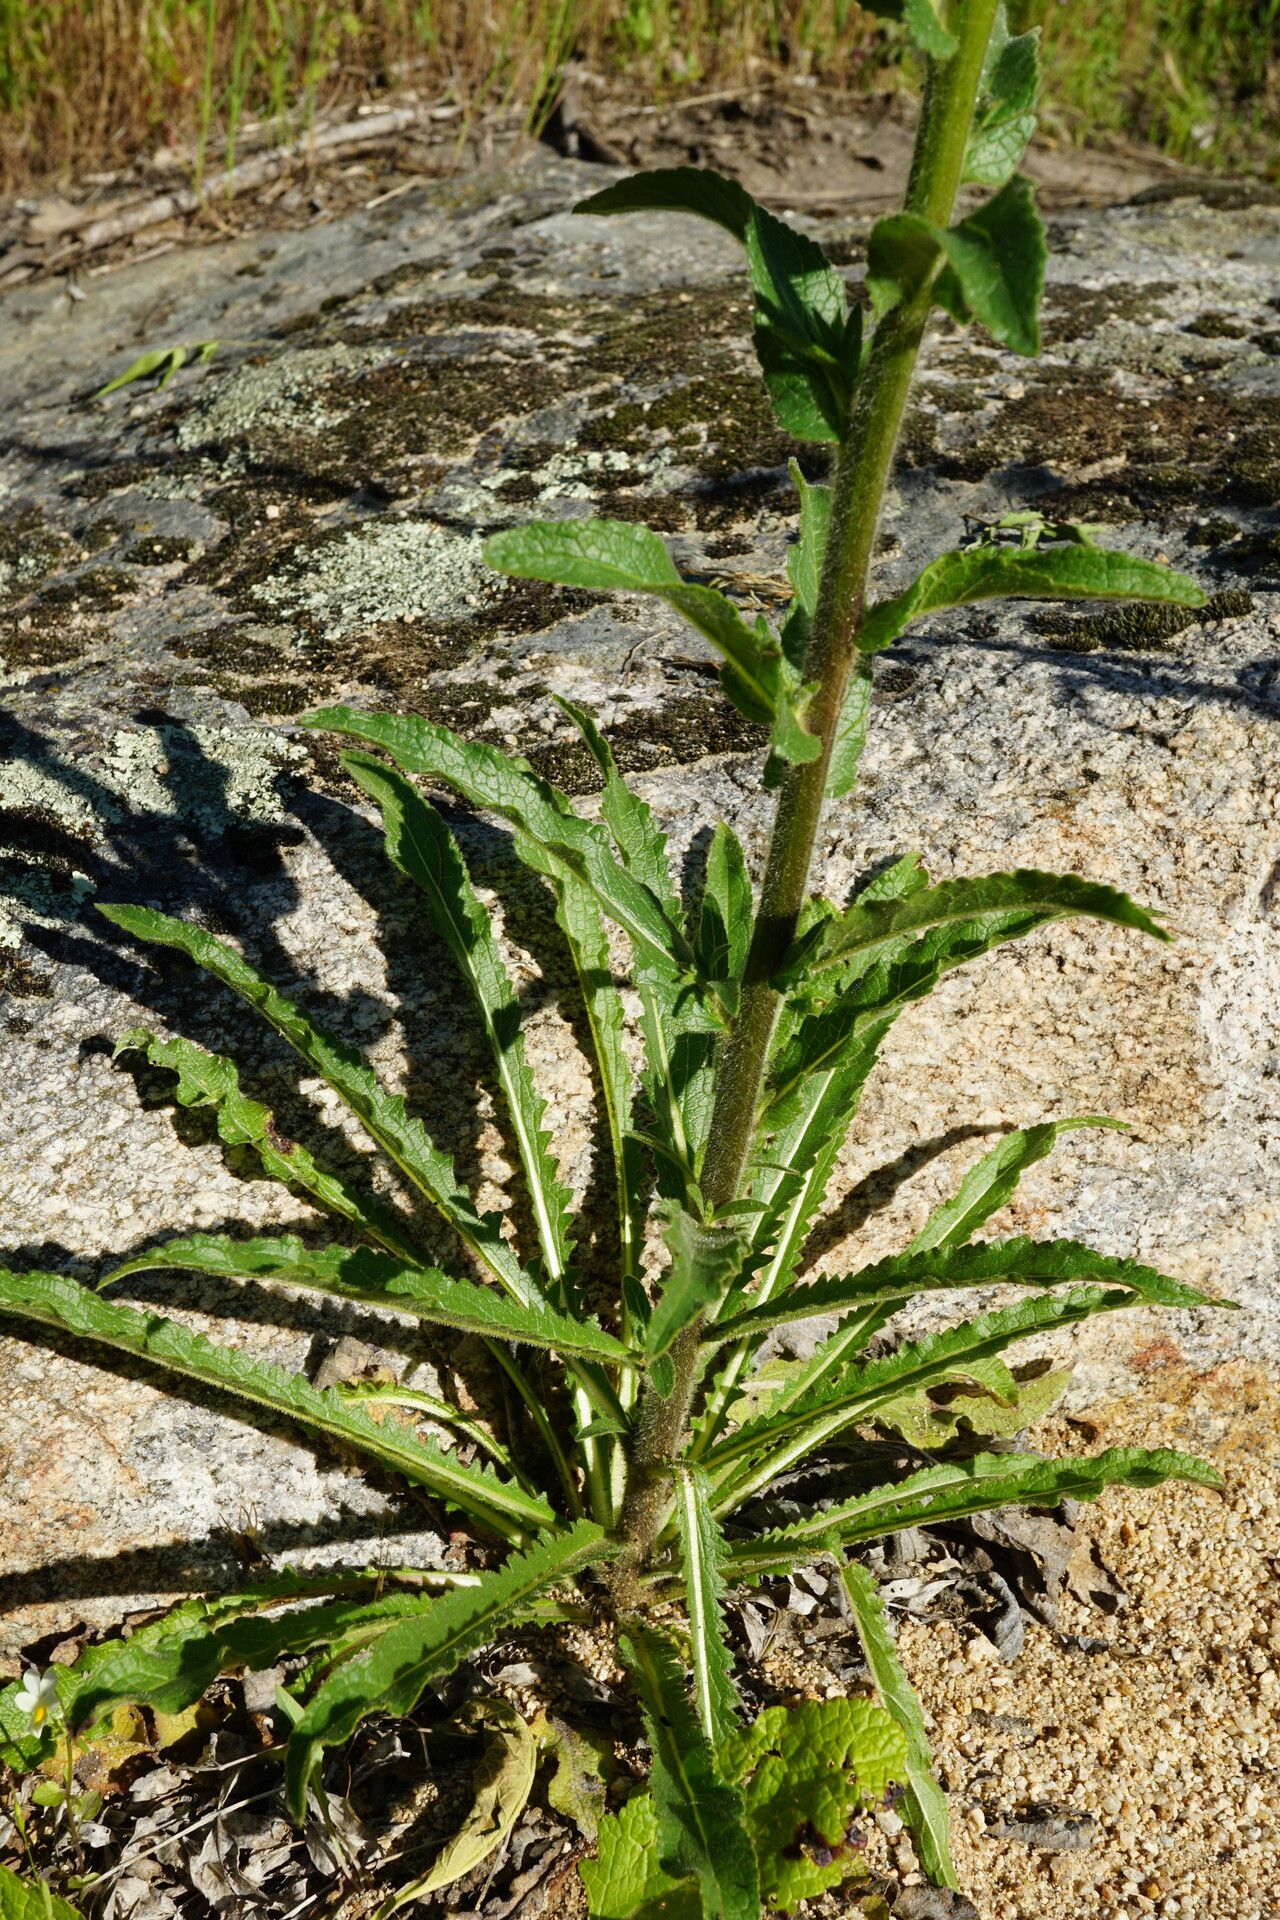
For Verbascum adrianopolitanum, I’ve found the sweet spot for propagation is late spring to early summer. This is when the plant is actively growing and has plenty of energy to put into new roots. Look for non-flowering stems that are firm but not woody. They should snap cleanly when bent, rather than flopping over; that tells you they’re ready.
Supplies You’ll Need
Here’s a little kit to have on hand for our propagation adventure:
- Sharp pruning shears or a clean, sharp knife: For making clean cuts.
- Rooting hormone (optional, but recommended): I like a powder form.
- Seed-starting or potting mix: A well-draining mix is key. I often mix equal parts peat moss (or coir for a more sustainable option), perlite, and a bit of sand.
- Small pots or trays: Clean ones, please!
- Plastic bags or a propagator lid: To create a humid environment.
- Watering can with a fine rose: For gentle watering.
- Labels and a permanent marker: To keep track of your efforts!
Propagation Methods
I’ve had the best luck with stem cuttings for Verbascum adrianopolitanum. It’s a reliable way to get new plants that are true to the parent.
Step 1: Take Your Cuttings. Gently select a healthy, non-flowering stem from your established plant. Using your clean shears or knife, take a cutting that is about 4-6 inches long. Make your cut just below a leaf node (where a leaf attaches to the stem).
Step 2: Prepare the Cutting. Remove the lower leaves from the cutting, leaving just a few at the top. This prevents them from rotting in the soil. If the leaves are quite large, you can even pinch them in half to reduce water loss.
Step 3: Apply Rooting Hormone (Optional). Dip the cut end of the stem into your rooting hormone, tapping off any excess. This gives the cutting a little boost to get those roots going.
Step 4: Plant Your Cuttings. Fill your clean pots or trays with your well-draining potting mix. Make a small hole in the center of the mix with a pencil or your finger. Insert the prepared cutting into the hole, ensuring the leaf node is below the soil surface. Gently firm the soil around the base of the cutting.
Step 5: Water and Cover. Water the soil thoroughly but gently. You want it to be moist, not soggy. Now, create a humid environment by covering the pot with a plastic bag (held up by stakes so it doesn’t touch the leaves) or by placing it in a propagator with a lid.
The “Secret Sauce” (Pro Tips)
Here are a few things I’ve learned over the years that make a real difference:
- Bottom Heat is Your Friend: If you have a heat mat, placing your pots on it can significantly speed up root development. Verbascums love a little warmth from below to get started.
- Don’t Overwater! This is probably the most common mistake. Soggy soil is a recipe for rot. It’s better to let the soil dry out slightly between waterings than to keep it constantly waterlogged. Check by gently poking your finger into the soil – if it feels dry an inch down, it’s time to water.
- Patience is a Virtue (and Essential for Verbascums): These can sometimes take a little longer to root. Don’t despair after a few weeks! I’ve had cuttings surprise me with roots after a good six to eight weeks.
Aftercare & Troubleshooting
Once you start to see new growth, or if you gently tug on a cutting and feel resistance, it’s a good sign that roots have formed! At this point, you can begin to gradually acclimatize your new plants to normal conditions. Remove the plastic bag or propagator lid for increasing amounts of time each day over a week.
Keep the soil consistently moist but not waterlogged. Once they have a good root system and are growing well, you can transplant them into larger pots or their permanent garden location.
The most common sign of failure is rotting. If your cuttings turn mushy and black, it’s usually due to overwatering or poor air circulation. If you catch it early, you might be able to save some by trimming away the rotted parts and replanting in fresh, drier soil. Another sign is wilting that doesn’t recover, which can also be a symptom of rot or insufficient rooting.
A Encouraging Closing
So there you have it! Propagating Verbascum adrianopolitanum is a wonderful way to expand your garden’s floral display. Remember to be patient, give them the right conditions, and enjoy the process of nurturing these new plants to life. Happy gardening, and I can’t wait to see your beautiful verbascums thrive!
Resource:
https://identify.plantnet.org/k-world-flora/species/Verbascum%20adrianopolitanum%20Podp./data