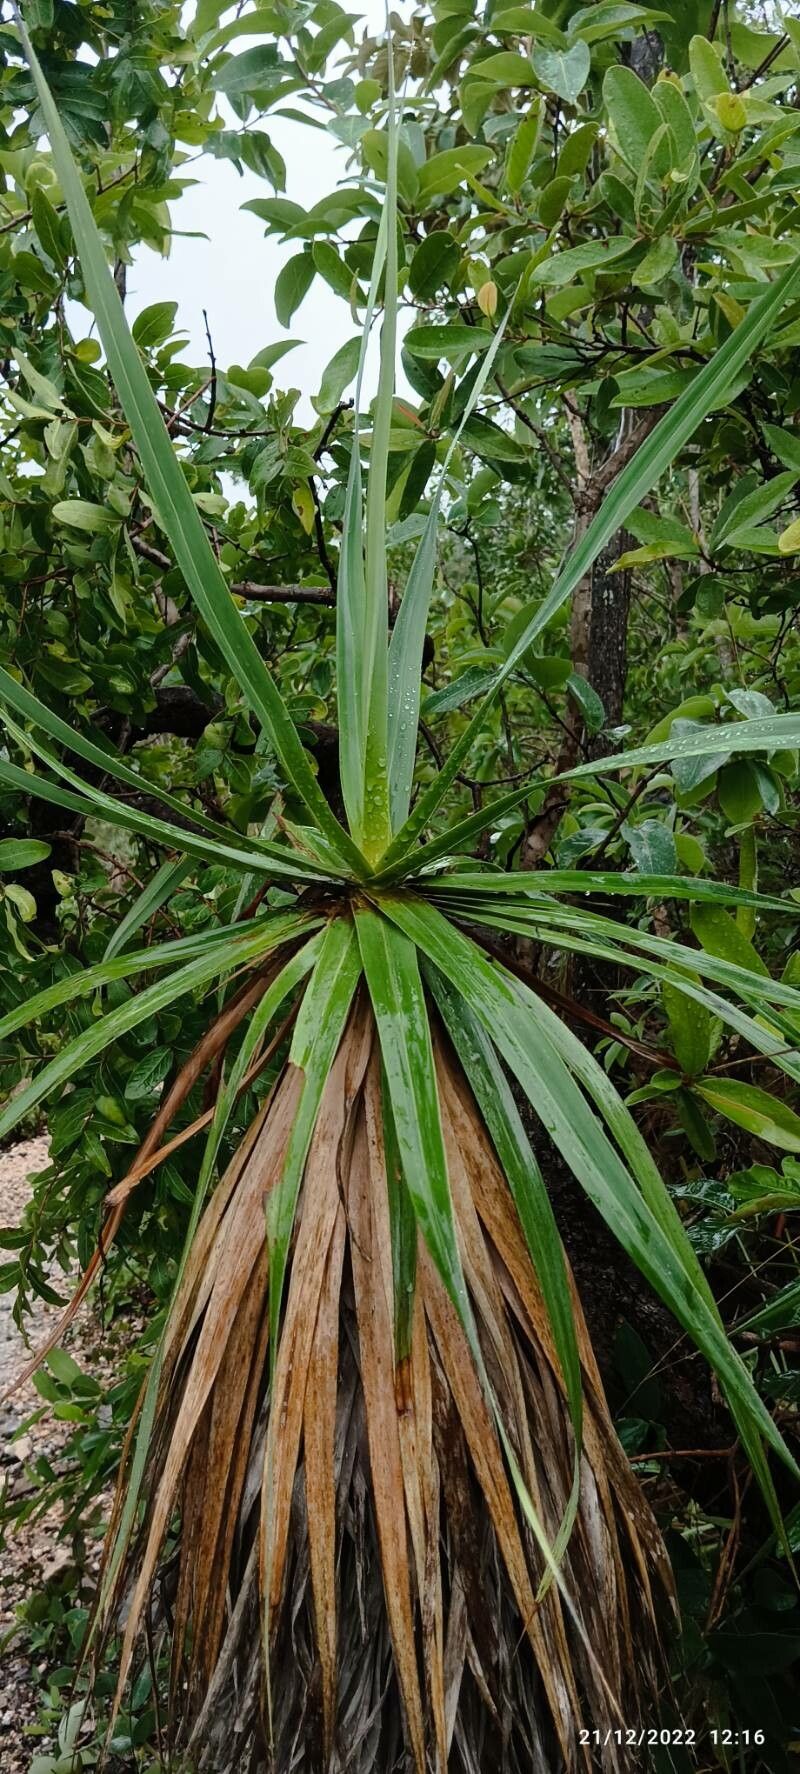
Hello there, fellow plant lovers! I’m so excited to chat with you today about a truly special plant: Vellozia sincorana. You know, those striking, architectural beauties with their sword-like leaves that can just transform a corner of your garden or home? They have this wonderful, almost prehistoric vibe about them, don’t they? If you’ve ever admired a mature Vellozia and wished you had more, you’re in luck! Propagating them can be incredibly rewarding. Now, for beginners, I’d say Vellozia can be a moderately challenging plant to propagate. It’s not as straightforward as, say, a pothos, but with a little patience and attention, you can absolutely achieve success.
The Best Time to Start
When it comes to getting your Vellozia cuttings to root, spring and early summer are your best friends. This is when the plant is actively growing, full of energy, and just primed to send out new roots. Waiting until after its main growing spurt means you’re working with the healthiest, most vigorous parts of the plant.
Supplies You’ll Need
Gathering your tools beforehand makes the whole process smoother. Here’s what I like to have on hand:
- Sharp, clean pruning shears or a razor blade: For taking precise cuts. Sterilize them with rubbing alcohol, please!
- Well-draining potting mix: I usually use a blend of potting soil, perlite, and horticultural charcoal. Think gritty!
- Rooting hormone (optional but recommended): Especially helpful for encouraging faster root development.
- Small pots or seed trays: Depending on how many cuttings you’re taking. Make sure they have drainage holes.
- Watering can or spray bottle: For gentle watering.
- Plastic bags or propagation domes: To create a humid environment.
- Labels and a marker: To keep track of what you’ve planted!
Propagation Methods
Vellozia sincorana can be propagated primarily through stem cuttings and, if you have a mature specimen, division.
Stem Cuttings
This is how I’ve had the most success.
- Take your cuttings: Choose a healthy, mature stem that isn’t flowering. Using your sterilized shears, make a clean cut about 4-6 inches down from the tip of the stem. Try to select a section that has at least two or three nodes (where the leaves emerge).
- Prepare the cutting: Gently remove the lower leaves, but leave a few at the top for energy production. If the cutting is very long, you can trim it down to a manageable size.
- Apply rooting hormone: Dip the cut end of the stem into rooting hormone powder (if you’re using it). Tap off any excess.
- Plant your cuttings: Fill your small pots with your well-draining mix. Make a small hole in the center with your finger or a pencil. Insert the cut end of the stem into the hole, ensuring the nodes are buried. Gently firm the soil around the base of the cutting.
- Water gently: Lightly water the soil.
Division
If your Vellozia has clumped up and you’re looking to create a larger specimen or share the love, division is a great option.
- Remove from pot: Gently unpot your Vellozia.
- Inspect the root ball: You’ll likely see new shoots emerging from the base. Look for natural divisions where you can separate sections with their own roots.
- Separate carefully: Using a clean, sharp knife or spade, carefully cut through the root ball to separate the divisions. Each division should have a good amount of roots attached.
- Pot up: Plant each division into its own pot filled with your well-draining mix, just as you would a cutting. Water them in.
The “Secret Sauce” (Pro Tips)
Here are a few things I’ve learned over the years that really make a difference:
- Don’t over-water! This is probably the most crucial tip. Vellozia don’t like soggy feet. Water thoroughly when the potting mix is almost dry, but let it drain completely. The cuttings are susceptible to rot if kept too wet.
- Humidity is key, but not too much stagnant air. After planting your cuttings, cover them loosely with a plastic bag or place them under a propagation dome. This creates a humid environment that encourages rooting. However, open the bag or dome for at least 30 minutes a day to allow for air circulation. Stagnant, overly wet air is a recipe for fungal issues.
- A touch of bottom heat can speed things up. If you have a heating mat designed for plants, placing your pots on it can significantly accelerate root formation. It mimics the warmth of spring soil beautifully.
Aftercare & Troubleshooting
Once you see new growth appearing (which can take anywhere from several weeks to a few months), it’s a good sign that roots have formed!
- Gradually acclimate: If you’ve been using a humidity cover, start opening it up more each day, slowly introducing your new plant to the ambient humidity.
- Continue with gentle watering: Keep the soil consistently moist but not waterlogged.
- Watch for wigglers (or droopers): The most common sign of failure is rot. If your cutting turns black, soft, and mushy, it’s likely rotted. This usually means it got too much water or not enough air circulation. Another sign of distress is wilting or yellowing leaves that don’t perk up after watering, indicating issues with root development or water uptake.
A Little Patience Goes a Long Way
Propagating plants is a journey, not a race. There will be times when things don’t work out as planned, and that’s perfectly okay! Every attempt teaches you something new. Be patient, enjoy the process of nurturing these new life forms, and soon enough, you’ll have your own beautiful Vellozia sincorana family. Happy growing!
Resource:
https://identify.plantnet.org/k-world-flora/species/Vellozia%20sincorana%20L.B.Sm.%20&%20Ayensu/data