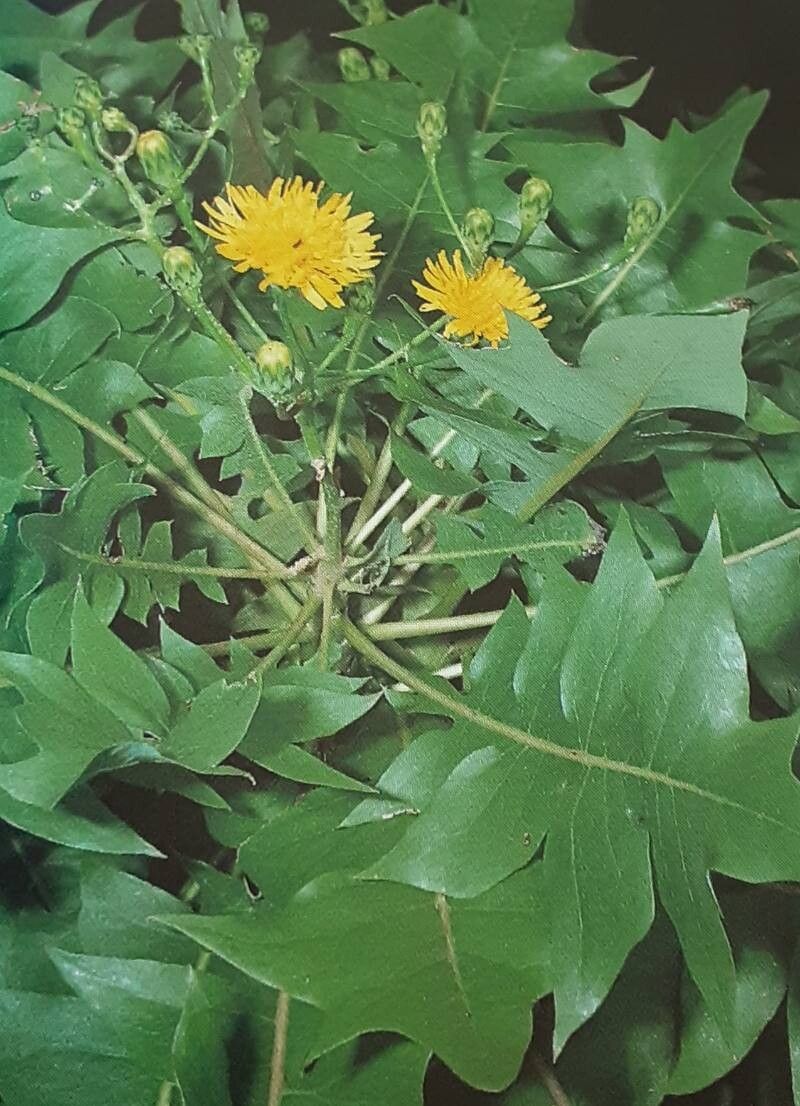
Hello, fellow plant lovers! It’s so lovely to have you stop by. Today, we’re diving into the wonderful world of propagating Sonchus pinnatifidus. If you’ve ever admired its bold, architectural leaves and the cheerful yellow blooms it sends up, you’ve likely thought about adding more of these beauties to your garden. And honestly, it’s one of those plants that feels incredibly rewarding to grow from scratch.
Now, you might be wondering if this is a project for the seasoned pro or if it’s beginner-friendly. I’m happy to say that Sonchus pinnatifidus is quite forgiving and gives us a really good chance of success. It’s a fantastic plant to try your hand at propagation, whether you’re just starting out or you’re looking to expand your collection.
The Best Time to Start
Timing is everything in the garden, and for Sonchus pinnatifidus, spring is your golden ticket. Once the danger of frost has passed and the days are getting longer and warmer, the plant is really hitting its stride. You’ll want to look for actively growing stems that aren’t flowering or about to flower. This is when the plant has the most energy to put into establishing new roots.
Supplies You’ll Need
Gathering your supplies beforehand makes the whole process so much smoother. Here’s what I like to have on hand:
- Sharp pruning shears or a clean knife: For taking nice, clean cuts.
- Rooting hormone powder or gel: This is optional but can give you a significant boost.
- Well-draining potting mix: A cactus or succulent mix works beautifully, or you can create your own by mixing equal parts peat moss and perlite.
- Small pots or trays: Clean containers are important to prevent disease.
- Plastic bags or a mini-greenhouse: To create a humid environment.
- Watering can with a fine rose: For gentle watering.
Propagation Methods
For Sonchus pinnatifidus, my go-to method is stem cuttings. It’s straightforward and very effective.
- Take the Cuttings: With your clean pruning shears or knife, select a healthy, non-flowering stem. Cut a piece about 4- to 6 inches long. Try to make your cut just below a leaf node – that’s the little bump on the stem where a leaf grows. This is where roots are most likely to form.
- Prepare the Cuttings: Gently remove the lower leaves from the cutting, leaving just a couple of leaves at the very top. If the remaining leaves are quite large, you can even cut them in half to reduce water loss.
- Apply Rooting Hormone (Optional but Recommended): Dip the cut end of the stem into your rooting hormone powder or gel. Tap off any excess. This step really encourages root development.
- Plant the Cuttings: Fill your small pots with the well-draining potting mix. Make a small hole in the center of the soil with your finger or a pencil. Insert the base of the cutting into the hole, ensuring the nodes are buried. Gently firm the soil around the stem.
- Water Gently: Water the soil thoroughly but gently. You want the soil to be moist, not waterlogged.
- Create Humidity: Place a plastic bag over the pot, securing it with a rubber band, or put the pot inside a mini-greenhouse. This traps moisture and mimics the humid conditions a cutting craves. Place it in a warm spot with bright, indirect light.
The “Secret Sauce” (Pro Tips)
Here are a couple of things I’ve learned over the years that can really make a difference:
- Don’t Let the Leaves Touch the Water: Once you’ve watered, if you’re using a plastic bag, make sure it’s propped up so the leaves of your cuttings don’t sit in condensation. Damp leaves can lead to rot, and we want to avoid that at all costs!
- Bottom Heat is Your Friend: If you happen to have a heat mat designed for seedlings, placing your pots on it can significantly speed up root formation. It gives those developing roots a lovely warm environment to thrive in.
Aftercare & Troubleshooting
Once you’ve planted your cuttings, the waiting game begins! Keep the soil consistently moist but not soggy. Check it regularly. Peek under the plastic bag – if you see condensation, it’s good. If it looks dry, a gentle watering is in order.
Within a few weeks to a couple of months, you should start to see signs of life. The leaves might look perkier, or you might even see tiny new leaves emerging. When you gently tug on the cutting and feel resistance, that’s a good sign roots have formed. You can then carefully remove the plastic bag and gradually acclimate the new plant to normal room humidity and light levels.
Now, what if things don’t go as planned? The most common issue is rot. If your cutting turns mushy, black, or has a foul smell, it’s a sign of rot. This usually happens due to overwatering or poor air circulation. Unfortunately, a rotted cutting can’t be saved, but don’t despair! Just sterilize your tools and start again, perhaps with slightly less water or better airflow.
A Encouraging Closing
Propagating plants is a journey, and growth takes time. Be patient with your new Sonchus pinnatifidus cuttings. Don’t be discouraged if your first attempt isn’t perfect. Every gardener has learned through a bit of trial and error. The joy of watching a tiny cutting transform into a thriving plant is truly incomparable. Happy propagating!
Resource:
https://identify.plantnet.org/k-world-flora/species/Sonchus%20pinnatifidus%20Cav./data