Hello there, fellow garden enthusiasts! Today, we’re diving into the wonderful world of propagating Semecarpus australiensis, or as it’s commonly known, the Tar Tree or Peanut Butter Tree. Now, I know that might sound a bit daunting, but trust me, with a little know-how, you can coax these beauties into new life.
Why Grow a Tar Tree?
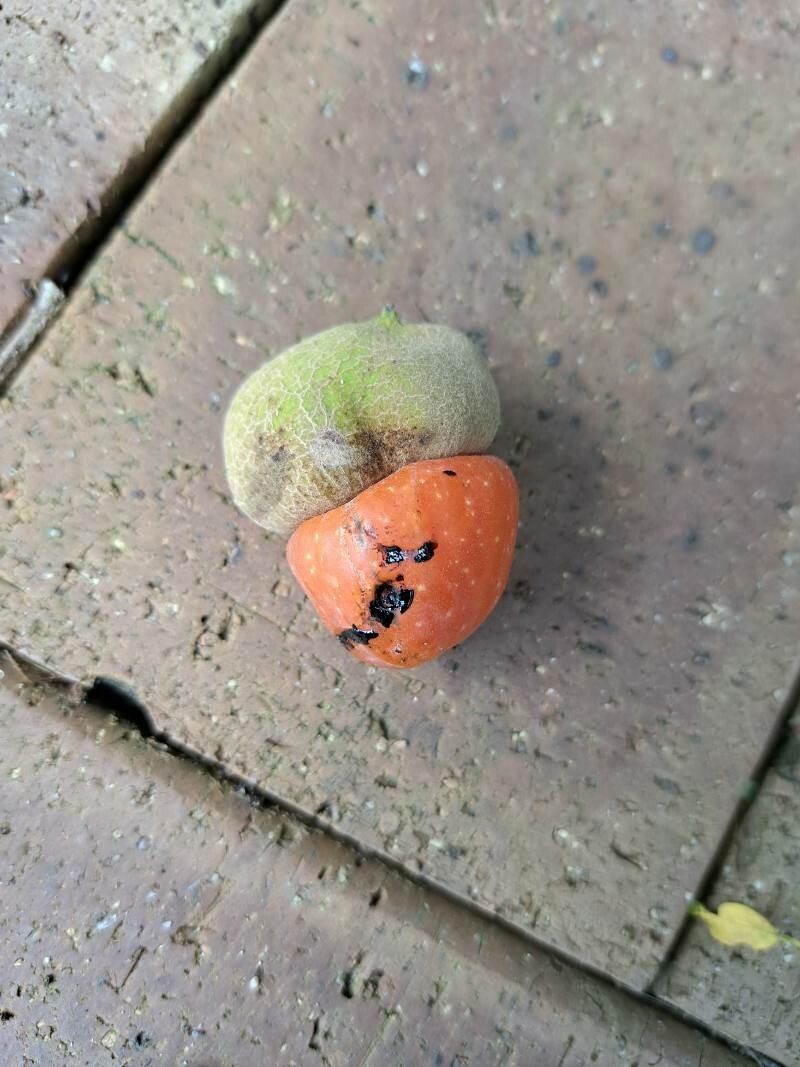
There’s something incredibly satisfying about taking a piece of a plant you love and helping it grow into something entirely new. The Semecarpus australiensis is a fascinating native with its glossy leaves and intriguing fruit – though a word of caution, that fruit isn’t for consumption! Propagating it is a fantastic way to share its unique charm or simply to expand your own green kingdom. It’s not the easiest plant to get going from scratch, but it’s certainly not impossible, and the rewards are definitely worth the effort.
The Best Time to Start
For the highest success rate with Semecarpus australiensis, aim for the warmer, wetter months. Think of it like this: when the plant is in active growth, it has the most energy to invest in making roots. Late spring and through the summer are generally your prime windows. You’ll want to take cuttings from healthy, semi-hardwood stems – those that are no longer bright green and floppy, but not yet woody and mature.
Supplies You’ll Need
Before we get our hands dirty, let’s gather our tools:
- Sharp pruning shears or a clean craft knife: For making precise cuts.
- Rooting hormone: A good quality powdered or gel hormone will significantly boost your success.
- Well-draining potting mix: I like a blend of coarse sand, perlite, and a good quality potting compost.
- Small pots or seed trays: Clean ones, please!
- Plastic bags or a propagator: To create a humid environment.
- Watering can with a fine rose: For gentle watering.
- Optional: Heat mat: Especially useful if your propagation space is a bit cool.
Propagation Methods: Stem Cuttings
This is generally the most successful method for the Semecarpus australiensis.
- Take your cuttings: Using your clean shears or knife, select healthy, semi-hardwood stems. Cut lengths about 10-15 cm long. Make the cut just below a leaf node – that little swollen bump where leaves emerge.
- Prepare the cuttings: Remove the lower leaves, leaving just two or three at the top. This helps prevent rot and reduces water loss. If the remaining leaves are quite large, you can even tip-prune them by half to further minimize transpiration.
- Apply rooting hormone: Dip the cut end of each cutting into your rooting hormone, making sure it’s coated all the way around. Tap off any excess.
- Pot them up: Fill your clean pots or trays with your well-draining mix. Make a hole with a pencil or your finger and gently insert the prepared cutting, ensuring the bottom nodes are covered by soil. Firm the soil gently around the cutting.
- Create humidity: Water the soil gently until it’s moist but not waterlogged. Cover the pots with a clear plastic bag or place them in a propagator. This traps humidity, which is crucial for cuttings to root. Make sure the leaves don’t touch the plastic – you can use stakes to prop it up.
The “Secret Sauce” (Pro Tips)
After years of coaxing plants, I’ve learned a few tricks that make a difference:
- Don’t be afraid of a clean cut. Jagged edges tend to heal poorly and are more susceptible to disease. Think of it as giving your cutting a clean start.
- Bottom heat is your friend. If you’re struggling to keep your cuttings warm, pop them onto a gentle heat mat. This encourages root development from below, which is exactly what we want. It really gives them a leg up, especially in cooler conditions.
Aftercare & Troubleshooting
Once your cuttings are potted, find them a bright spot out of direct sunlight. Keep the soil consistently moist – check it regularly by feeling the weight of the pot. The plastic cover should keep it humid, but in very dry air, you might need to lightly mist the inside of the bag every so often.
Be patient! Rooting can take anywhere from a few weeks to a couple of months. You’ll know they’ve rooted when you see new leaf growth or feel a gentle resistance when you tug on the cutting.
The most common issue is rot. This usually happens when the cuttings are kept too wet, or if there’s poor air circulation. If you notice a cutting turning black and mushy, sadly, it’s time to discard it. Ensure your soil is well-draining and that you haven’t overwatered. Yellowing leaves can also be a sign of stress, but new growth is the best indicator of success.
Happy Growing!
Propagating plants is a journey, and the Semecarpus australiensis is a rewarding one. Don’t get discouraged if your first attempt isn’t perfect. Each time you try, you learn a little more. Enjoy the process, celebrate those tiny new roots, and soon you’ll have your very own Tar Tree to nurture. Happy gardening!
Resource:
https://identify.plantnet.org/k-world-flora/species/Semecarpus%20australiensis%20Engl./data