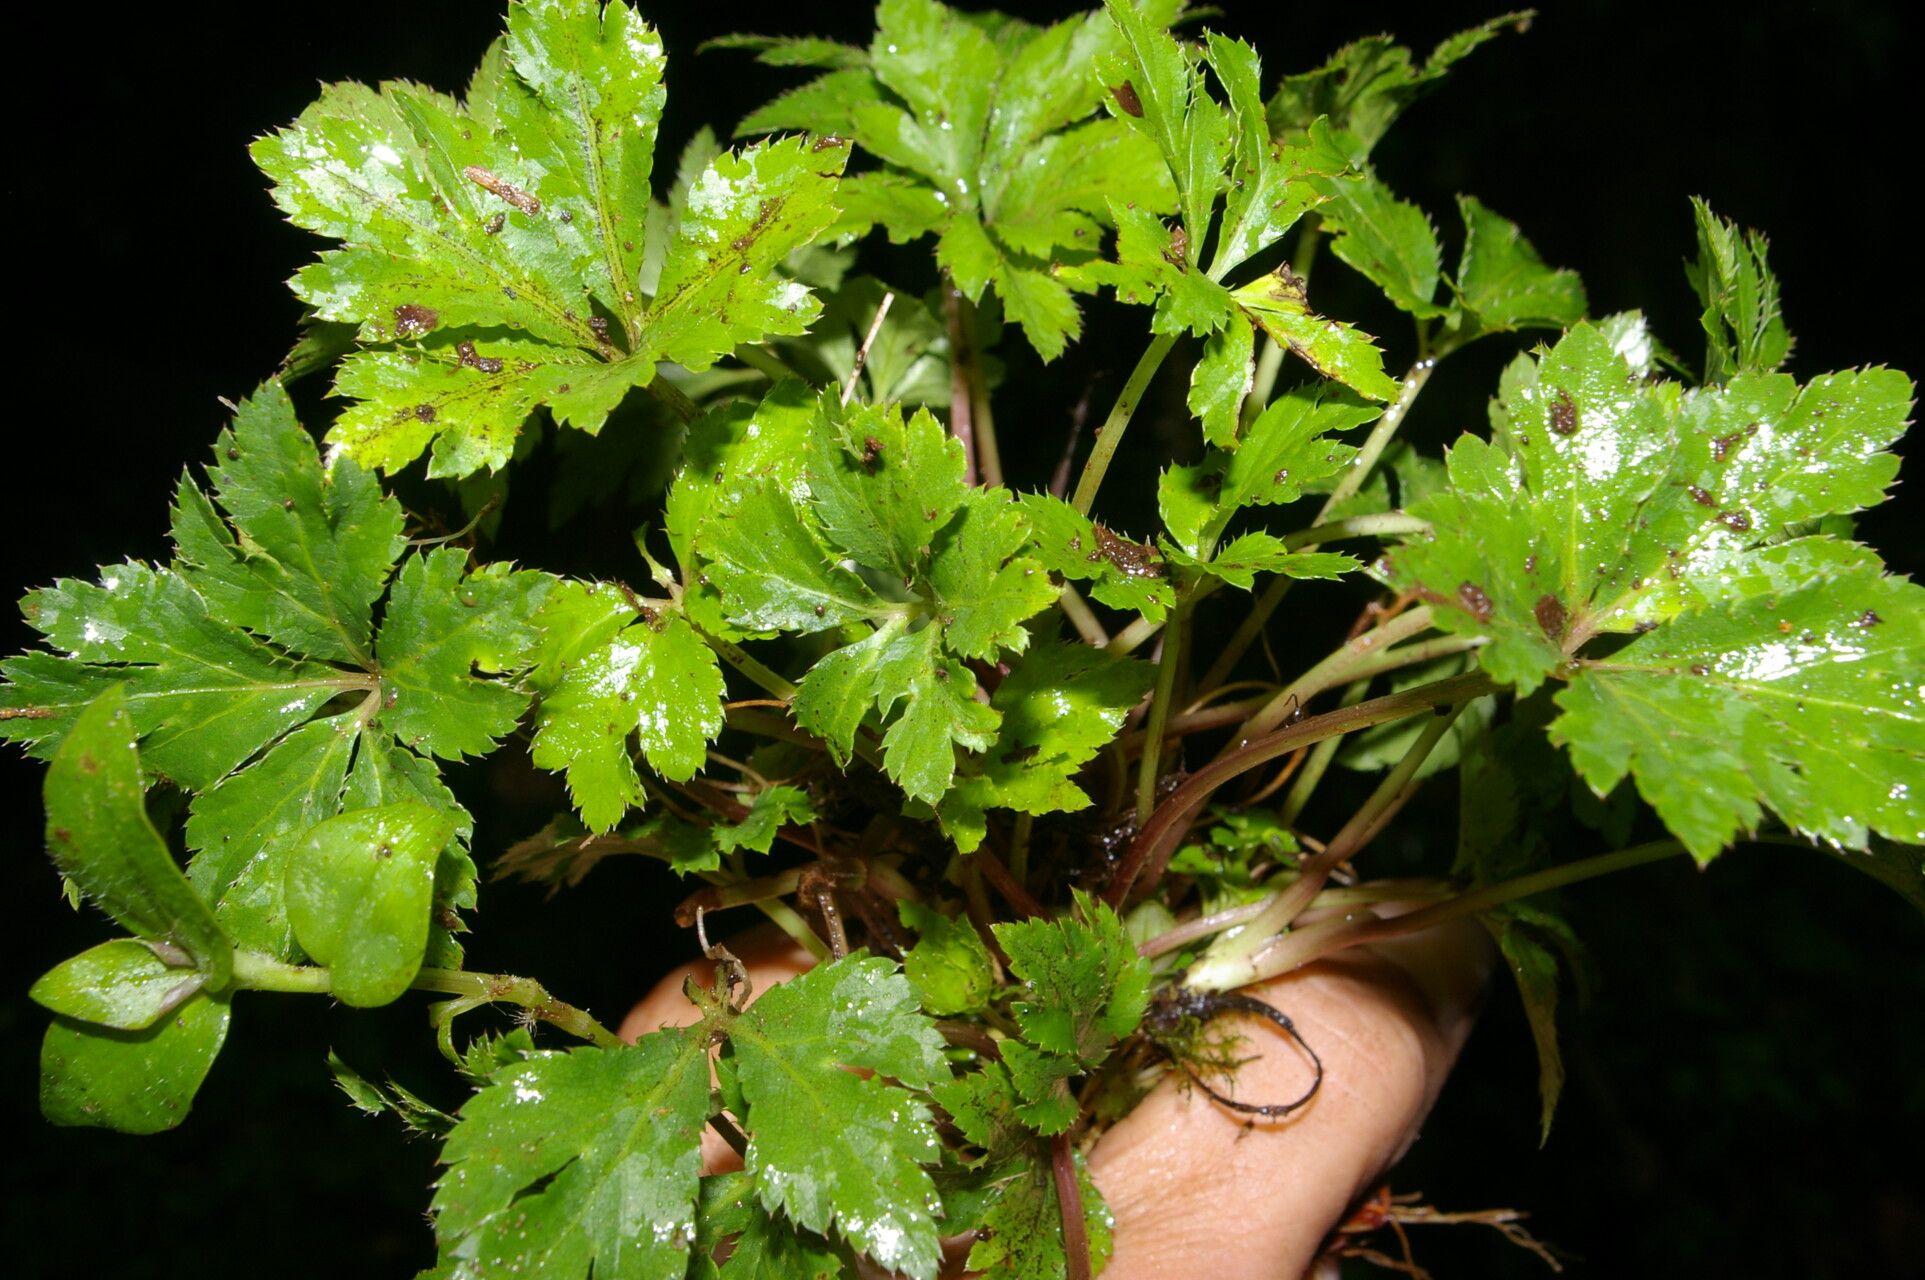
Hey there, fellow garden enthusiasts! Today, we’re diving into the wonderful world of Sanicula liberta. If you haven’t met this beauty yet, you’re in for a treat. Sanicula liberta, often called Black Cohosh or Black Snakeroot, is a woodland native that brings a touch of elegance to shady spots. Its tall, dramatic flower spikes with feathery white blossoms are simply breathtaking in late summer or fall.
Propagating Sanicula liberta is a wonderfully rewarding endeavor. It’s a chance to multiply your garden’s beauty and share it with friends. For beginners, I’d say it’s moderately challenging. It’s not as straightforward as, say, a pothos, but with a little patience and care, you’ll be successful.
The Best Time to Start
The absolute sweet spot for propagating Sanicula liberta is in early spring, just as the plant is waking up from its winter slumber. You’re looking for that moment when new growth is just starting to emerge, but before it’s gotten too big and unwieldy. Alternatively, you can have success with division in the fall, after the flowering season is over and the plant is starting to go dormant. Both times offer the plant a good window to establish itself before facing extreme weather.
Supplies You’ll Need
Before we get our hands dirty, let’s gather our tools:
- Sharp, clean pruning shears or a trowel: For making precise cuts and dividing roots.
- Potting mix: A good quality, well-draining potting mix is essential. I often mix in some perlite or coarse sand to improve drainage even further.
- Containers or pots: Small pots, seed trays, or shallow containers work well for starting your new plants. Make sure they have drainage holes!
- Rooting hormone (optional but recommended): This can give your cuttings a helpful boost.
- Watering can or spray bottle: For gentle watering.
- Labels: To keep track of your new plant babies!
- Marker: For your labels, of course.
Propagation Methods
Sanicula liberta is best propagated through division, which is essentially splitting up a mature plant. It’s the most reliable method for this particular perennial.
Division in Spring or Fall
- Prepare the Area: Gently remove the soil around the base of your mature Sanicula liberta. You want to expose the root ball.
- Inspect the Roots: Look for natural breaks in the root structure. You’ll want to see healthy roots and at least one or two good buds or growing points on each division.
- Gently Separate Divisions: Using your hands or a clean trowel, carefully tease apart the root ball. If the plant is particularly tough, you might need to use your pruning shears to cut through thicker rhizomes. The key here is to be gentle but firm. Avoid damaging the delicate root hairs as much as possible.
- Prepare the New Divisions: Trim away any damaged or dead roots. If your divisions are quite large, you can even trim back some of the leafy growth to reduce water loss while the roots establish.
- Plant Your Divisions: Plant each division in its own pot filled with your well-draining potting mix, burying the roots about an inch or two deep. Make sure the buds are pointing upwards.
- Water Thoroughly: Water gently but thoroughly until water drains from the bottom of the pot.
The “Secret Sauce” (Pro Tips)
Here are a couple of tricks I’ve learned over the years that can make a big difference:
- Don’t Overcrowd: When you’re dividing, resist the urge to make your divisions too small. Larger divisions with more established root systems have a much better chance of survival. Aim for divisions that have at least a couple of good growing points.
- Mulch Well if Dividing in Fall: If you’re dividing in the fall, give your newly planted divisions a good layer of mulch. This will help protect their fragile roots from harsh winter temperatures and prevent heaving from frost.
- Patience with New Growth: Sanicula liberta can seem a bit slow out of the gate after division. Don’t panic if you don’t see rapid top growth immediately. The plant is busy establishing its root system first.
Aftercare & Troubleshooting
Once your divisions are planted, keep them in a partially shaded, protected location. Water them regularly, but don’t let the soil become waterlogged. You want it to be consistently moist, like a wrung-out sponge.
The most common issue you might encounter is rot. This usually happens from overwatering or poor drainage. If you notice your division looking limp, yellowish, or mushy, it’s likely suffering from rot. The best course of action is to remove it immediately to prevent it from spreading. Ensure your potting mix is well-aerated for future attempts.
A Encouraging Closing
Propagating Sanicula liberta is a journey, and like any good journey, it requires a bit of patience. Don’t be discouraged if your first attempt isn’t perfect. Each season brings new learning opportunities. Enjoy the process of nurturing these new plants, and soon you’ll be rewarded with the stunning blooms of your very own Sanicula liberta. Happy gardening!
Resource:
https://identify.plantnet.org/k-world-flora/species/Sanicula%20liberta%20Cham.%20&%20Schltdl./data