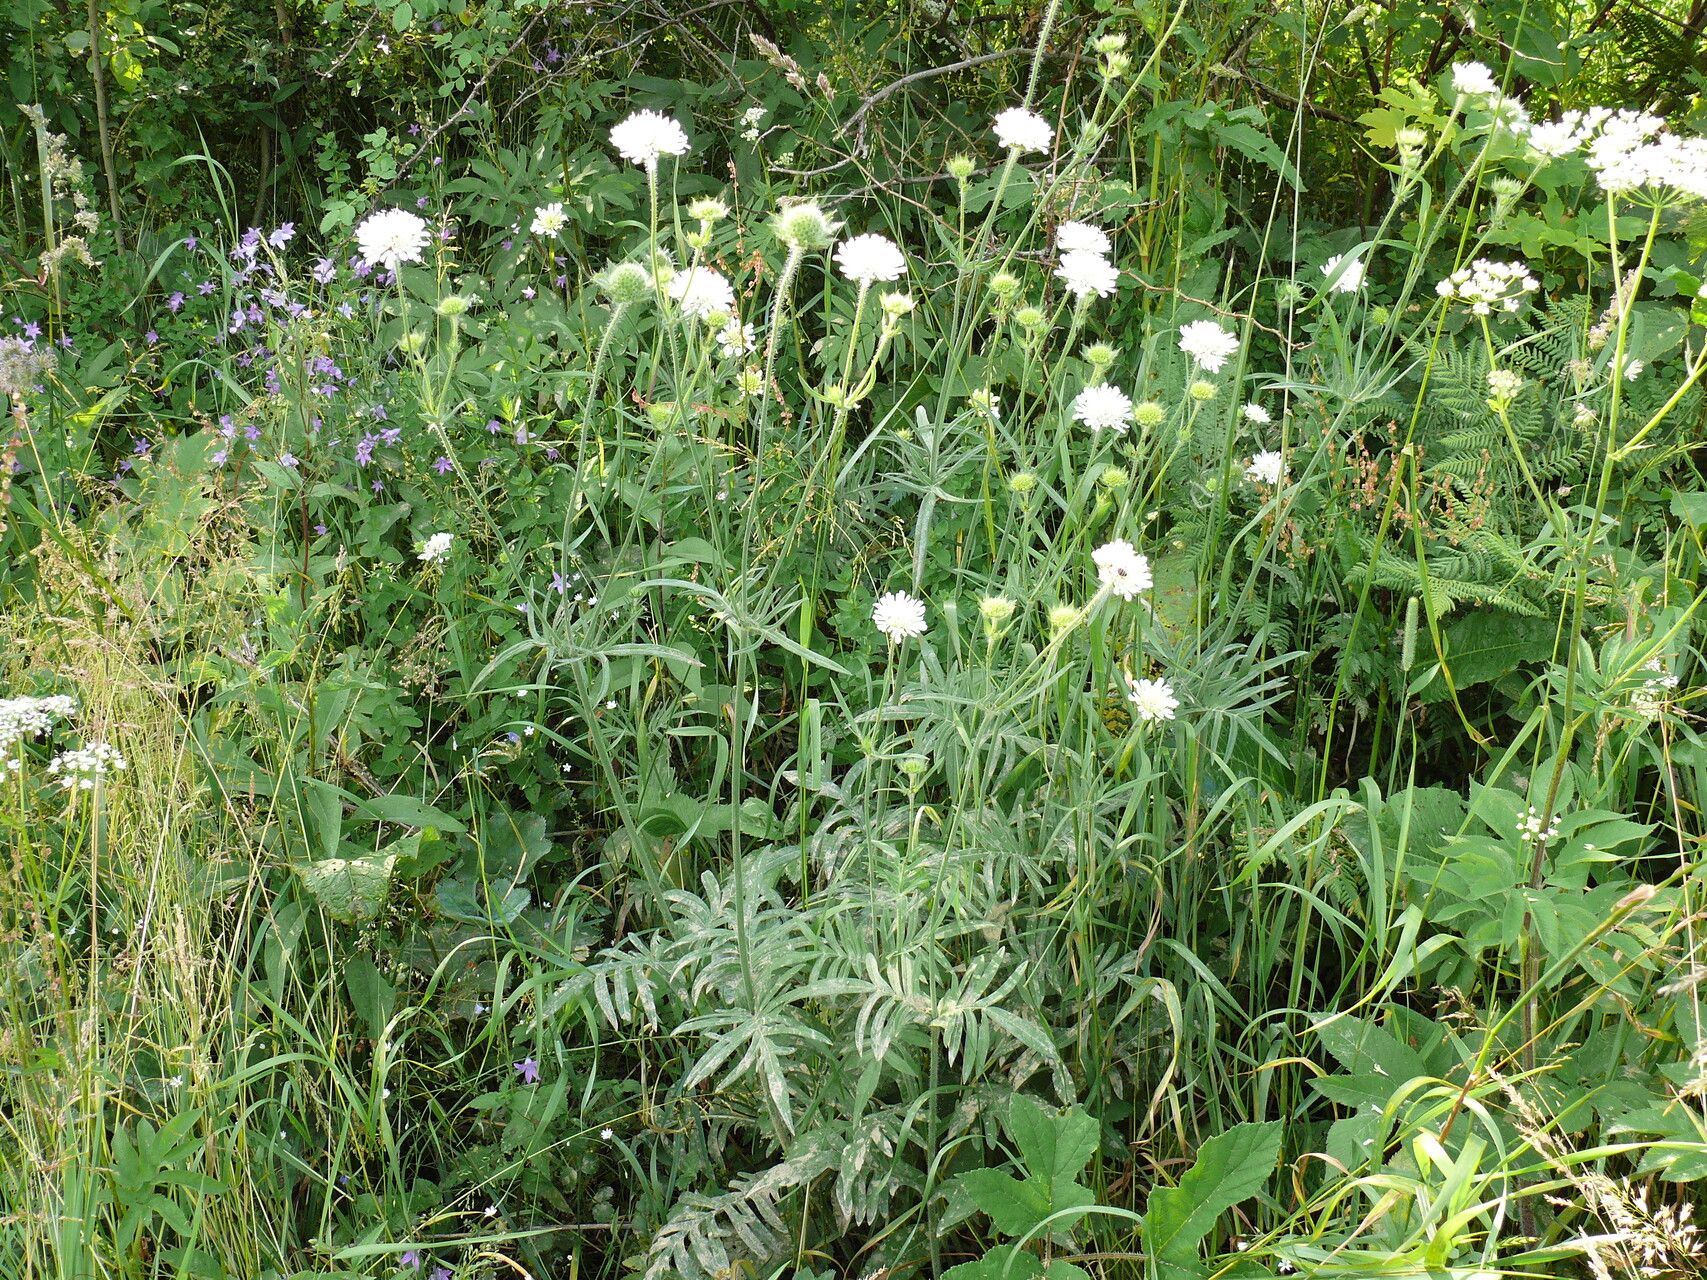
Hello there, fellow garden enthusiasts! Today, I want to chat about a plant that has truly won my heart over the years: Knautia kitaibelii. If you’re not familiar with it, imagine airy clusters of pincushion-like flowers in gorgeous shades of deep rose and lavender, often appearing for a wonderfully long season. They dance in the breeze and attract all sorts of beneficial insects. For me, the real joy comes from being able to create more of these beauties from existing plants. And the best part? Propagating Knautia kitaibelii is surprisingly achievable, even for those of you just dipping your toes into the world of plant magic.
The Best Time to Start
When it comes to getting new Knautia kitaibelii plants going, spring is your golden ticket. As the plant starts to wake up from its winter slumber and new growth begins to unfurl, that’s the perfect moment to take cuttings. You’re essentially borrowing from vigorous, healthy growth, which gives your new plants the best possible start. Waiting until the plant is really actively growing will give you the highest success rate.
Supplies You’ll Need
Before we get our hands dirty, let’s gather our essentials:
- Sharp, clean pruning shears or a sharp knife: A clean cut is crucial for preventing disease.
- Small pots or trays: Think 3-4 inch pots. They’re the perfect size for young cuttings.
- Well-draining potting mix: I like to use a mix of equal parts peat moss (or coco coir), perlite, and some seed-starting mix. This ensures good aeration and prevents sogginess.
- Rooting hormone (optional but recommended): This really gives cuttings a boost and speeds up the rooting process. Look for one that contains indole-3-butyric acid (IBA).
- Plastic bags or a propagator: This creates a humid environment, which is vital for cuttings to stay hydrated before they develop roots.
- Watering can with a fine rose or a spray bottle: Gentle watering is key.
- Labels and a marker: So you don’t forget what you’ve planted!
Propagation Methods
Knautia kitaibelii is quite obliging, and we have a couple of wonderful ways to multiply it.
Stem Cuttings
This is my go-to method for Knautia kitaibelii. It’s efficient and has a great success rate.
- Select your stems: In spring, look for healthy, non-flowering shoots that are about 4-6 inches long. Choose stems that are firm but not woody – a bit like a pencil in thickness.
- Make the cut: Using your sharp, clean shears, make a clean cut just below a leaf node. A leaf node essentially looks like a little bump on the stem where leaves emerge. This is where the magic happens, where roots are most likely to form.
- Prepare the cutting: Gently remove the lower leaves, leaving just two or three sets of leaves at the top. If the remaining leaves are very large, you can even cut them in half horizontally to reduce water loss through transpiration.
- Apply rooting hormone (optional): Dip the cut end of the stem into your rooting hormone powder or gel. Tap off any excess.
- Pot them up: Fill your small pots with your prepared well-draining potting mix. Make a small hole in the center with your finger or a pencil. Insert the cutting into the hole, ensuring the leaf nodes you removed are buried beneath the soil surface. Gently firm the soil around the cutting.
- Water and cover: Water thoroughly but gently. Then, place the potted cutting into a plastic bag or cover it with a clear plastic dome from a propagator. Make sure the plastic doesn’t touch the leaves as much as possible. This creates a miniature greenhouse.
Division
If you have an established clump of Knautia kitaibelii and want to give it a new lease on life while also getting more plants, division is a fantastic option.
- Dig it up: In early spring, just as new growth is appearing, carefully dig up the entire plant. Try to disturb the root ball as little as possible.
- Assess the root ball: Gently shake off some of the excess soil. You’ll usually see distinct crowns or sections of the plant.
- Separate gently: Using your hands or a clean trowel, gently pull the root ball apart into smaller sections. Each section should have a healthy portion of roots and some new top growth. If the roots are very tangled, you might need to use your knife to make a clean cut through them, but always prioritize the gentlest method.
- Replant immediately: Plant the divisions into their new homes (either back into the garden or into pots filled with good potting mix) as soon as possible. Water them in well.
The “Secret Sauce” (Pro Tips)
Here are a few little tricks I’ve learned over the years that can really boost your success:
- Don’t let the leaves touch the water: This is especially important for water propagation, but also with cuttings in pots. If leaves sit in stagnant water or constantly damp soil, they’re much more prone to rot. Good air circulation is your friend!
- Bottom heat is your secret weapon: If you have the ability, placing your pots on a heated propagator mat can make a huge difference, especially for stem cuttings. It encourages root development from below, warm soil being more active than cool air.
- Be patient with those nodes: When making stem cuttings, focus on where those nodes are. That’s where the plant has the natural ability to sprout roots. Don’t be tempted to cut in the middle of the stem without a node nearby!
Aftercare & Troubleshooting
Once your Knautia kitaibelii starts to show signs of life – you might see new leaf growth from the top of the cutting or feel gentle resistance when you lightly tug on it (a sign of roots!) – it’s time to ease them out of their humid chamber. Gradually increase air circulation over a few days by opening the plastic bag wider or lifting the lid of your propagator. Continue to keep the soil consistently moist but not waterlogged.
As for troubleshooting, the most common issue you might encounter is rot. If your cuttings turn black and mushy, it’s usually a sign of too much moisture and not enough air circulation. If this happens, it’s best to discard the affected cuttings. Wilting can also occur, which often means the cutting isn’t getting enough moisture. Make sure your humidity cover is secure and the soil is moist. With a bit of observation, you’ll get the hang of it.
So there you have it! Propagating Knautia kitaibelii is a wonderfully rewarding way to fill your garden or share these delightful blooms with friends. Don’t be discouraged if your first attempt isn’t perfect. Gardening is a journey of learning and patience. Just enjoy the process, get your hands in the soil, and watch your new Knautia kitaibelii flourish! Happy growing!
Resource:
https://identify.plantnet.org/k-world-flora/species/Knautia%20kitaibelii%20(Schult.)%20Borbás/data