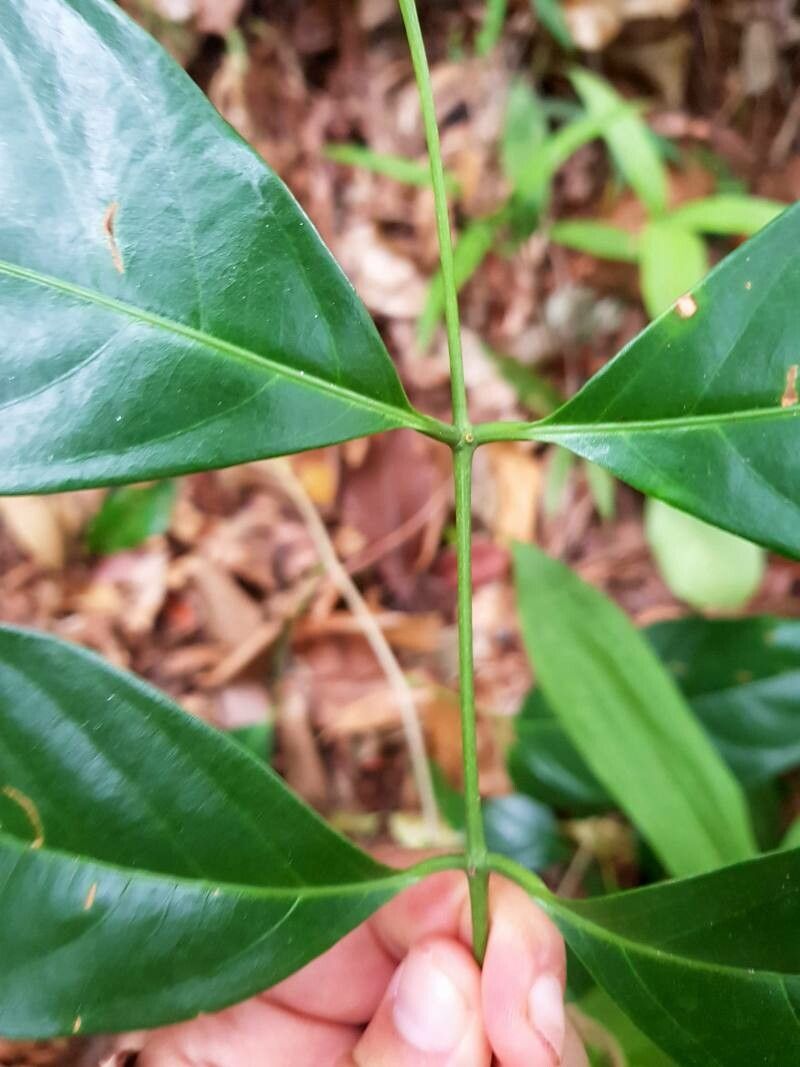
Hello there, fellow plant enthusiasts! It’s me, your garden pal, ready to dive into a particularly sweet topic today: propagating Inga golfodulcensis, also known as the Ice Cream Bean. If you’ve ever had the pleasure of tasting its creamy, sweet pods, you know why this plant is such a gem. Growing your own provides that delightful reward, and honestly, coaxing a new plant into existence from a clipping is one of the most satisfying feelings a gardener can experience. Now, for newcomers, I’d say Inga golfodulcensis can be a moderately rewarding plant to propagate. It’s not necessarily the most difficult, but it does appreciate a little know-how.
The Best Time to Start
My favorite time to get cracking with Inga golfodulcensis is during its active growing season. Think late spring through summer. The days are longer, the temperatures are warmer, and the plant is just buzzing with energy. This makes it much more likely for your cuttings to take root and thrive. Trying to propagate in cooler, dormant months can be a real uphill battle.
Supplies You’ll Need
Gathering your tools beforehand makes the whole process smoother. Here’s what I usually have on hand:
- Sharp, clean pruning shears or a knife: Essential for making clean cuts.
- Rooting hormone (optional but recommended): Helps give those cuttings a little boost.
- Well-draining potting mix: I like a blend of perlite, peat moss, and a bit of compost.
- Small pots or propagation trays: Clean ones are a must!
- Plastic bags or a propagation dome: To create a humid environment.
- Water: For misting and watering.
- Labels: So you don’t forget what you planted where!
Propagation Methods
For Inga golfodulcensis, stem cuttings are your best friend. It’s reliable and gives you the most bang for your buck.
- Select a healthy stem: Look for a semi-hardwood cutting – that means it’s not brand new and super pliable, but not old and woody either. It should be about pencil thickness and have at least two sets of leaves.
- Make the cut: Using your sterilized pruning shears, make a clean cut just below a leaf node (where a leaf meets the stem). This is where the magic of root development often happens.
- Prepare the cutting: Gently remove the lower leaves, leaving only two or three at the top. If the leaves are very large, I’ll often cut them in half horizontally. This reduces water loss from transpiration.
- Apply rooting hormone (optional): Dip the cut end into your rooting hormone, tapping off any excess.
- Plant your cutting: Make a hole in your prepared potting mix with a pencil or your finger. Gently insert the cutting, ensuring the nodes where you removed the leaves are buried. Firm the soil gently around the stem.
- Create humidity: Water the pot thoroughly to settle the soil. Then, cover the pot with a clear plastic bag, propped up so it doesn’t touch the leaves, or place it under a propagation dome. This creates a mini-greenhouse effect.
The “Secret Sauce” (Pro Tips)
After years of getting my hands dirty, I’ve learned a few tricks that really make a difference:
- Bottom heat is king: If you have a heat mat designed for seedlings, now’s the time to use it! Inga golfodulcensis loves a warm start, and bottom heat will significantly speed up root formation.
- Don’t drown your dreams: While humidity is crucial, overwatering is the fastest way to doom your cuttings to rot. The soil should be consistently moist but never soggy. Gently feel the soil – if it feels dry an inch down, it’s time to water.
- The power of observation: Regularly check your cuttings for signs of life. You’ll know they’re rooting when you see new leaf growth or feel a slight resistance when you tug gently on the stem.
Aftercare & Troubleshooting
Once you see signs of new growth – hooray! – it’s time to transition your little ones. Gradually acclimate them to lower humidity by opening the plastic bag or propagation dome a little more each day over a week. Continue to water when the top inch of soil is dry.
The most common issue you’ll encounter is rot. If your cutting turns black and mushy, it’s usually a sign of too much moisture and not enough air circulation. Unfortunately, once rot sets in, it’s very difficult to save. Prevention is key, so always err on the side of slightly drier rather than wetter. Yellowing leaves can sometimes indicate too much direct sun too soon, or a lack of nutrients, but focus on root development first.
Happy Growing!
Propagating plants like the Ice Cream Bean is a journey. There will be successes, and there might be a few learning experiences along the way. But remember to be patient, enjoy the quiet moments of tending to your new green babies, and celebrate every leaf and root that appears. You’ve got this!
Resource:
https://identify.plantnet.org/k-world-flora/species/Inga%20golfodulcensis%20N.Zamora/data