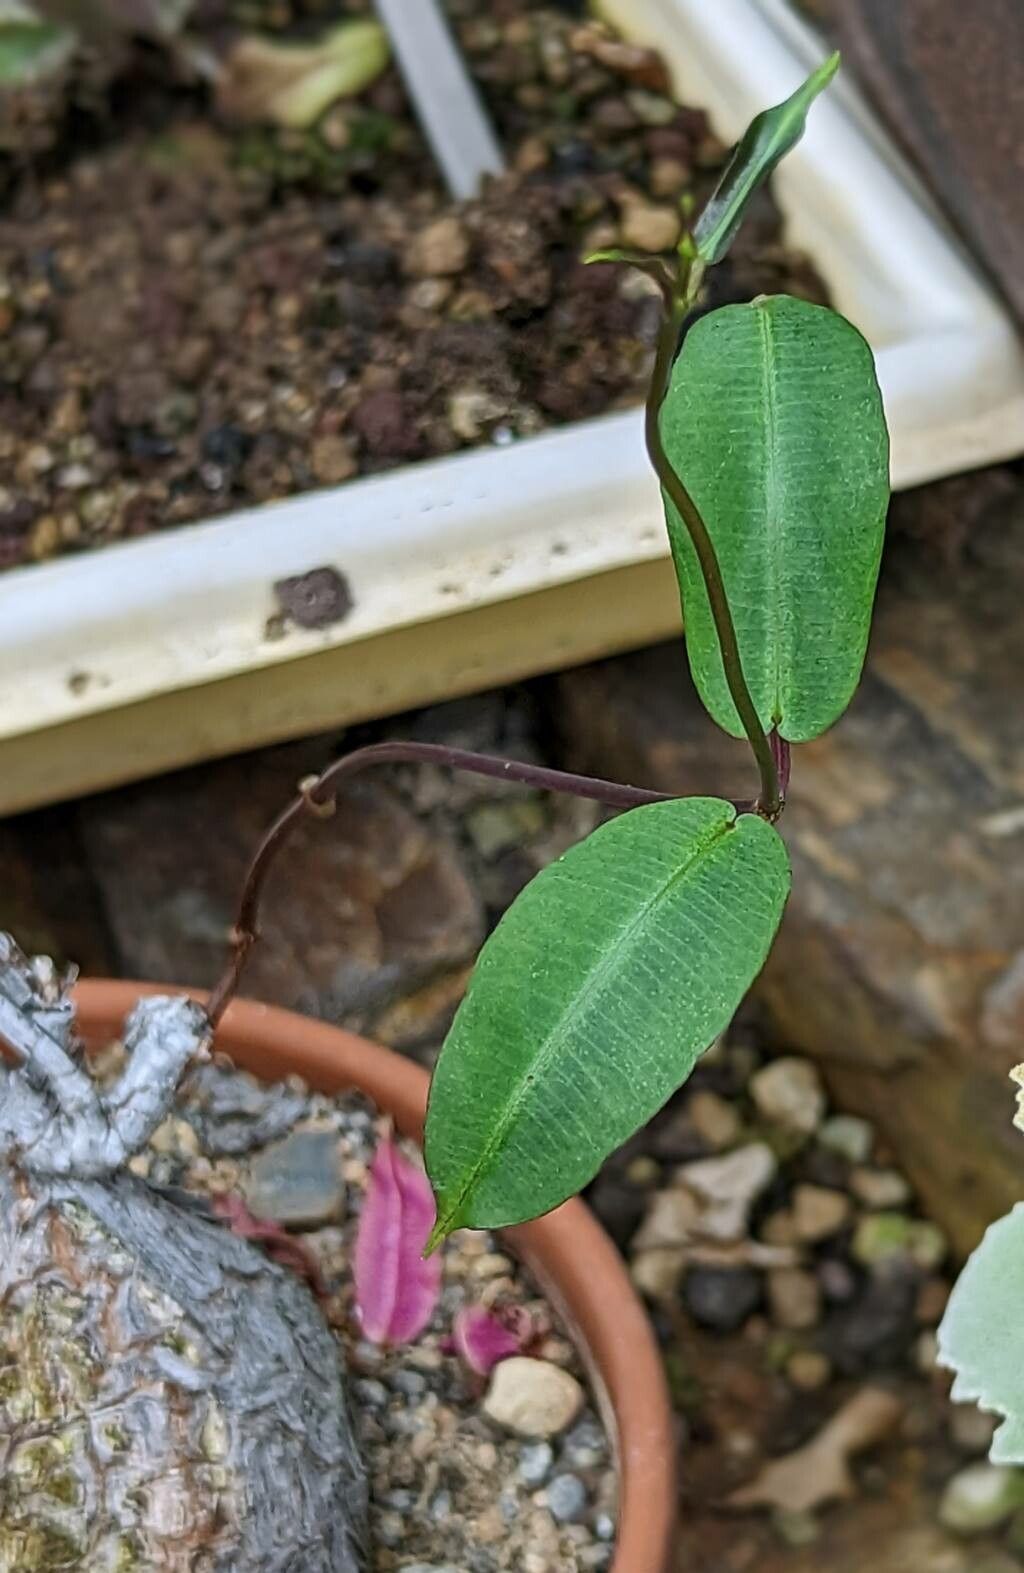
Oh, hello there! Come on in, pull up a chair. I’ve got some fresh coffee brewing, and I wanted to chat about one of my absolute favorite plants: Fockea angustifolia. You know, that delightful succulent with the wonderfully swollen, gnarled caudex and delicate, trailing stems? It’s just got a certain charm, hasn’t it? And the best part? You can easily make more of these beauties yourself!
Propagating Fockea angustifolia is incredibly rewarding, almost like nurturing a little miracle. Seeing a tiny cutting transform into a new plant with its own swollen base… well, it never gets old for me. Now, if you’re completely new to plant propagation, this might feel a tad daunting at first. But honestly, if you follow a few simple steps, you’ll find it’s quite manageable.
The Best Time to Start
The most magical time to begin propagating your Fockea angustifolia is during its active growing season. For most of us, this means late spring and early summer. The plant is full of energy then, and cuttings are far more likely to root successfully. You’ll see new growth happening, which is your cue!
Supplies You’ll Need
Gathering your tools beforehand makes the whole process so much smoother. Here’s what I always have on hand:
- Sharp pruning shears or a clean knife: For making clean cuts.
- Well-draining potting mix: A cactus or succulent mix is perfect, or you can make your own by combining equal parts potting soil, perlite, and coarse sand.
- A pot or tray: With drainage holes, of course!
- Rooting hormone (optional, but recommended): Pellets or powder can give your cuttings a nice little boost.
- A clear plastic bag or dome: To create a humid environment.
- Watering can or spray bottle: For gentle watering.
Propagation Methods
There are a couple of ways to go about this, but my go-to method for Fockea angustifolia is by stem cuttings.
- Take Your Cuttings: Using your sharp shears or knife, take cuttings from healthy stems. Aim for pieces that are about 4-6 inches long. Make sure each cutting has at least a couple of leaf nodes – these are the little bumps where leaves emerge, and where roots will form.
- Let Them Callus: This is a crucial step! After you’ve taken your cuttings, lay them out on a dry surface in a well-ventilated spot for a few days to a week. You want the cut end to dry out and form a waxy callus. This prevents rot when you plant them.
- Apply Rooting Hormone (If Using): Once the ends have callused, dip the cut end into your rooting hormone. Tap off any excess.
- Plant Your Cuttings: Fill your pots with your well-draining potting mix. Make a small hole in the center with your finger or a pencil. Gently insert the callused end of the cutting into the hole, making sure it’s stable. You can plant a few cuttings in the same pot, giving them a little space.
- Create a Humid Environment: Lightly water the soil. Then, cover the pot with a clear plastic bag or a propagation dome. This traps humidity, which is essential for root development. You might need to prop up the bag so it doesn’t touch the leaves.
The “Secret Sauce” (Pro Tips)
Now, for a few little tricks I’ve picked up over the years. These can really make a difference!
- Don’t let the leaves touch the soil. When you’re watering, be gentle. If leaves sit in damp soil, they can rot before they even have a chance to root.
- Give them a little warmth. Pop your potted cuttings in a warm spot. Placing them on a heat mat designed for seedlings can significantly speed up root formation. It mimics the warmth of summer soil.
- Don’t water too much initially. After the first watering, let the soil dry out slightly between waterings. Overwatering is the quickest way to kill a new cutting.
Aftercare & Troubleshooting
Once your cuttings are planted and happily misted, keep them in bright
Resource:
https://identify.plantnet.org/k-world-flora/species/Fockea%20angustifolia%20K.Schum./data