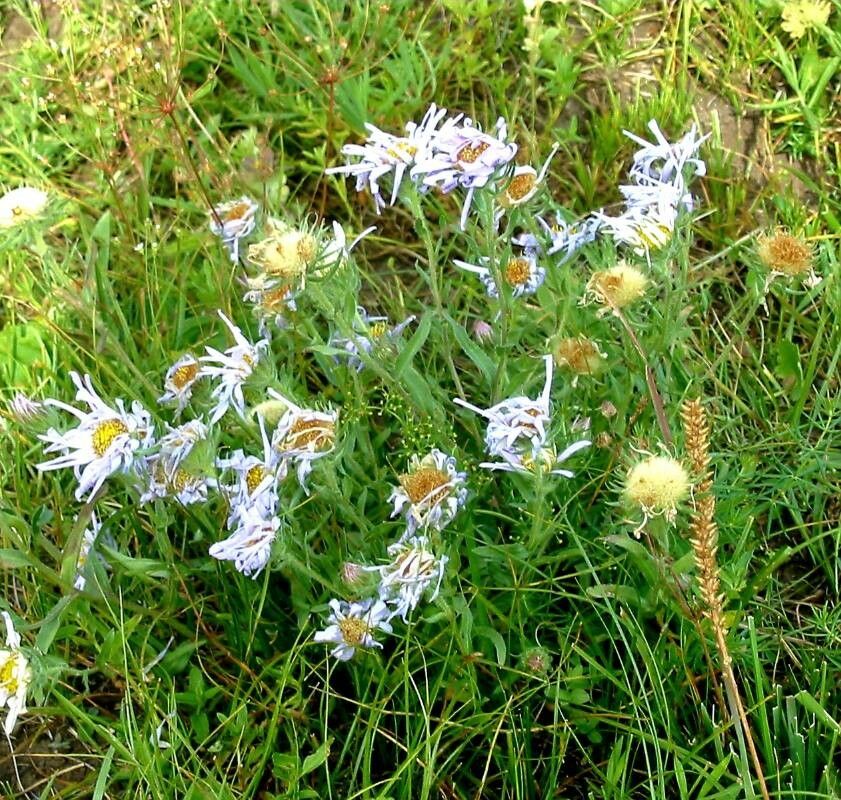
Oh, hello there, fellow plant lover! Come on in, let’s chat about one of my absolute favorites: Erigeron decumbens, also known as creeping fleabane. If you’re looking for a cheerful, low-growing plant that dots your garden with delicate, daisy-like flowers for ages, you’re in for a treat. And the best part? You can easily multiply this beauty without breaking the bank! Propagating Erigeron decumbens is surprisingly accessible, even for those of you just dipping your toes into the world of plant multiplication. It’s a really rewarding project, turning one lovely plant into many!
The Best Time to Start
For the highest success rate with Erigeron decumbens, I always reach for my tools in late spring or early summer. This is when the plant is actively growing, sending out new shoots that are perfect for taking cuttings. You want to grab stems that are firm but not yet woody. Think of it like a young, energetic shoot – not too soft and floppy, but not tough and mature either.
Supplies You’ll Need
Gathering your supplies beforehand makes the whole process so much smoother. Here’s what I typically have on hand:
- Sharp pruning shears or a clean razor blade: For making clean cuts.
- Small pots or seedling trays: With good drainage holes, of course!
- Propagating mix: I love a blend of equal parts perlite and peat moss (or coco coir). This provides excellent drainage, which is crucial for preventing rot.
- Rooting hormone (optional but recommended): A good quality powdered hormone can give your cuttings a helpful boost.
- Plastic bags or a propagator lid: To create a humid environment.
- Labels and a marker: Don’t forget to label your precious new plants!
- Watering can or mister: For gentle watering.
Propagation Methods
There are a couple of tried-and-true ways to get more Erigeron decumbens from your existing plant.
Stem Cuttings
This is my go-to method, and it’s usually very effective.
- Take cuttings: Using your clean shears or razor, snip off healthy stems that are about 4-6 inches long. Try to make the cut just below a leaf node (where a leaf attaches to the stem). Remove the lower leaves, leaving just a few at the very top.
- Prepare the cuttings: If you’re using rooting hormone, dip the cut end of each stem into the powder, tapping off any excess.
- Pot them up: Fill your small pots or trays with your propagating mix. Make a small hole in the center of each pot with your finger or a pencil.
- Insert the cuttings: Gently place one or two cuttings into each hole, ensuring the leaf nodes are buried in the soil. Firm the mix gently around the base of the cuttings.
- Water gently: Water thoroughly but carefully, so you don’t dislodge the cuttings.
- Create humidity: Cover the pots loosely with a plastic bag or place them under a propagator lid. Propping up the bag with a few skewers can prevent it from touching the leaves, which is important!
- Place them in a bright spot: Find a location that receives bright, indirect light. Avoid direct sun, which can scorch the tender cuttings.
Division
If your Erigeron decumbens plant has become a bit of a clump, division is a super simple way to get more plants.
- Dig it up: In the spring, carefully dig up the entire plant. You can do this while it’s actively growing or in its dormant period, though spring is often easiest. Gently shake off excess soil.
- Separate the clumps: You’ll often see that the main root ball naturally divides into smaller sections, each with roots and shoots. Gently pull these apart with your hands. If they’re really stuck, you can use a clean spade or two forks inserted back-to-back to pry them apart.
- Replant: Immediately replant the divisions into their new homes, either back into your garden or into pots filled with good quality potting mix. Water them in well.
The “Secret Sauce” (Pro Tips)
Here are a couple of things I’ve learned over the years that make a real difference:
- Don’t let the leaves touch the water: For cuttings in water (if you choose to try that method!), the rule is no leaves below the waterline. Any submerged foliage will quickly rot, potentially taking your cutting with it.
- Bottom heat is your friend: If you’re serious about propagation and have access to it, a heated propagator mat can speed up root formation considerably. It provides consistent, gentle warmth to the base of your cuttings.
Aftercare & Troubleshooting
Once your cuttings have been potted up, keep them consistently moist but not waterlogged. You should start to see signs of new growth within a few weeks. A good test for rooting is to gently tug on a cutting. If you feel resistance, it means roots have formed.
The most common issue you’ll encounter is rot. This usually happens when the soil is too wet and there isn’t enough air circulation. If a cutting starts to look mushy or turns black at the base, it’s likely gone rotten. Don’t be discouraged – just remove the affected cutting and try to ensure things are a bit drier and airier for the remaining ones. Yellowing leaves can sometimes mean too much water, or sometimes not enough light. Keep an eye on them and adjust as needed.
A Encouraging Closing
See? Not so daunting, is it? Growing more Erigeron decumbens from your existing plants is a truly rewarding endeavor. Be patient with your new cuttings, give them a little love, and soon you’ll have a whole troop of these cheerful little daisies to share or plant throughout your garden. Happy propagating!
Resource:
https://identify.plantnet.org/k-world-flora/species/Erigeron%20decumbens%20Nutt./data