Bringing More “Chalkflowers” to Your Garden: Propagating Cymbalaria microcalyx
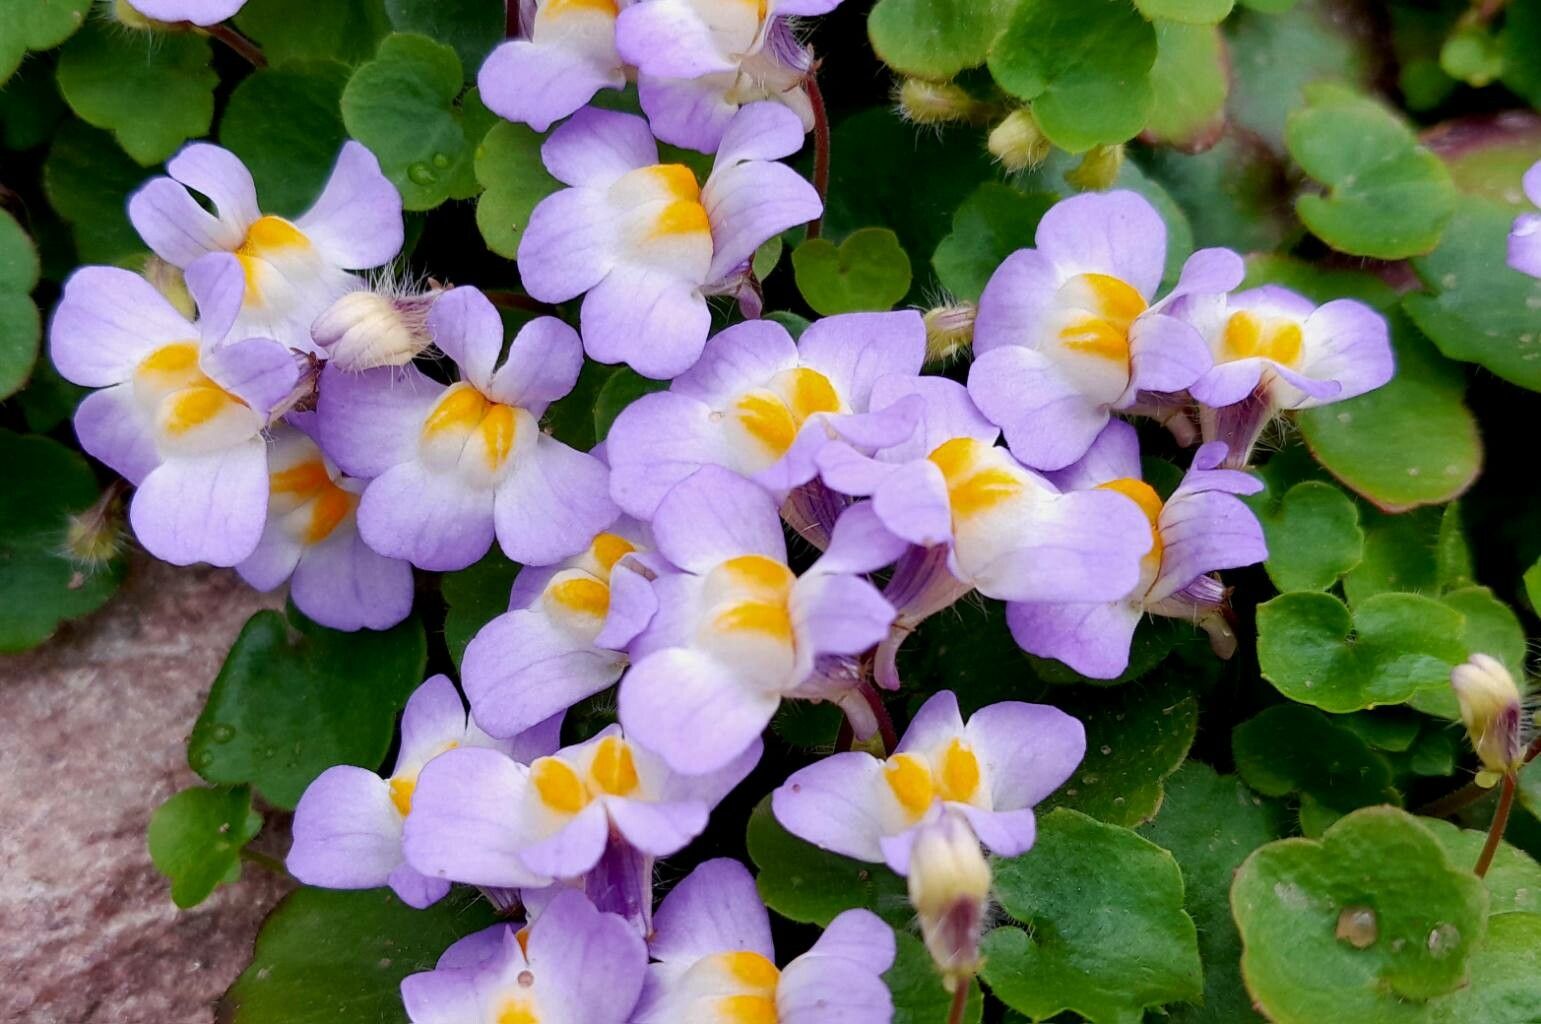
Oh, Cymbalaria microcalyx! Isn’t she a beauty? I just love these little trailing plants, with their delicate, often pale blue or white flowers. They tumble so gracefully over walls, spill out of containers, and generally add that touch of wild charm we all crave in our gardens. And the best part? They’re surprisingly easy to share! If you’ve ever admired a patch of this delightful floater and wished you had more, you’re in luck. Propagating it is a truly rewarding experience, and honestly, it’s quite beginner-friendly. You’ll be amazed at how quickly you can fill those empty spots.
When to Get Your Hands Dirty
The absolute best time to start propagating Cymbalaria microcalyx is in late spring or early summer. This is when the plant is actively growing and has plenty of energy. You’ll find it’s much more receptive to rooting during this vibrant period. Don’t worry if you miss this window; you can often have success with cuttings taken in early autumn as well, though they might take a little longer to establish.
What You’ll Need in Your Propagation Toolkit
Gathering your supplies beforehand makes the whole process so much smoother. Here’s what I usually have on hand:
- Clean, sharp pruning shears or scissors: For making neat cuts.
- Small pots or seed trays: With good drainage holes!
- A light, well-draining potting mix: I like a mix of peat moss or coco coir, perlite, and a little bit of compost.
- Gravel or perlite: To add to the bottom of pots for extra drainage if needed.
- Rooting hormone (optional but recommended): A powder or gel can give your cuttings a helpful boost.
- A plastic bag or propagation dome: To create a humid environment.
- Watering can with a fine rose: For gentle watering.
Bringing New Life: Propagation Methods
Cymbalaria microcalyx is a generous plant, and it offers a couple of really straightforward ways to get more of it. Here are my favorites:
1. Stem Cuttings: The Most Common Approach
This is my go-to method. It’s reliable and you can get quite a few new plants from a single parent.
- Select healthy stems: Look for stems that are about 4-6 inches long and actively growing, but not flowering or woody.
- Make a clean cut: Use your sharp shears to cut just below a leaf node (the point where a leaf attaches to the stem). This is where roots are most likely to form.
- Prepare the cutting: Gently pull off the lower leaves, leaving just a few at the top. This helps prevent them from rotting in the soil.
- Apply rooting hormone (if using): Dip the cut end into the rooting hormone, tapping off any excess.
- Plant your cuttings: Fill your small pots with your prepared potting mix. Make a small hole with a pencil or your finger and insert the cutting about an inch deep. Gently firm the soil around it.
- Water gently: Water thoroughly from the bottom if possible, or use your fine-rose watering can to avoid disturbing the cuttings.
- Create humidity: Cover the pots with a plastic bag or place them in a propagation dome. Make sure the leaves don’t touch the plastic if you’re using a bag.
2. Water Propagation: The Visual Method
This is a fun one to watch, as you can literally see the roots developing!
- Take cuttings as described above.
- Remove lower leaves.
- Place cuttings in a jar or glass of water. Make sure that only the stem is submerged, and no leaves touch the water. This is crucial to prevent rot.
- Keep the water fresh: Change the water every few days to keep it clean and oxygenated.
- Place in bright, indirect light.
- Watch for roots: You should start seeing tiny white roots emerging from the leaf nodes within a couple of weeks.
- Pot up once roots are an inch or two long: Once the roots are substantial, carefully plant the cuttings into your potting mix as you would with stem cuttings.
The “Secret Sauce”: Insider Tips for Success
As with most things in gardening, a little bit of extra attention goes a long way. Here are a few tricks I’ve learned over the years that really give my Cymbalaria cuttings the best chance:
- Bottom heat is your friend: If you have a heat mat designed for propagation, placing your pots on it can significantly speed up root formation. It mimics the warmth of spring soil and gives those sleepy nodes a nudge.
- Don’t overwater! It’s tempting to keep things very moist, but overly soggy soil is the fastest way to rot your cuttings. The goal is consistently moist, not soggy. Allow the surface of the soil to dry out slightly between waterings.
- Consider a shallow tray: Instead of individual pots, you can use a shallow seed tray filled with your mix. This is great if you’re propagating a lot of cuttings. Just make sure there’s enough space for roots to develop before you need to transplant.
Aftercare and What to Watch For
Once you start seeing signs of new growth or nice, healthy roots developing (you can gently tug on a cutting to feel resistance), it’s time to give them a little more TLC.
- Gradually acclimate: If you’ve been using a plastic bag or dome, start by opening it for a few hours each day to get your new plants used to the regular air.
- Water when needed: Water when the top inch of soil feels dry.
- Provide bright, indirect light: Avoid direct, hot sun, which can scorch delicate new leaves.
- Troubleshooting:
- Wilting: This can be a sign of underwatering or overwatering causing root rot. Check the soil moisture. If it’s bone dry, water. If it’s soggy, let it dry out and check for mushy, brown roots.
- Yellowing leaves: Often indicates too much water or not enough light.
- No root development: This could be due to a lack of humidity, too cold an environment, or simply the cutting not being viable. Don’t be discouraged; just try again!
Happy Growing!
Propagating Cymbalaria microcalyx is one of those gardening joys that keeps on giving. You’ll find it’s a wonderfully forgiving plant to work with. Be patient with your cuttings, enjoy the process of watching them grow, and soon you’ll have beautiful new plants to adorn your garden or share with fellow plant lovers. Happy propagating!
Resource: