Hello fellow plant lovers!
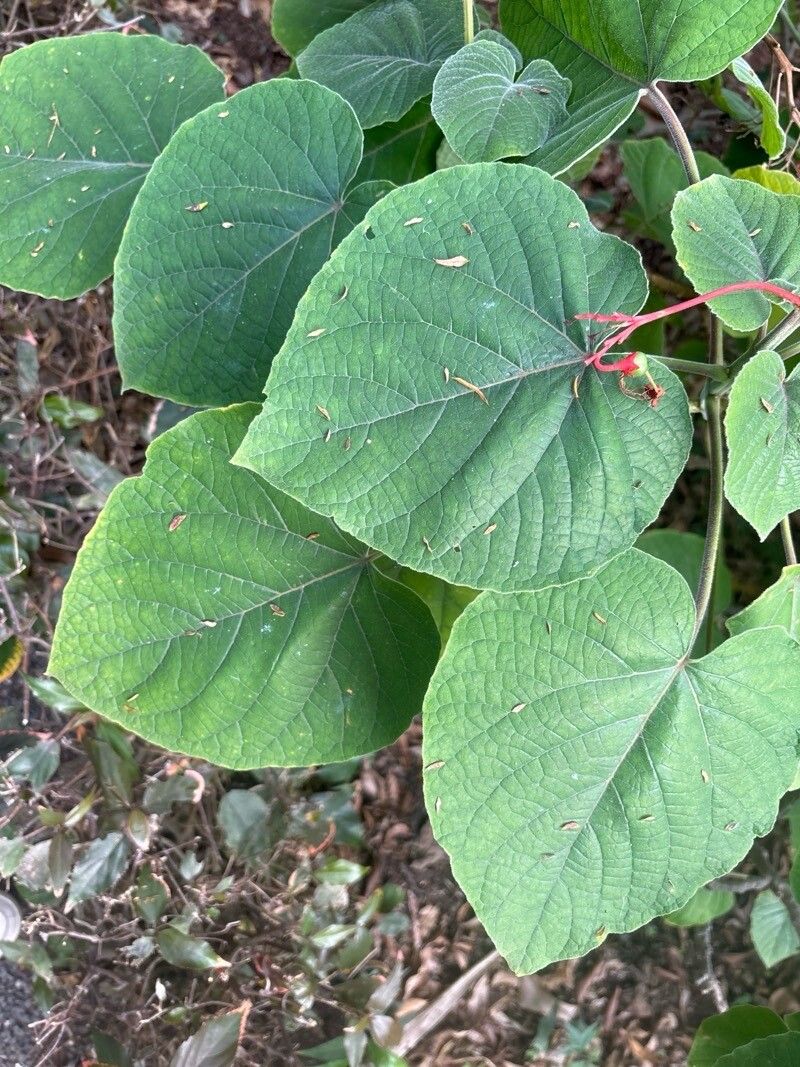
There’s something truly magical about coaxing a new life from a beloved plant, don’t you think? Today, we’re diving into the wonderful world of Clerodendrum buchananii, often called the Buchanan’s Glory Bower. I just adore its showy, crimson flower clusters that seem to glow in the garden. If you’re looking to expand your collection or share this beauty with friends, propagating it is a fantastic way to go. And good news – while it has its quirks, Clerodendrum buchananii is moderately easy to propagate, making it a rewarding project even for those who are just starting their plant-parenting journey.
The Best Time to Start
My go-to time for taking cuttings of Clerodendrum buchananii is during the late spring or early summer. This is when the plant is in its active growth phase. You’ll find that new growth is more pliant and generally roots more readily than older, woodier stems. I like to wait until the stems have started to firm up a bit after the initial flush of tender new growth, but before they become truly woody.
Supplies You’ll Need
To set yourself up for success, gather these essentials:
- Sharp pruning shears or a clean knife: For making clean cuts.
- Rooting hormone (optional, but helpful): I use a powder designed for softwood cuttings.
- Well-draining potting mix: A blend of peat moss or coco coir, perlite, and a bit of compost works wonderfully. You can also buy specialized seedling or cutting mixes.
- Small pots or seedling trays: Clean ones are crucial to prevent disease.
- Plastic bags or a propagator: To create a humid environment.
- Water: For misting and watering.
Propagation Methods
There are a couple of ways to get new Clerodendrum buchananii plants going, but my favorite is by stem cuttings.
Stem Cuttings:
- Take your cuttings: Select healthy, non-flowering stems from your parent plant. Aim for cuttings that are about 4-6 inches long. Make your cut just below a leaf node (where a leaf attaches to the stem). This is where the magic of root initiation really happens!
- Prepare the cuttings: Gently remove the lower leaves, leaving just a couple of pairs at the top. This helps the cutting conserve energy and prevents leaves from rotting in the soil.
- Apply rooting hormone (if using): Dip the cut end of the stem into your rooting hormone. Tap off any excess.
- Plant your cuttings: Fill your pots with the moist potting mix. Make a small hole in the center with your finger or a pencil, and insert the cutting. Gently firm the soil around it.
- Create a humid environment: Water the soil lightly. Then, cover the pot with a clear plastic bag, propping it up with stakes so the leaves don’t touch the plastic. Alternatively, place the pot in a propagator.
Water Propagation (Less reliable for this particular plant, but worth a try for fun!):
You can also try rooting cuttings in water, but I find it’s trickier to get them established in soil later. If you do try this:
- Prepare a stem cutting as described above, removing the lower leaves.
- Place the cutting in a clean jar or vase filled with clean water. Ensure that the leaf nodes where you removed the leaves are submerged, but don’t let the leaves themselves touch the water.
- Place the jar in bright, indirect light. Change the water every few days. Once you see a good network of roots forming (at least an inch or two long), you can try potting them up.
The “Secret Sauce” (Pro Tips)
- The Power of Bottom Heat: Clerodendrum buchananii really appreciates a bit of gentle warmth from below. Placing your pots on a heated propagation mat can significantly speed up root formation. It mimics the warmth of spring soil very effectively.
- Don’t Overwater, But Keep it Consistent: It’s a delicate balance! You want the soil to stay consistently moist but not soggy. Soggy soil is a sure route to rot. I find misting the leaves and the surface of the soil daily helps maintain humidity without waterlogging.
- Patience is a Virtue (and a Necessity): Rooting Clerodendrum buchananii can sometimes take 4-8 weeks. Don’t get discouraged if you don’t see immediate results! Resist the urge to constantly tug at the cuttings to check for roots – you’ll only damage them.
Aftercare & Troubleshooting
Once your cuttings have developed a healthy root system (you’ll see roots emerging from the drainage holes or feel a gentle resistance when you very lightly tug), it’s time for their first real home! Gradually acclimate them to drier air by opening the plastic bag or propagator for increasing periods each day before removing it entirely. Pot them up into small pots with your regular potting mix. Continue to keep the soil moist and the light bright but indirect.
The most common issue you might encounter is rot. If your cutting turns black or mushy, it’s likely due to overwatering or a lack of air circulation. If you see a cutting wilting significantly and it’s not due to lack of water, it might be starting to rot. Sadly, once rot sets in, it’s usually too late to save that particular cutting. Prevention is key!
There you have it! Propagating Clerodendrum buchananii is a wonderfully rewarding process. It takes a little care and attention, but the joy of watching a new plant unfurl its leaves is truly special. Be patient with yourself and your new green babies. Happy gardening!
Resource:
https://identify.plantnet.org/k-world-flora/species/Clerodendrum%20buchananii%20(Roxb.)%20Walp./data