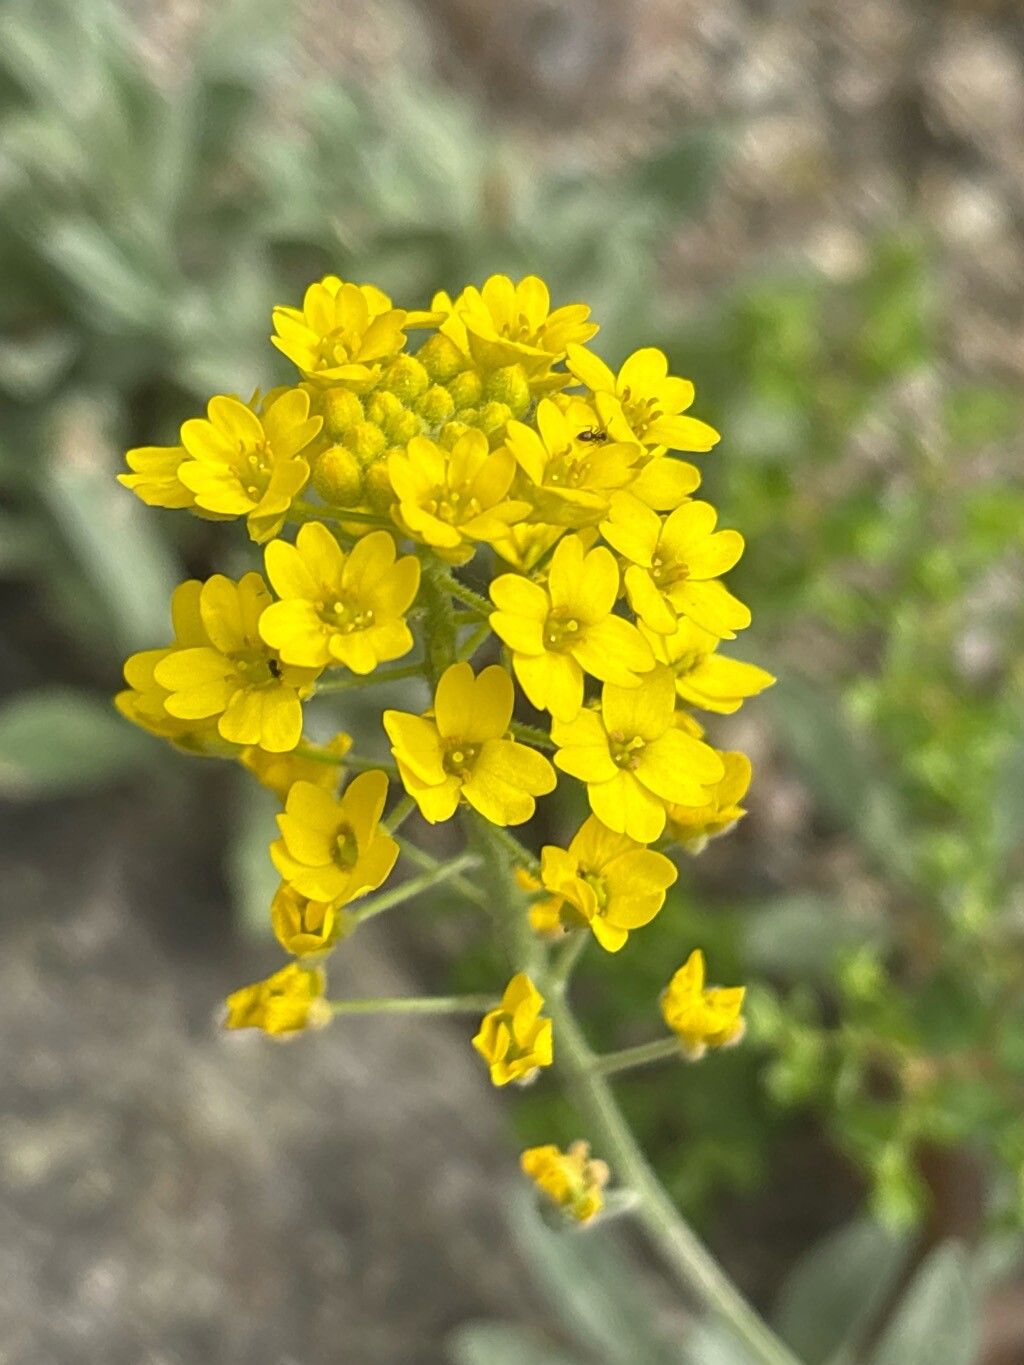
Oh, hello there! Grab your mug, let’s chat about Aurinia leucadea. You know, those lovely little plants with the sunshine-yellow blooms? They bring such cheer to a garden, especially in those early spring days when everything else is still waking up. Propagating them is honestly one of my favorite little gardening projects. It’s a fantastic way to fill your own borders or share some of that yellow joy with friends. And honestly? It’s not too tricky at all, even for those of you just dipping your toes into the world of propagation.
The Best Time to Start
Timing is everything, as they say, and with Aurinia leucadea, it’s no different. I find the absolute best time to take cuttings is in the late spring or early summer, right after the plant has finished its main bloom. You’re looking for stems that are still a bit soft and pliable, not woody at all. Think of them as youngsters, full of vibrant energy, ready to grow!
Supplies You’ll Need
Here’s what you’ll want to have on hand. It’s not a long list, which is part of what makes this so appealing:
- Sharp pruning shears or a clean knife: For making nice, clean cuts.
- A good quality potting mix: I usually go for something that drains well, a mix of peat moss, perlite, and a little bit of compost works wonders.
- Small pots or seed trays: Plenty of room for those little root systems to stretch.
- Rooting hormone (optional but recommended): This really gives your cuttings a boost.
- A plastic bag or propagator lid: To create a mini-greenhouse.
- Water: For… well, watering!
Propagation Methods
For Aurinia leucadea, stem cuttings are my go-to method. It’s reliable and gives you the best chance of success.
- Taking the Cuttings: Head out to your Aurinia leucadea. Look for healthy, non-flowering stems. Gently bend a stem until it snaps easily. You want pieces that are about 3-4 inches long. If a stem bends without breaking cleanly, it’s probably too woody.
- Preparing the Cuttings: Once you have your cuttings, carefully remove the lower leaves. You only want a couple of leaves left at the very top. This prevents them from rotting once they’re in the soil.
- Dipping in Rooting Hormone (if using): If you’re using rooting hormone, lightly dip the cut end of each stem into the powder. Tap off any excess.
- Planting the Cuttings: Fill your small pots or trays with your well-draining potting mix. Make a little hole with your finger or a pencil. Then, gently insert the cut end of each Aurinia cutting into the hole, firming the soil around it.
- Watering: Give them a good, gentle watering. You want the soil to be moist but not waterlogged.
- Creating a Humid Environment: Pop a plastic bag over the pots or secure the propagator lid. This traps humidity, which is crucial for root development.
The “Secret Sauce” (Pro Tips)
Now, for a couple of things I’ve learned over the years that can really make a difference:
- Don’t let the leaves touch the soil. I know I mentioned removing lower leaves, but sometimes a stray leaf can still dip down. If it does, just trim it off again. It’s a tiny detail, but it prevents fungal issues from getting a foothold.
- Bottom heat is your friend. If you have a heat mat designed for cuttings, placing your trays on it can dramatically speed up root formation. It mimics that lovely warmth of spring and really encourages those roots to get going.
Aftercare & Troubleshooting
Once your cuttings are planted, keep them in a bright spot but out of direct, scorching sunlight. Check the soil moisture regularly – it should remain consistently damp, not soggy.
You’ll know they’re taking off when you see new, tiny leaves starting to emerge from the top of the cuttings, or if you gently tug on a cutting and feel some resistance – that’s the roots holding on! This usually takes a few weeks.
The biggest thing to watch out for is rot. If a cutting turns mushy or black, it’s a sign of too much moisture or not enough air circulation. Sadly, those often can’t be saved, but don’t despair! Just pull them out, check your other cuttings, and adjust your watering.
A Little Encouragement
See? Not so daunting, is it? The key is patience. New gardeners often fret, but the plants are quite resilient. Enjoy watching those tiny roots develop, the thrill of seeing new growth. Happy propagating, and I hope you have a garden bursting with Aurinia leucadea sunshine!
Resource:
https://identify.plantnet.org/k-world-flora/species/Aurinia%20leucadea%20(Guss.)%20K.Koch/data