Hello fellow plant lovers!
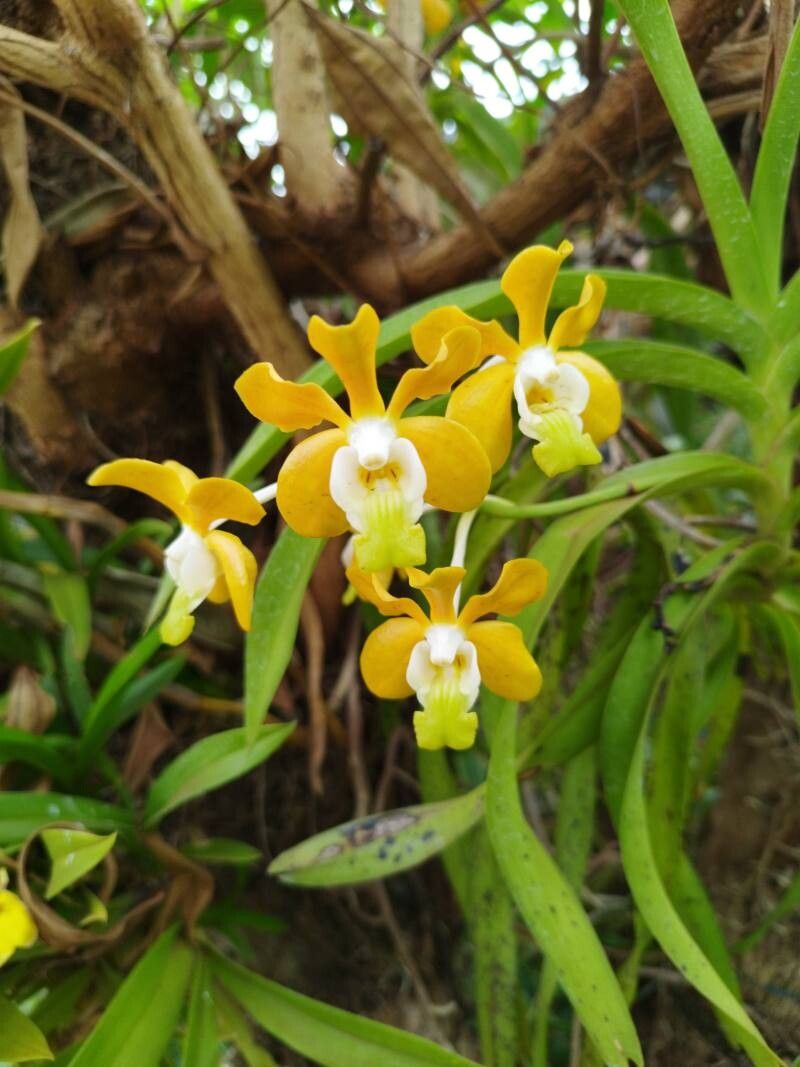
There’s something truly special about Vanda denisoniana. Those graceful, cascading blooms in shades of creamy white and soft yellow, often with a delicate fragrance – they’re a real showstopper in any orchid collection. And the best part? You can create more of these beauties yourself! Propagating Vandas can feel a bit daunting, and I’ll be honest, they aren’t the absolute easiest orchid for a complete beginner. But with a little understanding and patience, it’s an incredibly rewarding journey. Seeing a tiny plant you nurtured grow into a magnificent bloomer is a feeling like no other.
The Best Time to Start
For Vanda denisoniana, the sweet spot for propagation is usually late spring or early summer. This is when the plant is actively growing and has plenty of energy to put into developing new roots. You’ll often find it easiest to propagate when dividing an established plant that’s showing vigorous new growth.
Supplies You’ll Need
Here’s what you’ll want to have on hand before you get started:
- Sharp, sterile pruning shears or a clean knife: Essential for making clean cuts.
- Sterilizing solution: Rubbing alcohol or a diluted bleach solution (1 part bleach to 9 parts water) to clean your tools.
- Potting medium: A chunky, well-draining orchid mix. For Vandas, something like large bark chips, perlite, and charcoal will work wonders. Avoid anything that holds too much moisture.
- Small pots or baskets: For your new propagations. Clay pots or mesh baskets are excellent as they promote air circulation.
- Rooting hormone (optional but helpful): A powdered rooting hormone can give your cuttings a gentle nudge.
- Sphagnum moss (optional): Good for retaining a bit of humidity around cuttings.
- Watering can or spray bottle: For gentle watering.
Propagation Methods
The most common and successful method for Vanda denisoniana is division. This is when an older, established plant produces multiple growth points.
Division Steps:
- Examine your Vanda: Look for a mature plant that has at least two or three healthy growths, and ideally, some roots emerging from the base of a newer growth.
- Gently remove from its pot/basket: Carefully take the orchid out of its current container. You might need to trim away any old, decaying roots or potting media.
- Identify the division points: Look for the natural separation between the different growths. You want to divide where there’s a clear stem or rhizome connecting the growths. There should ideally be some roots already attached to the growth you’re separating.
- Make the cut: Using your sterilized pruning shears or knife, make a clean cut to separate the new growth from the mother plant. Try to keep as many roots intact as possible on the new division.
- Prepare the new plant: If the cut end looks a bit ‘wet’ or ‘soggy’, you can let it air dry for a few hours to callus over. This helps prevent rot. You can also apply a touch of rooting hormone at this point, if you’re using it.
- Pot it up: Place your new Vanda division into a clean pot or basket with your chunky orchid mix. Make sure it’s stable and upright. Some people like to gently tie the base to a stake for initial support.
- Initial watering: Water very sparingly at first. You want the potting mix to be barely moist. Too much water on a newly divided plant can lead to rot.
The “Secret Sauce” (Pro Tips)
Here are a few things I’ve learned over the years that can make a big difference:
- Don’t rush the separation: If a new growth doesn’t have any roots yet, it’s often best to leave it attached to the mother plant until it develops some. Trying to root a completely leafless, rootless division can be very challenging.
- Consider humidity: While Vandas like air circulation, newly divided plants benefit from a bit of extra humidity until they establish. You can achieve this by placing the pot in a larger clear bag (making sure the leaves don’t touch the plastic!) or by misting lightly only when the potting mix starts to feel dry.
- Bottom heat helps: If you can, placing your newly potted divisions on a gentle heating mat (set to around 70-75°F or 21-24°C) can significantly speed up root development.
Aftercare & Troubleshooting
Once your new Vanda has been potted, the key is patient observation.
- Watering: Water only when the potting mix is almost dry. Stick your finger in to check. For Vandas, it’s better to underwater slightly than overwater. Misting the aerial roots can also be beneficial between waterings.
- Light: Provide bright, indirect light. Avoid direct, harsh sunlight, which can scorch the leaves.
- Watch for rot: The most common enemy is rot, especially at the base of the plant or on the cut surfaces. If you see mushy, blackening tissue, you might need to cut away the affected part, re-sterilize your tool, and let it callus again. Sometimes, if rot is too advanced, the plant sadly won’t recover. Fungicides can be used as a preventative measure, but good cultural practices are the best defense.
- Root development: When you start seeing new white or green root tips emerging, you know your plant is happy and well on its way! This can take several weeks to a few months.
A Little Patience Goes a Long Way
Propagating Vanda denisoniana is a journey, not a race. There will be times when you have to wait and watch, and sometimes, things don’t go as planned. But don’t get discouraged! Every plant you attempt to propagate, whether it succeeds or not, teaches you something new. Enjoy the process of nurturing these beautiful orchids. Happy growing!
Resource:
https://identify.plantnet.org/k-world-flora/species/Vanda%20denisoniana%20Benson%20&%20Rchb.f./data