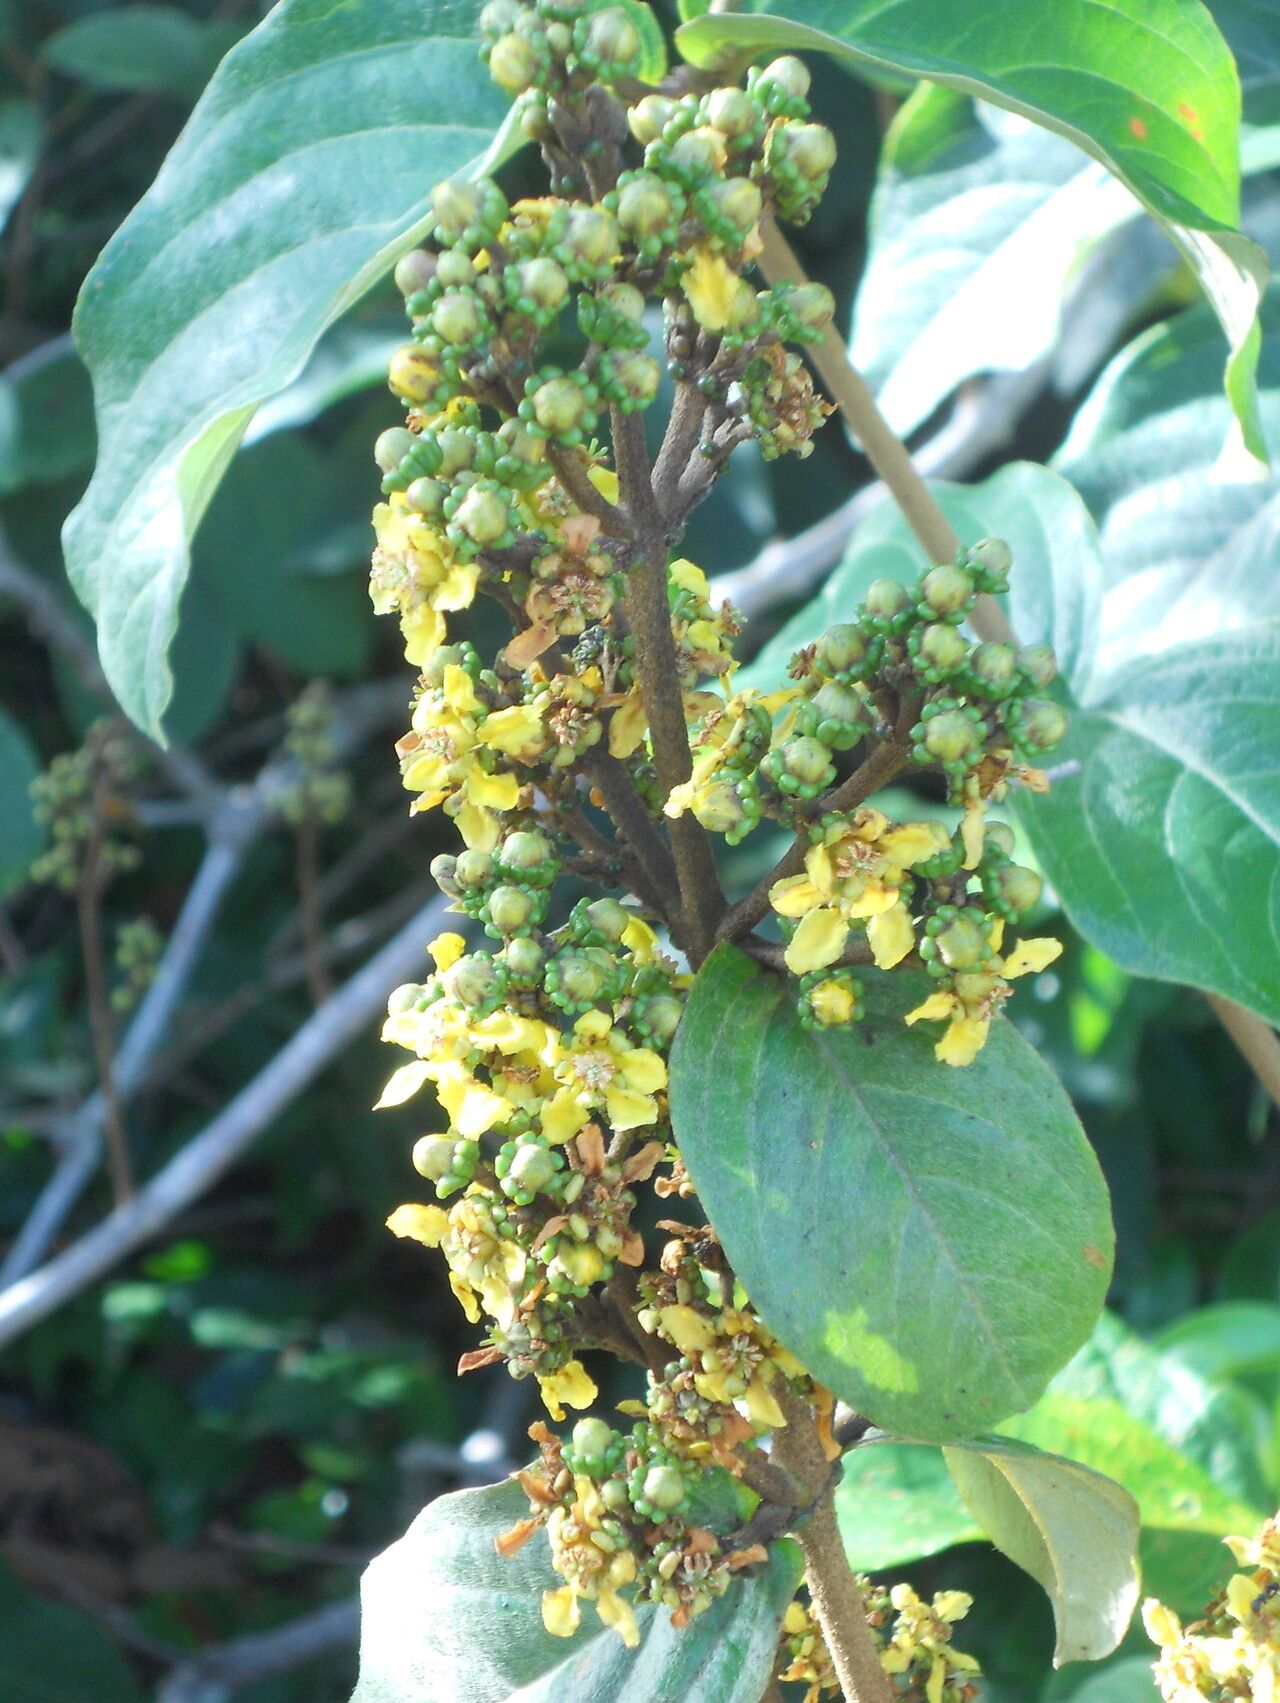
Oh, hello there! Come on in, pull up a chair. I’ve got a pot of something lovely brewing, and I thought we could chat about a truly special plant: Niedenzuella stannea. If you’re looking for a touch of whimsical charm in your garden, this is it. Its delicate, star-shaped flowers and lovely foliage create such a delightful display, and watching a new plant sprout from a tiny bit of your favorite specimen? Well, that’s just pure magic, isn’t it?
Now, I won’t sugarcoat it – Niedenzuella stannea can be a little bit of a diva when it comes to propagation. It’s not the absolute easiest for a complete beginner, but with a bit of attention and these tips, I’m confident you’ll have success. The reward of seeing your own little Niedenzuella babies thrive is truly worth the effort.
The Best Time to Start
For the highest success rate with Niedenzuella stannea, spring is your best bet. You want to catch it as it’s actively growing. Think of it as giving your cuttings the best start with plenty of energy to draw upon. Aim for after the last frost, when the days are getting longer and warmer. This is when the plant is really revving up its growth engine.
Supplies You’ll Need
You don’t need anything too fancy, just a few essentials to give your cuttings the best chance:
- Sharp, clean pruning shears or a sharp knife: Crucial for making a clean cut that heals well.
- Rooting hormone (optional, but recommended): This is a little helping hand. Look for one with IBA.
- Small pots or seed trays: Clean ones are a must to prevent disease.
- Well-draining potting mix: I like a mix of good quality potting soil with perlite and a bit of horticultural grit. Something that won’t hold too much moisture.
- Plastic bags or a propagation dome: To create a humid environment.
- Watering can with a fine rose or a spray bottle: Gentle watering is key.
- Labels and a marker: So you don’t forget what you planted!
Propagation Methods
While Niedenzuella stannea can be a bit particular, stem cuttings are usually the most reliable method for me.
Stem Cuttings
- Take your cuttings: In the spring, select healthy, non-flowering stems. Look for stems that are somewhat firm but not woody – think of them as being in the “softwood” stage. Make a clean cut just below a leaf node (where a leaf attaches to the stem). This is where root-forming hormones are concentrated. Aim for cuttings about 3-4 inches long. Remove the lower leaves, leaving just a couple at the top.
- Apply rooting hormone: If you’re using it, dip the cut end of the stem into the rooting hormone powder or gel, tapping off any excess.
- Potting up: Fill your clean pots with your well-draining mix. Make a small hole in the center with your finger or a pencil. Gently insert the cutting into the hole, firming the soil around it.
- Create humidity: Water the soil gently until it’s moist but not soggy. Cover the pot with a clear plastic bag or place it under a propagation dome. This traps moisture, creating a humid microclimate that helps prevent the cuttings from drying out while they root.
- Placement: Place the pots in a bright spot, but out of direct sunlight. Too much sun will scorch those delicate cuttings. A temperature of around 70°F is ideal.
The “Secret Sauce” (Pro Tips)
Now, for a few little tricks I’ve picked up over the years that often make all the difference:
- Don’t let the leaves touch the water (if attempting water propagation): While I generally prefer soil propagation for Niedenzuella stannea, if you are tempted by water, make absolutely sure that the leaves are not submerged. Only the stem end should be in the water. Leaves in water will quickly rot and can take the whole cutting down with them.
- Bottom heat is a game-changer: If you have a heat mat designed for propagation, using it will significantly speed up the rooting process and increase your success rate. It provides consistent warmth to the base of the cuttings, encouraging root development.
- Patience is key – really: Niedenzuella stannea can be a slow starter. Don’t be tempted to pull them out to check for roots too early. Give it at least 4-6 weeks. Trust the process.
Aftercare & Troubleshooting
Once you see new leaves emerging or feel a gentle tugging when you very carefully try to wiggle the cutting, you’ll know roots have formed!
At this point, gradually acclimate your new plant to normal conditions. Start by opening the plastic bag a little more each day over a week. Continue to keep the soil consistently moist, but avoid overwatering – it’s the quickest way to invite trouble.
The most common issue you might face is rot. If your cuttings go limp, turn mushy, or develop black spots, it’s usually a sign of too much moisture and not enough air circulation. If you see this, you may need to start over with fresh cuttings and ensure your soil mix is draining very well.
A Bit of Patience, A Lot of Patience!
Propagating Niedenzuella stannea is a journey, and like any good journey, it requires a little patience and a lot of observation. Don’t get discouraged if your first attempts aren’t perfect. Each season brings new opportunities, and with each try, you’ll learn something new. Embrace the process, enjoy the quiet satisfaction of nurturing life, and soon you’ll have a whole collection of these delightful stars gracing your garden. Happy gardening!
Resource: