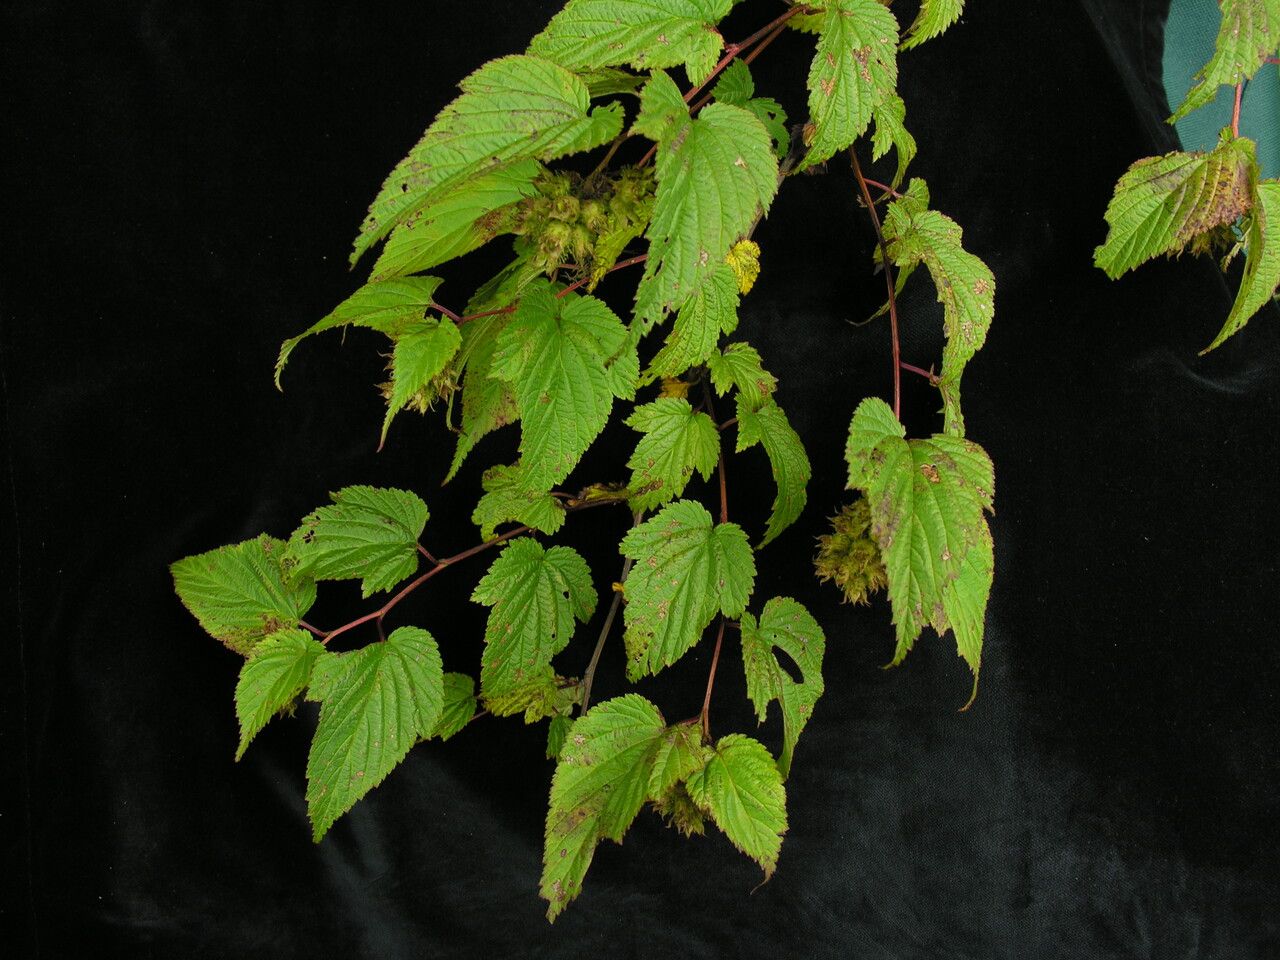
Hello there, fellow plant enthusiasts! It’s so lovely to have you join me today. We’re diving into the delightful world of Neillia rubiflora, or as it’s sometimes known, the false rosebud. If you’re looking for a shrub that offers a cascade of delicate, rosy-pink flowers in spring, followed by attractive, arching stems, then you’ll adore this one. Plus, there’s a special kind of joy that comes from coaxing a new plant to life from a piece of an existing one. It’s a wonderfully rewarding experience, and I’m happy to say, Neillia rubiflora is a pretty generous plant when it comes to propagation, making it a great choice even for those new to the cloning game.
The Best Time to Start
For the highest success rate with Neillia rubiflora, I always reach for my pruners in late spring to early summer. This is right after the plant has finished its spectacular bloom. The stems are still flexible and have plenty of stored energy to push out new roots. Waiting until the new growth has hardened off just a bit – meaning it’s lost that brand new, bright green look and is a bit more firm – is key. You’re looking for what we call semi-hardwood cuttings.
Supplies You’ll Need
To set yourself up for success, gather these handy items:
- Sharp, clean pruning shears or a sharp knife: The cleaner the cut, the better the healing and the less chance of disease.
- Rooting hormone powder (optional, but recommended): This isn’t a magic potion, but it gives your cuttings a helpful boost.
- Small pots or trays: With good drainage holes, of course!
- A well-draining potting mix: I like to use a blend of peat moss or coco coir mixed with perlite or coarse sand. About a 50/50 ratio usually works wonders.
- A clear plastic bag or a propagator lid: This helps create a humid environment for your cuttings.
- Watering can or spray bottle: For gentle watering.
Propagation Methods
We’ll focus on the easiest and most reliable method for Neillia rubiflora: stem cuttings.
- Take Your Cuttings: On a pleasant morning, choose healthy, non-flowering stems from your established plant. You’re aiming for cuttings that are about 6 to 8 inches long. Make your cut just below a leaf node (where a leaf attaches to the stem). This is where the magic can happen for root development.
- Prepare the Cuttings: Gently remove the leaves from the bottom half of each cutting. You want to expose the nodes where roots will form. Leave just one or two sets of leaves at the top to help the cutting photosynthesize. If your leaves are very large, you can even cut them in half to reduce water loss.
- Apply Rooting Hormone (Optional): Dip the cut end of each prepared cutting into the rooting hormone. Tap off any excess.
- Potting Up: Fill your small
Resource:
https://identify.plantnet.org/k-world-flora/species/Neillia%20rubiflora%20D.Don/data