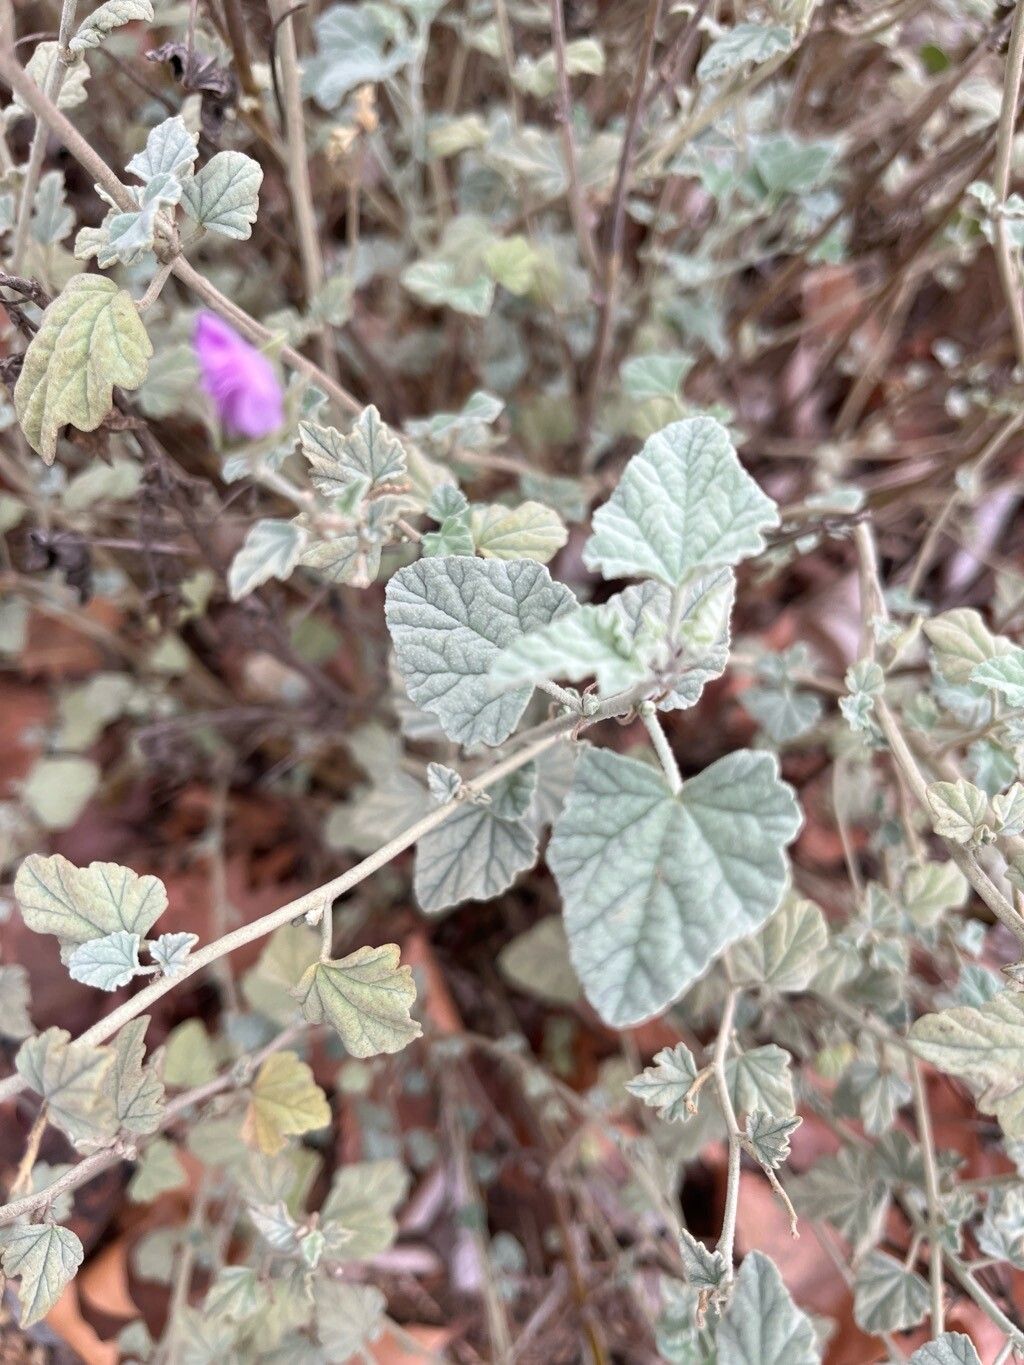
Hey there, fellow plant enthusiasts! Today, we’re diving into the wonderful world of Malacothamnus aboriginum, often known as the California Buckwheat. If you’ve ever admired its delicate, pinkish-lavender blooms and the way they attract pollinators, you’re not alone. This native beauty is a real gem in any garden. And the best part? Propagating it is a deeply satisfying way to spread its charm. Is it a beginner-friendly plant to clone? Honestly, I’d say it’s moderately easy. With a little patience and the right approach, you’ll have new plants popping up before you know it!
The Best Time to Start
For Malacothamnus aboriginum, my favorite time to take cuttings is late spring to early summer. This is when the plant is actively growing, and the stems are developing but not yet woody. You’re looking for softwood or semi-hardwood cuttings – they have the best balance of flexibility and the ability to root. Waiting until after the main flush of spring growth gives you prime material to work with.
Supplies You’ll Need
Here’s what you’ll want to have on hand when you’re ready to get your hands dirty:
- Sharp, clean pruning shears or a sharp knife: Crucial for making clean cuts that heal well.
- Rooting hormone (powder or gel): This is a big help in encouraging root development.
- Well-draining potting mix: I usually mix about 50% perlite or pumice with 50% coco coir or peat moss. Whatever you use, make sure it drains like a sieve!
- Small pots or propagation trays: Clean ones, please!
- Clear plastic bags or a mini greenhouse: To create a humid environment.
- Labels and a marker: So you don’t forget what you planted where!
- A watering can with a fine rose: For gentle watering.
Propagation Methods: Stem Cuttings
This is my go-to method for Malacothamnus aboriginum. It’s efficient and usually yields great results.
- Select your parent plant: Find a healthy, vigorous Malacothamnus aboriginum.
- Take cuttings: Using your clean shears, cut stems that are about 4-6 inches long. Look for stems that are firm but still bendy – not floppy and not stiffly woody. Make the cut just below a leaf node, which is where roots will emerge most readily.
- Prepare the cuttings: Gently strip off the lower leaves from the bottom half of the cutting. If the leaves are large, you can cut them in half to reduce water loss.
- Apply rooting hormone: Dip the cut end of the stem into your rooting hormone, tap off any excess.
- Pot them up: Fill your pots with your well-draining mix. Make a small hole with a pencil or your finger. Insert the cutting into the hole, ensuring the bottom leaf nodes are below the soil surface. Gently firm the soil around the stem.
- Water gently: Water thoroughly but gently until you see water drain from the bottom of the pot.
- Create humidity: Cover the pot with a clear plastic bag, propping it up with stakes so it doesn’t touch the leaves. Alternatively, place the pots in a mini greenhouse. Keep them in a bright spot, but out of direct, hot sun.
The “Secret Sauce” (Pro Tips)
Here are a couple of things I’ve learned over the years that really boost success:
- Don’t be afraid of a little heat: Malacothamnus aboriginum loves warmth for rooting. If you can, place your pots on a heating mat set to around 70-75°F (21-24°C). This encourages root development much faster.
- Think “mist, not soak”: While you want to keep the cuttings consistently moist, you don’t want them waterlogged. Mist the leaves and soil surface lightly every couple of days once they are under cover. Overwatering is the fastest way to rot a cutting.
Aftercare & Troubleshooting
Once you start seeing signs of new growth or feel a gentle tug when you lightly pull on a cutting (indicating roots!), it’s time for more attentive care.
- Harden them off: Gradually introduce your rooted cuttings to the outside environment. This means removing the plastic bag for longer periods each day over a week or two, and eventually, exposing them to more direct sunlight.
- Water consistently: Keep young plants well-watered, especially during hot, dry periods. As they grow, let the soil dry slightly between waterings.
- Watch for rot: The most common problem is rot, which looks like black, mushy stems. This is usually a sign of too much moisture and not enough air circulation. If you see it, sadly, that cutting is likely lost. Remove it immediately and ensure the remaining cuttings have better drainage and airflow.
- Damping off: Young seedlings or cuttings can also suffer from “damping off,” where the stem collapses at the soil line. This is also a fungal issue, often due to overwatering and poor sanitation.
A Encouraging Closing
Propagating plants is a journey, and with Malacothamnus aboriginum, it’s a rewarding one. Be patient with your cuttings. Sometimes they take longer than you expect to show signs of life. Don’t get discouraged if not every single one makes it – that’s part of the learning process! Enjoy the quiet satisfaction of nurturing new life from a bit of stem. Happy propagating!
Resource: