Oh, hello there! Come on in, grab a mug. Let’s talk about little plants. Today, I want to share my joy in propagating Gymnocarpium dryopteris, or as many of us lovingly call it, Oak Fern.
The Charm of the Oak Fern and Why You’ll Want More
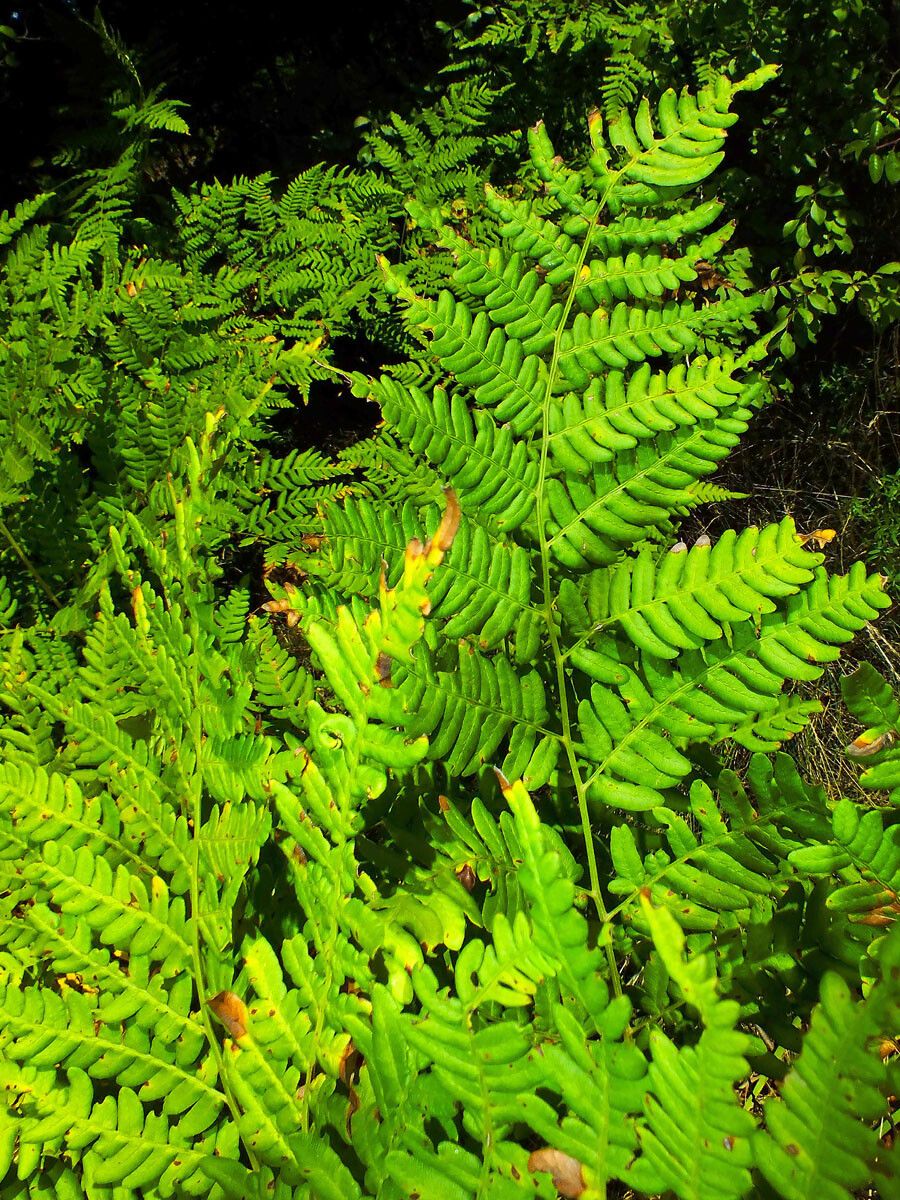
There’s something truly magical about Oak Fern. Its delicate, almost lace-like fronds unfurling in shady, damp corners of the garden feel so ancient and wild. It brings a sense of quiet elegance that’s hard to beat. And the best part? Growing more of these beauties yourself is not only possible, but incredibly satisfying. For me, Oak Fern falls into the “moderately easy” category. It’s not as hands-off as some succulents, but with a little attention, you’ll be rewarded with a miniature woodland floor in no time.
When the Magic Happens: The Best Time to Start
The absolute sweet spot for propagating Oak Fern is early spring, right as new growth is emerging. You’ll see those tiny fiddleheads starting to peek out, and the plant is just waking up from its winter slumber. This is when its energy is directed towards vigorous growth, making it the prime time for division. You can also have success a bit later in the season, perhaps late spring or early summer, but spring just feels like the easiest bet for a strong start.
Your Propagation Toolkit: What You’ll Need
Gathering your supplies beforehand makes the whole process much smoother. You don’t need a fancy setup for Oak Fern, just a few essentials:
- Sharp Pruning Shears or a Clean Knife: For making clean cuts.
- Small Pots or Trays: With drainage holes, of course!
- Well-Draining Potting Mix: A good blend of peat moss, perlite, and a bit of compost works wonderfully. I like to add a little extra coarse sand for drainage too.
- Watering Can or Spray Bottle: For gentle moisture.
- Optional: Rooting Hormone Powder: While not strictly necessary for Oak Fern, it can give your divisions an extra boost.
Bringing Forth New Life: Easy Propagation Methods
For Oak Fern, division is my go-to. It’s the most straightforward and effective way to create new plants.
- Assess Your Fern: Gently dig around the base of your established Oak Fern. You’ll see it spreads via rhizomes, which are underground stems. Look for natural breaks or distinct clumps forming.
- The Gentle Separation: With your hands or a clean trowel, carefully separate a division. You want each piece to have healthy roots and at least a few fronds. Don’t be afraid to get your hands dirty; this is where the connection happens!
- Potting Up: Plant your new division in a small pot filled with your prepared potting mix. Make sure the top of the rhizome is just slightly below the soil surface.
- Water In: Water gently but thoroughly. You want the soil to be moist, but not waterlogged.
While division is king, I’ve also seen successful propagation from spores, but that’s a journey for the truly patient and adventurous! It’s a much more involved process, akin to growing moss. For most of us, division is the way to go.
My “Secret Sauce”: Insider Tips for Success
After years of coaxing bits of greenery into new life, I’ve learned a few tricks. Here are a couple that really make a difference with Oak Fern:
- Humidity is Your Friend: Oak Fern loves moisture, and so do its newly divided sections. I like to nestle the newly potted divisions into a tray of moist pebbles or place a clear plastic bag or dome loosely over them. This creates a humid microclimate that keeps the fronds from drying out while the roots establish. Just remember to open it for a bit each day to allow for air circulation and prevent fungal issues.
- Think Like the Forest Floor: When you’re potting up your divisions, don’t pack the soil too tightly. Oak Fern thrives in airy, slightly loose conditions, much like its natural habitat. A light hand when firming the soil will help those new roots breathe and spread easily.
Aftercare and Troubleshooting: Nurturing Your New Greens
Once your division looks happy and settled, the real fun begins!
Keep the soil consistently moist but never soggy. This is key. A good way to check is to feel the top inch of the soil; if it’s dry, it’s time to water. Place your new Oak Fern in a shady spot that mimics its preferred environment. If you’ve used the humidity trick, gradually acclimatize it to normal room humidity by opening the cover for longer periods each day before removing it completely.
What if things go wrong? The most common culprit is rot, usually due to overwatering. You’ll notice the fronds turning yellow and mushy. If you see this, immediately check your drainage holes and ease up on the watering. Another sign of trouble is crispy, dry fronds, which means it’s not getting enough moisture or humidity. Don’t despair; it’s all part of the learning process.
Go Forth and Grow!
Propagating Oak Fern is a delightful way to fill your shady corners with more of its magic. Be patient with your new divisions; they have their own rhythm. Enjoy the process, revel in the tiny triumphs, and soon you’ll have a veritable carpet of these enchanting ferns. Happy growing!
Resource:
https://identify.plantnet.org/k-world-flora/species/Gymnocarpium%20dryopteris%20(L.)%20Newman/data