Oh, hello there, fellow plant enthusiast! So, you’ve fallen for the allure of Durio dulcis, have you? I don’t blame you one bit. Its unique charm and the promise of a truly special harvest make it an incredibly rewarding plant to grow. Getting new plants from your existing ones is one of life’s simple gardening joys, and let me tell you, successfully propagating something as intriguing as Durio dulcis feels like unlocking a little bit of botanical magic. Now, for the honest truth: propagating Durio dulcis isn’t something I’d put on the absolute beginner’s list. It requires a bit of patience and a keen eye, but with a little guidance, you can absolutely do it.
The Best Time to Start
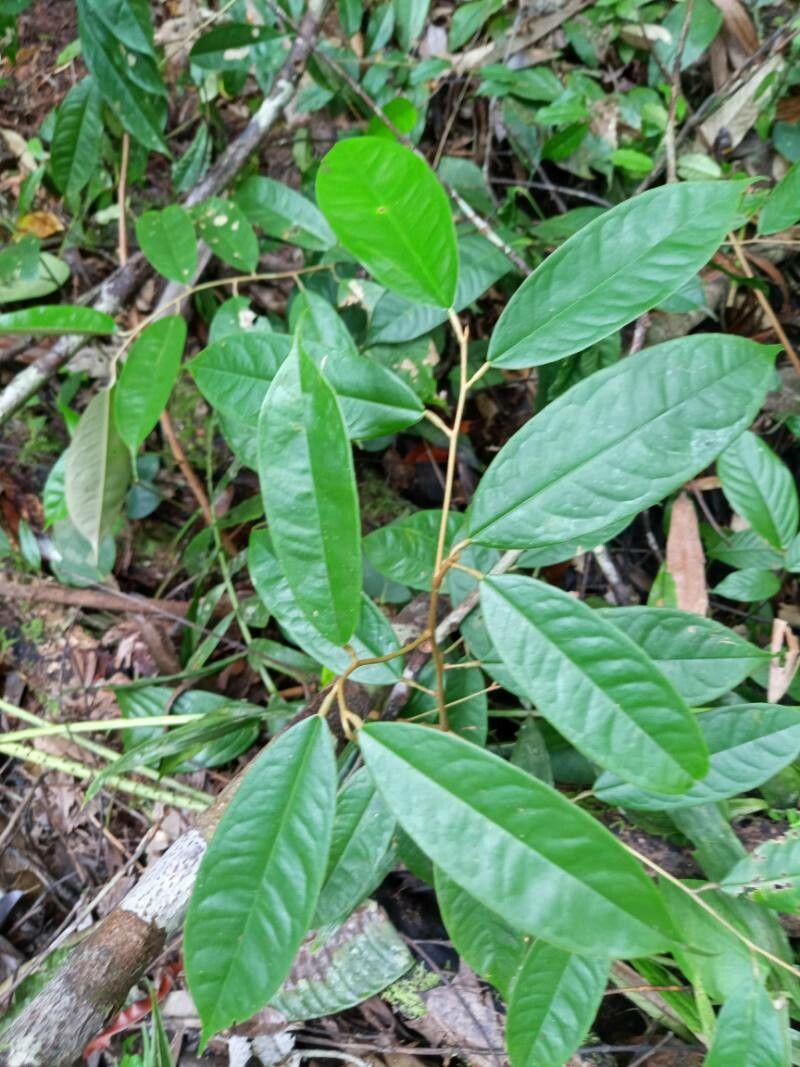
When it comes to Durio dulcis, timing is definitely your friend. The absolute sweet spot for propagation is during the active growing season. Think of it as when the plant is bursting with energy and ready to make new life. For most of us, this will be in the late spring or early summer. You want to take cuttings from healthy, vigorous stems that haven’t flowered or fruited yet. A stem that’s just finished producing, or one that’s looking a bit tired, won’t have the reserves to put into root formation.
Supplies You’ll Need
Before we get our hands dirty, let’s gather our toolkit. Having everything ready makes the process so much smoother:
- Sharp, sterile pruning shears or a knife: Cleanliness is paramount to prevent disease transmission. A quick wipe with rubbing alcohol does the trick.
- Rooting hormone powder or gel: This is a lifesaver for encouraging root development. Look for one specifically for woody cuttings if possible.
- Well-draining potting mix: I like a blend of perlite, coco coir, and a little bit of compost. You want something that holds moisture but doesn’t stay soggy. A good sterile seed-starting mix can also work.
- Small pots or propagation trays: Enough to hold your cuttings comfortably. Make sure they have drainage holes!
- A clear plastic bag or propagation dome: This creates a humid environment, which is crucial for cuttings.
- Watering can with a fine rose or a spray bottle: For gentle watering.
- Labels and a marker: Don’t forget to note what you planted and when!
- (Optional) A heat mat: This can significantly speed up root formation by providing gentle bottom warmth.
Propagation Methods
For Durio dulcis, the most reliable method I’ve found is stem cuttings. It’s effective and gives you the best chance of creating a strong, independent plant.
Stem Cuttings:
- Select your parent plant: Choose a healthy, mature Durio dulcis plant that is actively growing. Look for a stem that’s about pencil-thick and has plenty of healthy leaves. Avoid any stems that show signs of disease or pest damage.
- Take the cutting: Using your sterilized pruning shears, take a cutting that is 6-8 inches long. Make a clean cut just below a leaf node (where a leaf attaches to the stem). This is where the plant is most likely to root.
- Prepare the cutting: Gently remove the lower leaves, leaving just a few at the top. You can trim any very large leaves in half horizontally to reduce water loss through transpiration.
- Apply rooting hormone: Dip the cut end of the stem into your rooting hormone powder or gel. Tap off any excess.
- Pot it up: Fill your small pots with your well-draining potting mix. Make a small hole in the center with your finger or a pencil. Carefully insert the cut end of the cutting into the hole, ensuring the rooting hormone stays on the cut end. Gently firm the soil around the cutting.
- Water gently: Water the soil thoroughly until it drains from the bottom of the pot.
- Create humidity: Place a clear plastic bag over the pot, securing it with a rubber band or tie around the rim. Alternatively, use a propagation dome. You want to create a mini greenhouse effect. Make sure the plastic doesn’t touch the leaves.
- Provide light and warmth: Place your pots in a bright location out of direct sunlight. A spot on a windowsill that gets good indirect light is ideal. If you have a heat mat, place the pots on it. The goal is to keep the soil temperature around 70-75°F (21-24°C).
The “Secret Sauce” (Pro Tips)
After years of playing with plants, you pick up a few tricks that can make all the difference. Here are a couple of my favorites for Durio dulcis:
- The “Air Layering” Alternative: If you’re finding stem cuttings a bit tricky, consider air layering. This involves making a small wound on a healthy stem while it’s still attached to the parent plant, then wrapping it with moist sphagnum moss and plastic wrap. Roots will form within the moss, and once they’re established, you can cut the stem below the roots and pot it up. It’s a slower process, but can be very successful, especially for trickier plants.
- Don’t Rush the Dip: When dipping your cuttings in rooting hormone, give it a good minute or two before you tap off the excess. This allows the hormone to adhere properly to the moist cut surface and maximize its effectiveness. Think of it as letting the “magic potion” really soak in.
- Bottom Heat is Your Best Friend: Seriously, if you can swing it, bottom heat is a game-changer for root development. It mimics the warmth of the soil in the tropics and can dramatically speed up the process and improve success rates. Even a small seedling heat mat can make a big difference.
Aftercare & Troubleshooting
Once your cuttings have been potted, the vigil begins! Check the moisture levels regularly. The soil should be kept consistently moist but not waterlogged. You can lift the plastic bag slightly every few days to allow for some air circulation.
You’ll know your cutting is rooting when you see new leaf growth. This can take several weeks, so be patient! Once you see that promising new growth and feel a gentle resistance when you tug softly on the cutting (don’t pull too hard!), it’s time to start introducing it to the outside world. Gradually increase the ventilation by opening the plastic bag a little more each day over a week.
Now, what if things don’t go as planned? The most common culprits for failure are:
- Rot: This is usually due to overwatering or poor drainage. If you see the stem turning mushy and black at the soil line, it’s likely rot. There’s not much you can do at that point except discard the cutting and sterilize your pot for your next attempt. This is why that well-draining mix is so crucial!
- Drying Out: If the leaves start to wilt and turn brown, the cutting has likely dried out. Make sure your humidity is high and you’re watering consistently.
A Encouraging Closing
Propagating any plant is a journey, and with Durio dulcis, it’s a particularly rewarding one. Don’t be discouraged if your first few attempts don’t result in a rooted beauty. Gardening is all about learning from our plants and our experiences. Keep trying, observe carefully, and remember that each cutting is a little experiment. Enjoy the process, celebrate the small victories, and before you know it, you’ll be sharing your own success story! Happy propagating!
Resource:
https://identify.plantnet.org/k-world-flora/species/Durio%20dulcis%20Becc./data