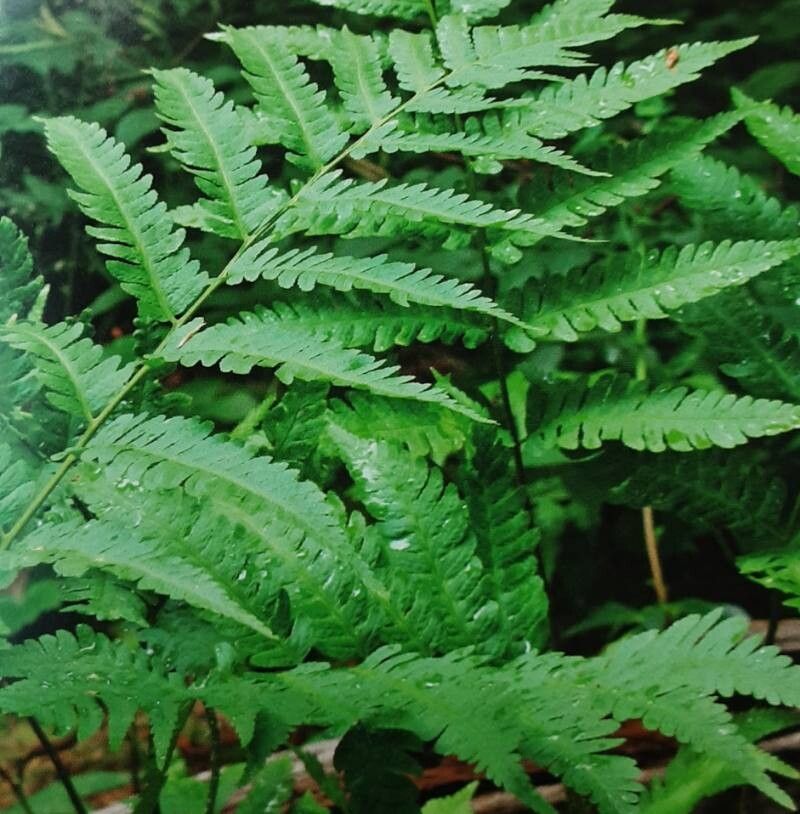
Well hello there! If you’ve ever admired the lush, architectural beauty of a Goldie’s Fern (that’s Dryopteris goldieana for those of you keeping score at home), you’re in for a treat. These magnificent ferns, with their upright fronds and feathery texture, bring a touch of wild elegance to any shady corner. And guess what? Propagating them yourself is not only incredibly rewarding, but it’s also more achievable than you might think. Don’t let the idea of fern propagation intimidate you; with a little patience and the right approach, you’ll be creating more of these beauties in no time. For beginners, I’d say it’s moderately rewarding – a little more hands-on than, say, a simple houseplant division, but totally doable with this guide.
The Best Time to Start
When it comes to Goldie’s Ferns, the sweet spot for propagation is generally in the spring, as new growth begins to emerge. You’re looking for that time when the plant is actively waking up from its winter rest and putting out fresh, vibrant fronds. This surge of energy means it’s more receptive to division and has a better chance of establishing quickly. If you miss spring, late summer can also work, but you’ll want to make sure your new divisions have ample time to root in before the cooler weather sets in.
Supplies You’ll Need
Before we get our hands dirty, let’s gather our tools. Having everything ready will make the process so much smoother.
- Sharp Pruning Shears or a Clean Knife: For making clean cuts. Sterilize them with rubbing alcohol to prevent disease.
- Potting Mix: A well-draining mix is crucial. I like a blend of peat moss or coir, perlite, and a bit of compost. For ferns, a slightly acidic mix is ideal.
- Pots or Trays: New pots in a size appropriate for your divisions, or seed starting trays if you’re going the spore route (we’ll touch on that briefly).
- Watering Can or Spray Bottle: For gentle hydration.
- Rooting Hormone (Optional but Recommended): Especially for divisions, this can give them a nice little boost.
- Plastic Bags or a Clear Lid: To create a humid environment for cuttings or divisions.
- Labels and a Marker: So you don’t forget what you planted where!
Propagation Methods
While Dryopteris goldieana can technically be grown from spores, which is a much more advanced and time-consuming process, our most practical and rewarding methods will be division and, for the adventurous, stem cuttings (though this is less common for ferns with their specific frond structure).
1. Division: The Tried-and-True Method
This is my go-to for Goldie’s Ferns. It’s like giving your mature plant a haircut and using the trimmings to start new families.
- Assess Your Plant: Look for a mature fern with multiple crowns or distinct growing points. You’ll often see a clump that looks like it’s ready to be separated.
- Gently Excavate: Carefully dig around the perimeter of the fern, lifting the entire root ball from its pot or the ground.
- Loosen the Roots: Gently shake off excess soil. You want to be able to see where the rhizomes (the sturdy underground stems) connect the crowns. You can use your fingers to tease these apart.
- Make the Cut (or Pull Apart): If the crowns are tightly bound, use your sterilized pruning shears or knife to make a clean cut, ensuring each division has a good portion of roots and at least one or two healthy fronds or growing points. If they’re more loosely attached, you might be able to carefully pull them apart with your hands.
- Potting Up: Plant each division in its own pot using your prepared, well-draining potting mix. Make sure the crown sits at soil level.
- Water In: Water thoroughly to settle the soil around the roots.
2. Stem Cuttings: For the Bold
This is less conventional for ferns and often refers to taking sections of the rhizome. True “stem cuttings” in the leafy sense aren’t as reliable for Goldie’s. If you’re feeling experimental and have a healthy, vigorous plant, you can try this with a section of the rhizome that has a new frond growing from it.
- Identify a Healthy Rhizome Segment: Look for a sturdy, above-ground or just-below-surface rhizome piece with a developing frond bud.
- Make a Clean Cut: Using your sterilized tool, take a segment of the rhizome that’s a few inches long and has at least one healthy-looking bud or very young frond.
- Prepare the Cutting: You can dip the cut end in rooting hormone if you have it, though it’s not always necessary.
- Planting: Insert the rhizome segment into your potting mix, orienting it so the frond bud is pointing upwards. The rhizome should be just barely covered or nestled on the surface.
- Create Humidity: Place the pot inside a plastic bag or cover it with a clear lid to maintain high humidity.
The “Secret Sauce” (Pro Tips)
Here are a few little tricks I’ve picked up over the years that really make a difference:
- Don’t Drench, Mist: Especially for cuttings or newly divided plants, it’s easy to overwater and invite rot. Instead of just soaking, mist frequently with clean water. This keeps the humidity high without waterlogging the soil.
- Think “Bottom Heat”: If you’re trying cuttings or struggling with divisions, placing your pots on a seedling heat mat can significantly speed up root development. Ferns love a bit of cozy warmth from below.
- Patience with Fronds: New fronds on divisions might look a little sad or wilted at first. Resist the urge to water them constantly. They often recover once the roots get established. Trust the process!
Aftercare & Troubleshooting
Once your divisions or cuttings show signs of life – like new frond unfurling or firm rhizome growth – it’s time for a slightly more established care routine.
- Gradual Acclimation: If you’ve used a plastic bag or lid for humidity, gradually introduce your new plant to drier air by opening it for longer periods each day over a week or two.
- Consistent Moisture: Keep the soil consistently moist but not soggy. Water when the top inch of soil feels dry to the touch.
- Shade Still Key: Remember, these are forest dwellers. Keep them in a shady spot, protected from direct sun, which can scorch their delicate new growth.
The most common setback you’ll encounter is rot. This usually happens from overwatering or poor drainage. If you notice mushy stems, discolored fronds that look waterlogged, or a foul smell from the soil, you’ve likely got rot. In this case, it’s best to discard the affected plant to prevent it from spreading. If you catch it early, you might be able to trim away the rotten parts and repot in fresh, dry soil, but often, it’s a lost cause.
A Little Encouragement to Finish
Growing plants from cuttings and divisions is a journey, and it’s always so satisfying to watch something you’ve nurtured grow into a healthy, established plant. Be patient with your Goldie’s Ferns. Some take a little longer to get going than others, but that’s part of the magic. Enjoy the process, celebrate the small victories, and know that you’re bringing more of that beautiful, green magic into your world. Happy gardening!
Resource: