Sharing the Love: Bringing More Hummingbird Jewels into Your Garden!
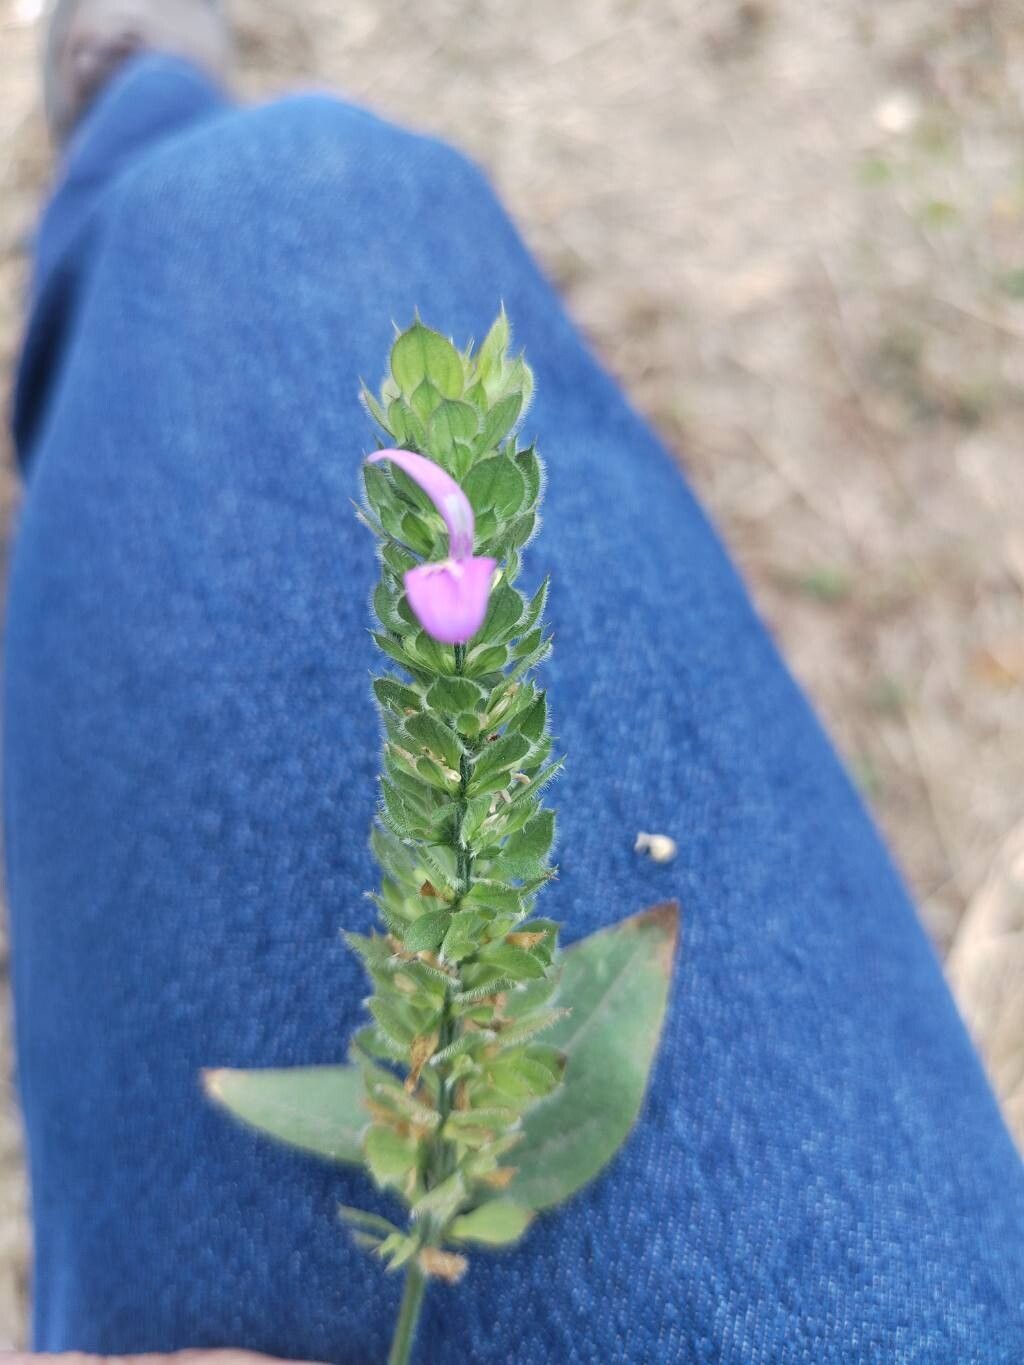
Oh, Dicliptera unguiculata, isn’t it just a charmer? You know, the one with those gorgeous, vibrant flowers that practically beg hummingbirds and butterflies to stop by for a visit. For me, seeing those tiny jewels flitting around my garden is pure magic. And the best part? It’s surprisingly easy to share that magic by propagating this beauty yourself! If you’re new to the plant-parenting game, you’ll be happy to know that Dichliptera is quite forgiving. It’s a real joy for beginners and seasoned gardeners alike.
When to Get Growing
For the absolute best chance of success, I like to start propagating Dicliptera unguiculata in late spring or early summer. This is when the plant is actively growing and has plenty of energy to put into developing new roots. You’re looking for healthy, non-flowering shoots or stems. Think of it as taking cuttings from a plant that’s bursting with life!
Gathering Your Arsenal
Before we dive in, let’s make sure we have everything you need:
- Sharp Pruning Shears or a Clean Knife: Essential for making clean cuts. You don’t want to mash the stems!
- Rooting Hormone (Optional but Recommended): A little dab of this can really give your cuttings a head start. Look for a powder or gel specifically for rooting.
- A Well-Draining Potting Mix: I usually go for a mix of equal parts peat moss (or coir) and perlite. This ensures good aeration and prevents waterlogging.
- Small Pots or Seed Trays: Whatever you have on hand that has good drainage holes will work.
- Plastic Bags or a Clear Dome: To create a mini-greenhouse effect and keep humidity up.
- Watering Can with a Fine Rose: Gentle watering is key.
Let’s Get Our Hands Dirty: Propagation Methods
There are a couple of ways to go about this, and both are quite effective.
Stem Cuttings: My Go-To Method
This is usually the most straightforward approach.
- Select Your Stems: Find a healthy, vigorous stem on your mature Dicliptera unguiculata. Look for a section that’s about 4-6 inches long and doesn’t have any flowers or developing buds.
- Make the Cut: Using your clean shears or knife, make a clean cut just below a leaf node (where a leaf attaches to the stem). This is where new roots are most likely to form.
- Prepare the Cutting: Gently remove the lower leaves. You want to expose a few bare nodes. If the remaining leaves are very large, you can even snip them in half to reduce water loss.
- Dip in Rooting Hormone (if using): Moisten the cut end of the stem and dip it into the rooting hormone powder or gel. Tap off any excess.
- Plant Your Cuttings: Fill your small pots with your prepared potting mix. Make a little hole with your finger or a pencil, and gently insert the cutting, ensuring the bare nodes are buried in the soil. Firm the soil gently around the stem.
- Water and Cover: Water the soil lightly until it’s moist but not soggy. Then, cover the pot with a plastic bag, sealing it with a rubber band, or place it under a clear dome. This creates a humid environment crucial for root development.
Water Propagation: The See-Through Method
This method is fantastic because you can actually watch the roots grow!
- Select and Cut: Follow steps 1 and 2 from the stem cutting method.
- Remove Lower Leaves: Again, remove the lower leaves so the nodes are exposed.
- Place in Water: Fill a small jar or glass with fresh water and place the cutting in it, making sure the bare nodes are submerged but the remaining leaves are out of the water.
- Find a Spot: Place the container in a bright location, but out of direct sunlight. Change the water every few days to keep it fresh and prevent rot.
The “Secret Sauce” – My Insider Tips
After years of fiddling with plants, I’ve learned a few little tricks that can really make a difference.
- Don’t Let the Leaves Touch the Water: Whether you’re propagating in soil or water, it’s really important that the leaves stay above the water level. If they sit in water, they tend to rot, and that’s not what we want for our potential new plants.
- Bottom Heat is Your Friend: If you’re struggling to get cuttings to root, try placing your pots on a gentle heat mat. This consistent warmth mimics ideal growing conditions and can significantly speed up root formation. You don’t need it to be hot, just a little warmer than room temperature.
- Patience is a Virtue, Especially with Them: Sometimes, it can take a few weeks, even a month or two, for roots to really establish. Don’t give up too soon! Keep the soil consistently moist (not wet) and the humidity high.
Nurturing Your New Additions and What to Watch For
Once you see new leaf growth or feel a gentle tug when you lightly pull on a cutting, that’s usually a good sign that roots have formed in soil. For water propagation, you’ll see little white roots emerging.
When roots are a good half-inch to an inch long, it’s time to transplant your water-propagated babies into pots with your well-draining soil mix. Gently transplant them, water lightly, and keep them in a slightly shadier spot for the first week or so to help them adjust.
The most common setback you might see is rot. This often happens if the soil is too wet or if the air circulation is poor. Cuttings might turn mushy and black. If you see this, it’s best to discard the affected cutting and re-evaluate your watering and cover setup.
Keep Growing, Keep Sharing!
Propagating Dicliptera unguiculata is such a rewarding experience. It’s a wonderful way to expand your garden, share your passion with friends, and simply enjoy the miracle of new life. Be patient with your cuttings, provide them with the right conditions, and before you know it, you’ll have a whole collection of these hummingbird magnets! Happy gardening!
Resource:
https://identify.plantnet.org/k-world-flora/species/Dicliptera%20unguiculata%20Nees/data