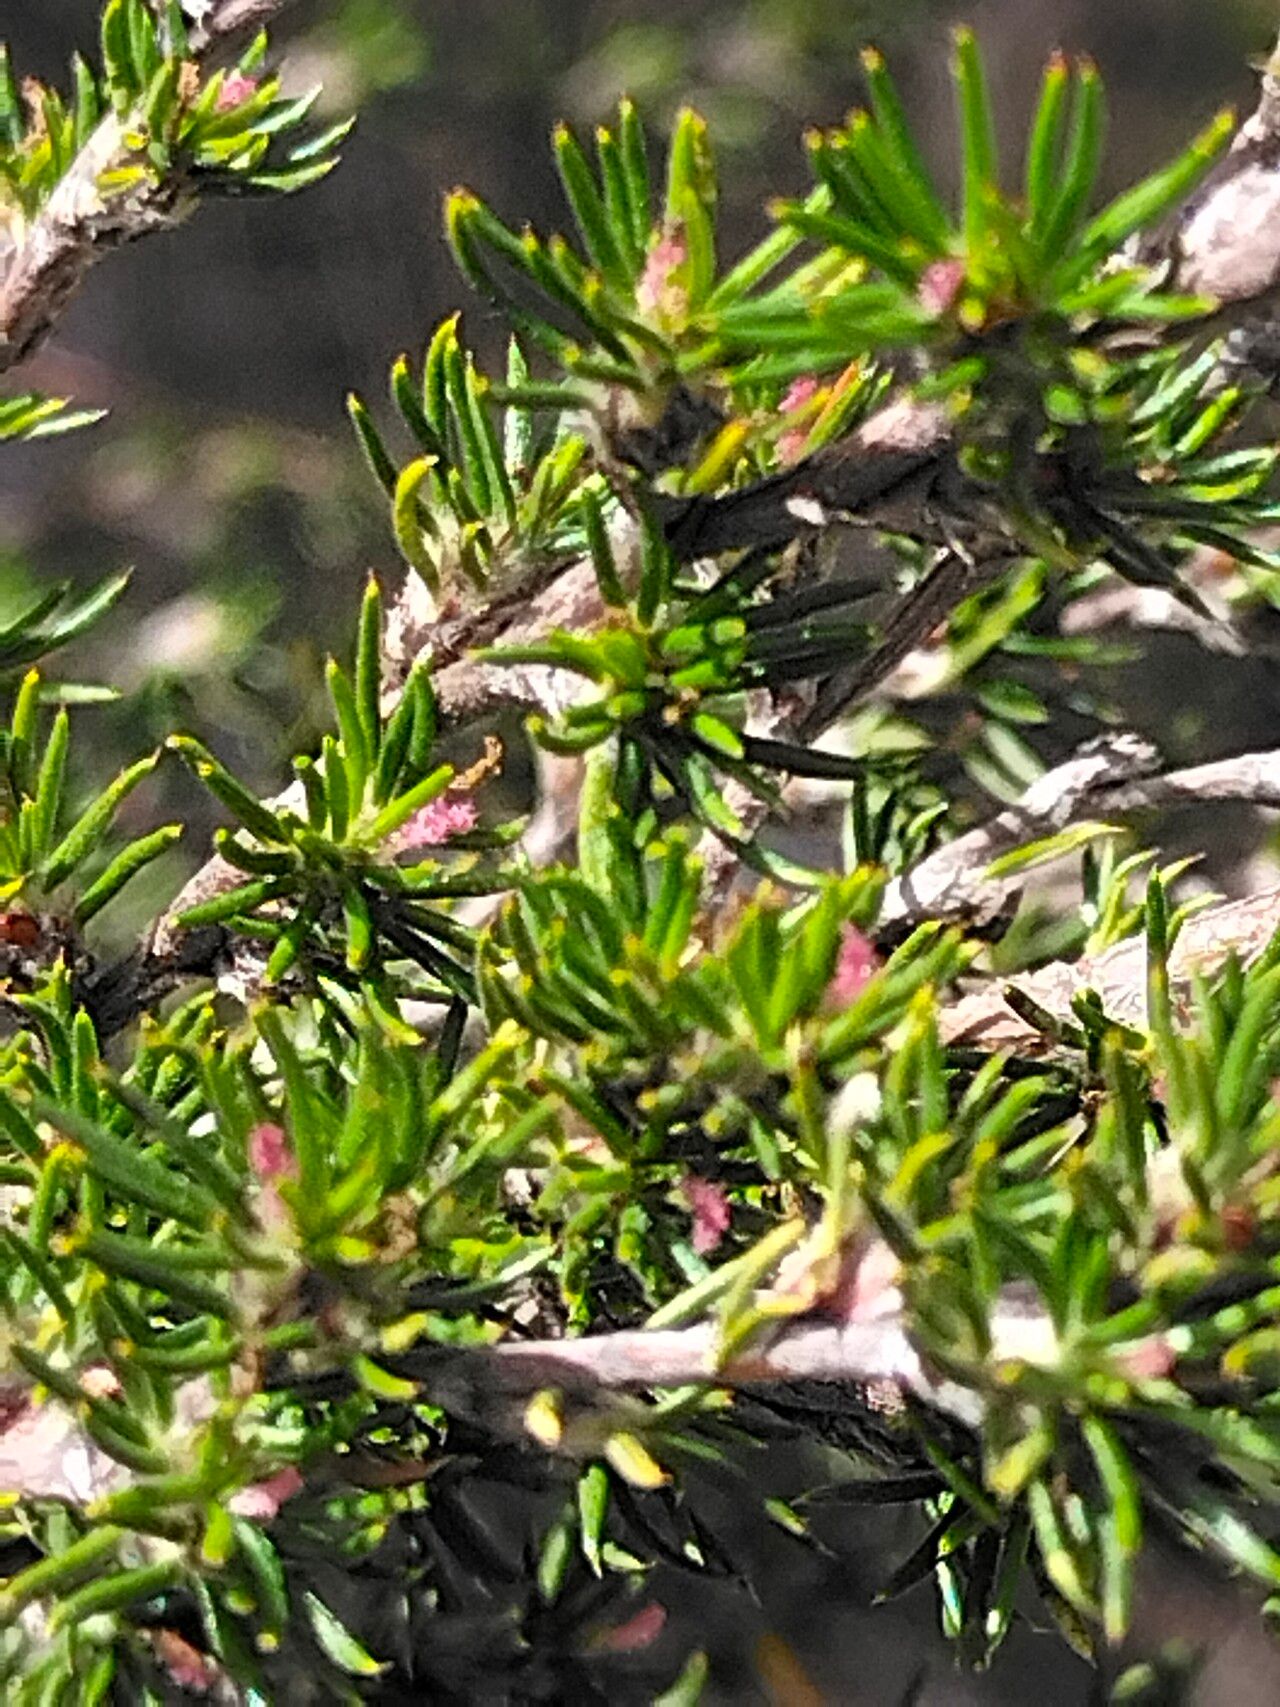
Oh, hello there! Pull up a chair and let’s chat about a real gem of a plant: Cliffortia stricta. If you’re looking for something a little different, a plant that adds a touch of wild beauty to your garden, you’ve found it. Its fine, heath-like foliage and delicate, often starry flowers are just lovely. And the best part? Bringing more of these beauties into your life through propagation is incredibly rewarding. Now, I won’t lie, Cliffortia stricta can be a tad fussy compared to some of our more laid-back garden friends, but with a little patience and the right approach, it’s definitely achievable, even for those new to the propagation game.
The Best Time to Start
When it comes to getting those new Cliffortia plants going, late spring to early summer is your sweet spot. This is when the plant is actively growing and has plenty of energy to put into root development. You’ll want to look for young, non-woody stems that are still pliable but have started to firm up a bit. Think of it like striking while the iron is hot – the plant is primed for success!
Supplies You’ll Need
To set yourself up for a successful propagation, gather these essentials:
- Sharp, clean pruning shears or a sharp knife: Crucial for clean cuts that heal well.
- Rooting hormone powder or gel: This is a real confidence booster for your cuttings, encouraging faster and stronger root growth.
- A well-draining potting mix: I like to use a blend of coarse river sand and peat moss or coco coir, about a 50/50 ratio. Some perlite can also be a good addition for aeration.
- Small pots or seed trays: Clean ones are a must to prevent disease.
- A clear plastic bag or propagator lid: This creates a humid environment for your cuttings.
- A watering can with a fine rose attachment: Gentle watering is key.
- Optional: A heat mat: If you have one, this can really speed things up, especially in cooler conditions.
Propagation Methods
We’ll focus on the most reliable method for Cliffortia stricta: stem cuttings.
- Select your parent plant: Choose a healthy, vigorous Cliffortia stricta. It should be free of pests and diseases.
- Take the cuttings: Using your clean shears, snip off pieces of stem that are about 4-6 inches long. Make the cut just below a leaf node (where a leaf attaches to the stem). These are called softwood cuttings.
- Prepare the cuttings: Gently remove the lower leaves from the cutting, leaving only a couple of leaves at the very top. This prevents the leaves from rotting when they’re in the soil. If the leaves are very large, you can even consider cutting them in half horizontally to reduce water loss.
- Apply rooting hormone: Dip the cut end of the stem into your rooting hormone. Tap off any excess powder.
- Pot them up: Fill your pots or trays with your prepared potting mix. Make a small hole in the center with your finger or a pencil. Insert the cutting into the hole, gently firming the soil around it. Make sure the leaf nodes are buried.
- Water gently: Water thoroughly but gently, ensuring the soil is evenly moist.
- Create humidity: Place the pots inside a clear plastic bag or cover them with a propagator lid. Seal it loosely to allow for some air circulation.
- Find a good spot: Place your propagator in a bright location out of direct sunlight. A windowsill that gets morning sun but is shaded in the afternoon is often ideal. If you’re using a heat mat, place the pots on it now.
The “Secret Sauce” (Pro Tips)
Here are a couple of tricks I’ve learned over the years that can make a big difference:
- Don’t let the leaves touch the water (if using water propagation): While stem cuttings in soil are our focus here, if you ever experiment with water, it’s vital that the remaining leaves stay above the water line. Any submerged leaves will rot and can infect the whole cutting.
- Bottom heat is your friend: Especially if your propagation space is a bit cool, providing gentle bottom heat from a mat will encourage the roots to form more vigorously from the base of the cutting. It mimics natural conditions and gives those roots a real boost.
Aftercare & Troubleshooting
Once your cuttings have rooted (you can test this by giving them a very gentle tug – there should be resistance), it’s time for the next stage.
- Gradually acclimate: Over a week or so, gradually remove the plastic bag or lid for increasing periods each day to allow the new plant to get used to drier air.
- Watering: Continue to water sparingly but consistently, allowing the top inch of soil to dry out slightly between waterings. Avoid waterlogging at all costs.
- Repotting: When the roots have filled the pot, you can carefully transplant them into slightly larger individual pots.
- Signs of trouble: The most common issue you’ll face is rot. If your cutting turns black and mushy or the leaves shrivel and brown despite adequate moisture, it’s likely rot. This usually stems from overwatering or poor drainage. If you see this, remove the affected cutting immediately to prevent it from spreading. Another sign is if the cutting just won’t form roots after several weeks; this can happen if the cutting was too old, too woody, or the conditions weren’t quite right.
A Encouraging Closing
Propagating Cliffortia stricta is a journey, and like any journey, there will be moments of excitement and perhaps a few hiccups. Be patient with your new little plants, observe them closely, and celebrate every tiny success. The joy of watching a cutting grow into a beautiful, established plant is truly unmatched. Happy propagating!
Resource:
https://identify.plantnet.org/k-world-flora/species/Cliffortia%20stricta%20Weim./data