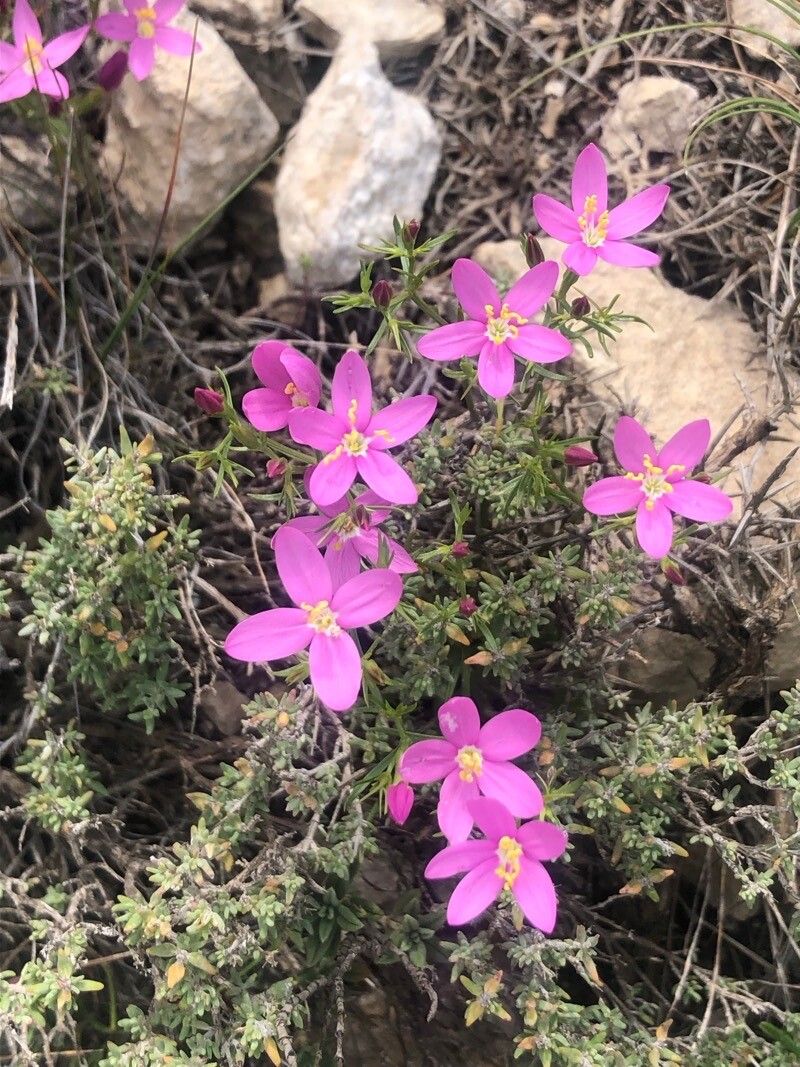
Hello there, fellow plant lovers! I’m so excited to chat with you today about a gem I’ve been cultivating for years: Centaurium quadrifolium. If you’re looking for a delicate, star-shaped flower that brings a touch of wild elegance to your garden, you’re in for a treat. Its dainty blooms, often in shades of pink or purple, are absolutely enchanting, and there’s a special kind of joy in coaxing new life from an existing plant. For beginners, I’d say propagating Centaurium quadrifolium falls into the “moderately rewarding” category. It’s not as foolproof as, say, a pothos, but with a little attention, you’ll absolutely be successful.
The Best Time to Start
For the highest success rates, I always recommend starting your Centaurium quadrifolium propagation in late spring to early summer. This is when the plant is in a vigorous growth phase. You want to take cuttings from healthy, new growth that’s started to firm up a bit – not the super soft, floppy tips, but not the woody stems either. They should snap cleanly when bent.
Supplies You’ll Need
Gathering your supplies beforehand makes the whole process much smoother. Here’s what I usually have on hand:
- Sharp pruning shears or a clean craft knife: For making precise cuts. A little alcohol wipe to sterilize them is always a good idea!
- Rooting hormone (optional but recommended): A powdered or gel formula to help those stem cuttings develop roots more quickly.
- Well-draining potting mix: I like a blend of equal parts peat moss, perlite, and a little bit of sand. For Centaurium, moisture retention is decent, but excellent drainage is key.
- Small pots or seed trays: About 3-4 inches in diameter are perfect. Make sure they have drainage holes.
- Plastic bags or propagation domes: To create a humid environment for your cuttings.
- Watering can or spray bottle: For gentle watering.
Propagation Methods
Centaurium quadrifolium is a bit particular, but the most reliable method for me has always been stem cuttings. Division can work, but it’s often best done when repotting in spring.
Here’s how I tackle stem cuttings:
- Select Your Cuttings: Choose healthy stems from your mature plant. Aim for cuttings that are about 3-5 inches long. Using your sterilized shears or knife, make a clean cut just below a leaf node (where a leaf emerges from the stem).
- Prepare the Cuttings: Gently remove the lower leaves from the cutting, leaving just the top 2-3 leaves. If the leaves are quite large, you can even cut them in half to reduce water loss.
- Apply Rooting Hormone (Optional): Dip the cut end of the stem into your rooting hormone, tapping off any excess.
- Plant the Cuttings: Fill your small pots with your prepared potting mix. Make a small hole in the center of the soil with your finger or a pencil. Carefully insert the cut end of the Centaurium cutting into the hole. Gently firm the soil around the stem.
- Water Gently: Water the potting mix lightly. You don’t want to saturate it, just make it evenly moist.
- Create Humidity: Cover the pot with a clear plastic bag or a propagation dome. Prop the bag up so it doesn’t touch the leaves. Place the pot in a warm, bright location out of direct sunlight.
The “Secret Sauce” (Pro Tips)
Over the years, I’ve learned a few little tricks that really make a difference with these delicate beauties.
- The Water Test: Before you even think about cuttings, take a couple of healthy sprigs and pop them in a glass of water. Don’t let the leaves touch the water. If they stay perky for a few days, they’re good candidates for propagation. If they wilt quickly, your mother plant might be stressed or dehydrated.
- Bottom Heat is Your Friend: While not strictly necessary, placing your pots on a gentle heating mat designed for plant propagation can significantly speed up root development. It mimics the warmth of spring soil and gives those roots a real boost. Your cuttings will thank you for it!
Aftercare & Troubleshooting
Once your cuttings are planted, the main goal is to keep them consistently moist but not soggy and to maintain that lovely humidity. Check the soil every couple of days. If the top inch feels dry, mist it lightly or water gently.
You’ll know your Centaurium cutting has rooted when you see new leaf growth emerging, or when you gently tug on the stem and feel resistance. This can take anywhere from 3 to 6 weeks, sometimes longer.
The most common sign of failure is rot. If your cuttings turn mushy and black, it’s usually a sign of too much moisture and not enough air circulation. If you see this happening, pull out the affected cutting immediately to prevent it from spreading. Sometimes, a cutting might just refuse to root – that’s okay! Nature has its own timeline, and not every attempt will be a success. Just try again when you can.
A Little Bit of Patience Goes a Long Way
Watching a new plant unfurl its first tiny leaves is a truly magical experience. Be patient with your Centaurium quadrifolium cuttings. They have a delicate charm, and the process of coaxing them to root is a beautiful lesson in nurturing. Enjoy the journey, and before you know it, you’ll have more of these lovely blooms to share! Happy gardening!
Resource: