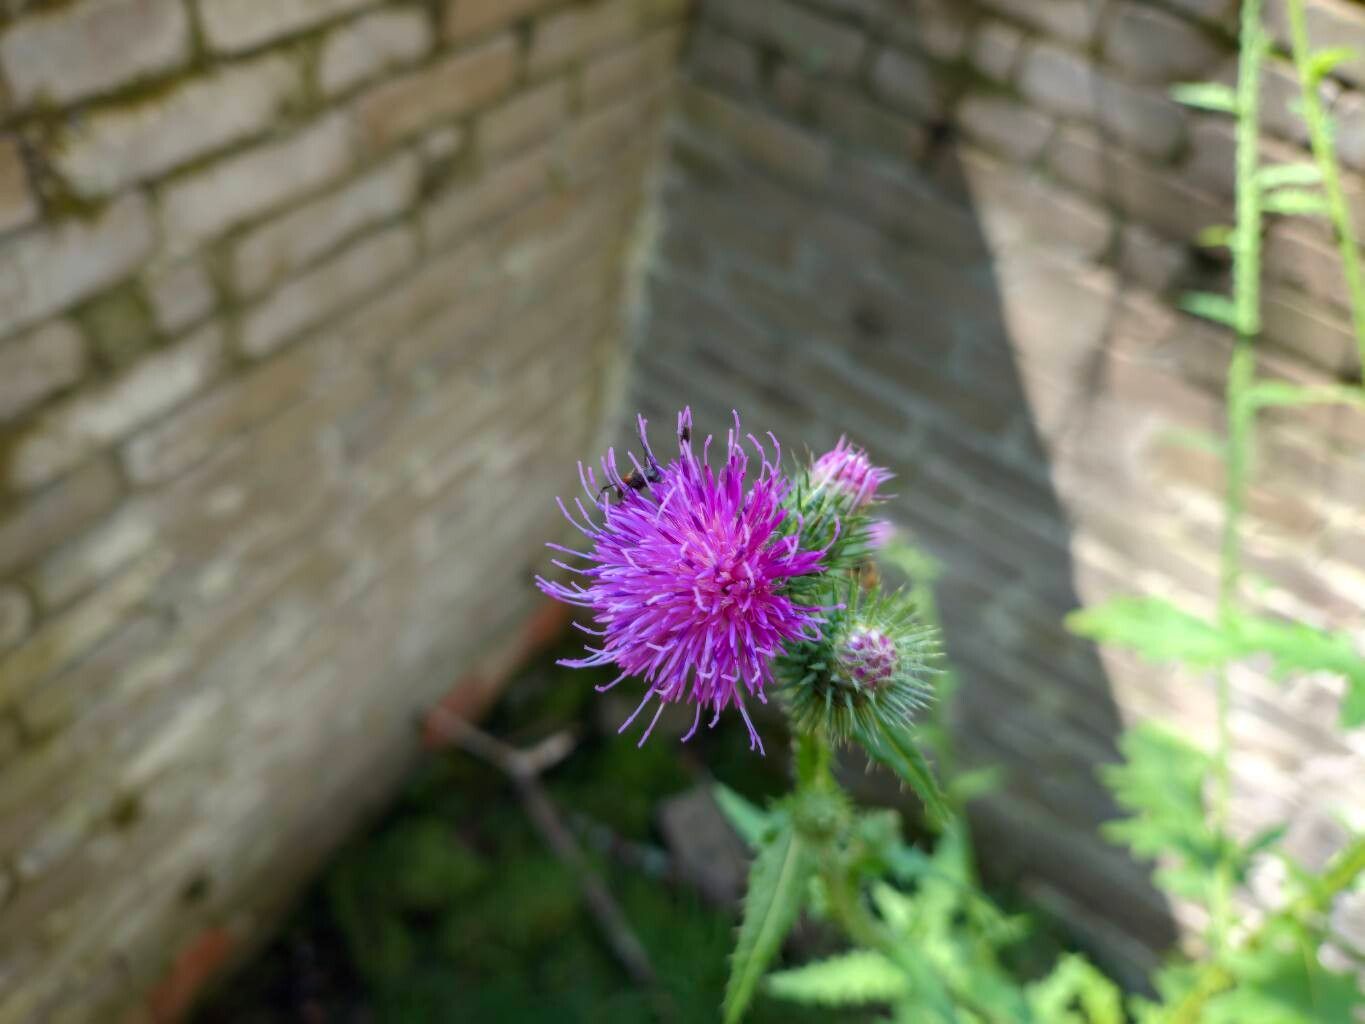
Hello fellow garden enthusiasts! I’m so glad you’re here. Today, we’re diving into the wonderful world of propagating Carduus crispus, also known as curly plumeless thistle. Now, I know what some of you might be thinking – thistle? Yes, indeed! While often considered a weed, Carduus crispus has a surprising charm. Its architectural form and attractive, albeit prickly, foliage can add a unique texture to the garden. Plus, its nodding purple flower heads are a magnet for pollinators. Propagating this beauty is a fantastic way to fill your garden with its character without buying new plants, and it’s a surprisingly rewarding endeavor.
For beginners, I’d say propagating Carduus crispus falls into the moderately easy category. It’s not as foolproof as some of the super-easy houseplants, but with a little attention and the right approach, you’ll be successful.
The Best Time to Start
The sweet spot for propagating Carduus crispus is late spring to early summer. This is when the plant is actively growing but before it gets too stressed by the intense heat of midsummer. You’ll want to look for young, vigorous shoots that are about 4-6 inches long. These have a good balance of flexibility and sturdiness.
Supplies You’ll Need
Here’s what you’ll want to gather:
- Sharp Pruning Shears or a Craft Knife: For clean cuts.
- Rooting Hormone (Optional but Recommended): Helps encourage root development.
- Well-Draining Potting Mix: A good blend is about 50% peat moss and 50% perlite or coarse sand. You can also use a ready-made seed starting mix.
- Small Pots or Seed Trays: Clean containers are key!
- Plastic Bags or a Clear Dome: To create a humid environment.
- Watering Can with a Fine Rose: For gentle watering.
- Labels: To keep track of what you’ve planted!
Propagation Methods
We’ll focus on the most reliable method for Carduus crispus: stem cuttings.
- Take Your Cuttings: In late spring or early summer, find those healthy, non-flowering shoots. Using your clean shears or knife, make a cut just below a leaf node (where a leaf attaches to the stem). Aim for cuttings that are about 4-6 inches long. Remove the lower leaves, leaving just the top couple.
- Prepare the Cuttings: Dip the cut end of each stem into your rooting hormone if you’re using it. Gently tap off any excess.
- Plant Your Cuttings: Fill your small pots or seed trays with your prepared, moistened potting mix. Make a small hole in the center of the soil with your finger or a pencil. Insert the cutting into the hole, ensuring the node where you removed the leaves is below the soil surface. Gently firm the soil around the stem.
- Create a Humid Environment: Water gently to settle the soil. Then, cover the pots with plastic bags or place them under a clear dome. This traps humidity, which is crucial for cuttings to grow roots before they dry out.
The “Secret Sauce” (Pro Tips)
Here are a few things I’ve learned over the years that really make a difference:
- Don’t Over-Water: This is a big one! While cuttings need moisture, soggy soil is a guaranteed way to encourage rot. The potting mix should be consistently moist, not waterlogged. I often water from the bottom by placing the pots in a tray of water for about 30 minutes, allowing the soil to wick up moisture.
- Bottom Heat is Your Friend: If you have a seedling heat mat, using it can significantly speed up root development. A warm soil temperature encourages the plant to put its energy into growing roots. Just make sure the heat isn’t so intense that it dries out the cuttings too quickly.
- Patience with Prickles: Carduus crispus can be a bit stubborn. Don’t be discouraged if you don’t see immediate results. Roots can take anywhere from 3 to 6 weeks, sometimes even longer, to develop. You can gently tug on a cutting after a few weeks – if there’s resistance, chances are you have roots!
Aftercare & Troubleshooting
Once you see new leaf growth on your cuttings, it’s a good sign that roots have formed. Carefully remove the plastic cover or dome and continue to water gently. As the root system develops, you’ll notice the plant becoming more stable. When the new plants are a decent size and you can see a good amount of roots if you were to peek, it’s time to pot them up into slightly larger containers with a good quality potting mix.
The most common issue you might encounter is rot. If your cuttings turn mushy and brown, it’s usually a sign of too much moisture and poor air circulation. If you see this, try to remove the affected cuttings immediately, improve drainage, and be more judicious with your watering.
So there you have it! Propagating Carduus crispus is a wonderful way to connect with nature and expand your garden. Don’t be afraid to get your hands dirty. Be patient, observe your cuttings, and enjoy the magic of watching new life emerge. Happy gardening!
Resource:
https://identify.plantnet.org/k-world-flora/species/Carduus%20crispus%20L./data