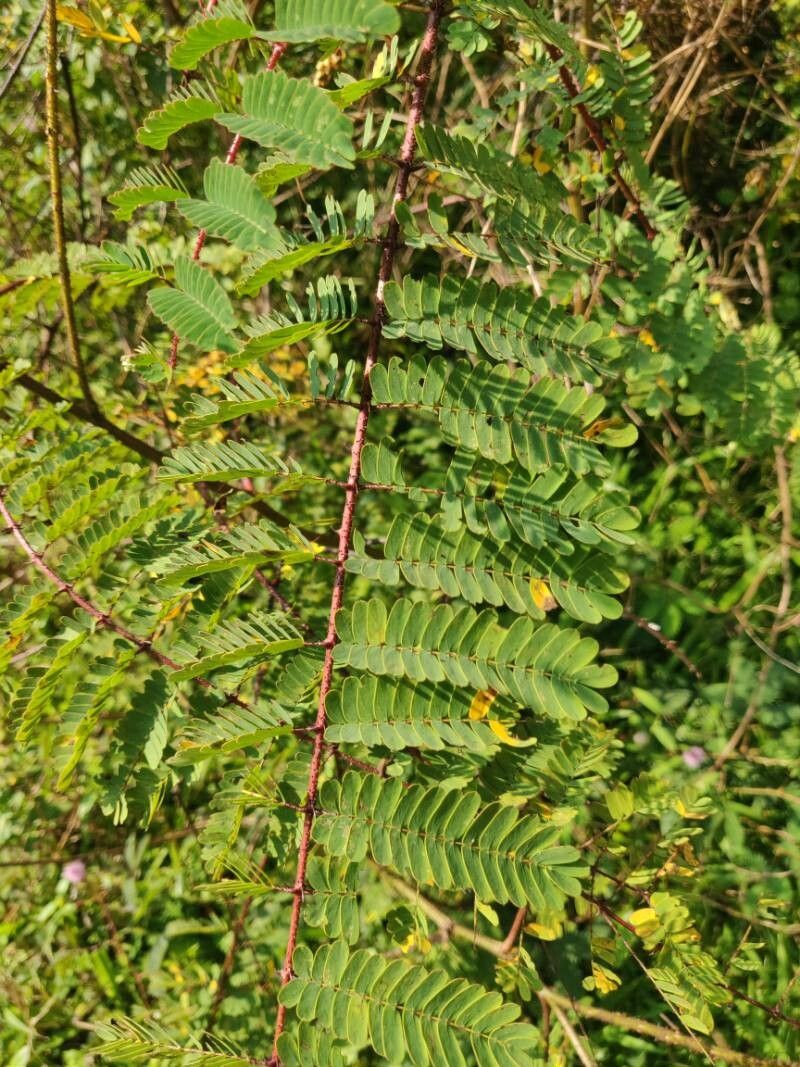
Oh, Biancaea decapetala! What a lovely choice for propagation. If you’re drawn to its delicate, cascading blooms and the sweet perfume that fills the air, you’re in for a treat. Getting more of these beauties from your existing plant is wonderfully rewarding, like giving the gift of future blooms. Now, is it a plant for absolute beginners? Honestly, it leans towards the moderately easy side, but with a little know-how, even a novice can feel like a pro.
The Best Time to Start
For Biancaea decapetala, I’ve found the sweet spot is generally late spring or early summer. This is when the plant is actively growing after its spring flush and before the intense heat of mid-summer sets in. You’re looking for new, healthy shoots that are firm but not yet woody. Think of it as capturing the plant’s youthful vigor.
Supplies You’ll Need
You don’t need a whole arsenal of fancy gadgets, just a few essentials:
- Sharp Pruning Shears or a Hobby Knife: Clean cuts are crucial.
- Potting Mix: A well-draining, peat-free mix is ideal. I often use a blend of coco coir, perlite, and a touch of compost.
- Small Pots or Seedling Trays: Clean, with good drainage.
- Rooting Hormone (Optional but Recommended): This gives your cuttings a helpful boost.
- Clear Plastic Bags or a Mini Greenhouse: For creating a humid environment.
- Water: Clean tap water is usually fine.
- Labels: So you don’t forget what you’ve propagated!
Propagation Methods
Biancaea decapetala is quite amenable to propagation from stem cuttings. It’s my go-to method, and I think you’ll have great success with it.
- Take Your Cuttings: On a healthy, non-flowering stem, use your sharp shears to make a clean cut just below a leaf node – that’s where new roots are most likely to form. Aim for cuttings about 4-6 inches long.
- Prepare the Cuttings: Gently remove the lower leaves from your cuttings, leaving just a few at the tip. This prevents them from rotting in the soil. If the leaves are very large, you can even cut them in half diagonally.
- Apply Rooting Hormone (If Using): Dip the cut end of the stem into the rooting hormone, tapping off any excess.
- Plant Your Cuttings: Fill your pots with the prepared potting mix. Make a hole in the center with your finger or a pencil and insert the cutting, ensuring the leaf nodes are below the soil surface. Gently firm the soil around it.
- Water Gently: Water the soil lightly to settle it around the cuttings.
- Create Humidity: Cover the pots with a clear plastic bag or place them in a mini greenhouse. This is vital for preventing the cuttings from drying out.
The “Secret Sauce”
Here are a couple of tricks I’ve learned over the years that really seem to help:
- The Leaf Node is King: When planting, make absolutely sure that at least one, preferably two, leaf nodes are buried beneath the soil. This is where the magic of root development happens.
- Bottom Heat is Your Friend: If you have a heated propagator mat, now’s the time to use it! Consistent warmth from below encourages faster root formation than just relying on ambient room temperature. It can make a significant difference in call it takes for your cuttings to root.
Aftercare & Troubleshooting
Once your cuttings are potted up, place them in a bright, but indirect light location. Avoid direct sun, which can scorch them. Keep the soil consistently moist but not soggy. This is where the plastic bag or greenhouse is your best friend – it creates a humid microclimate that reduces the need for frequent watering.
You’ll know your cuttings are rooting when you see new leaf growth emerge. You can gently tug on a cutting – if it resists, you’ve got roots! Once a good root system has developed (usually after 4-8 weeks, sometimes longer), you can carefully transplant them into their own individual pots.
The most common problem you might encounter is rot. If your cutting turns black and mushy, it’s likely rotted. This is usually due to too much moisture and not enough air circulation. If you see signs of rot, remove the affected cutting immediately to prevent it from spreading. Sometimes, a cutting might just fail to root. Don’t be discouraged! It happens to all of us. Nature has its own timeline.
A Encouraging Closing
Propagating plants is a beautiful act of patience and hope. Watching a tiny cutting transform into a vibrant new plant is incredibly satisfying. Don’t get discouraged if your first few attempts aren’t perfect. Keep experimenting, observe your plants, and enjoy the journey. Happy propagating!
Resource:
https://identify.plantnet.org/k-world-flora/species/Biancaea%20decapetala%20(Roth)%20O.Deg./data