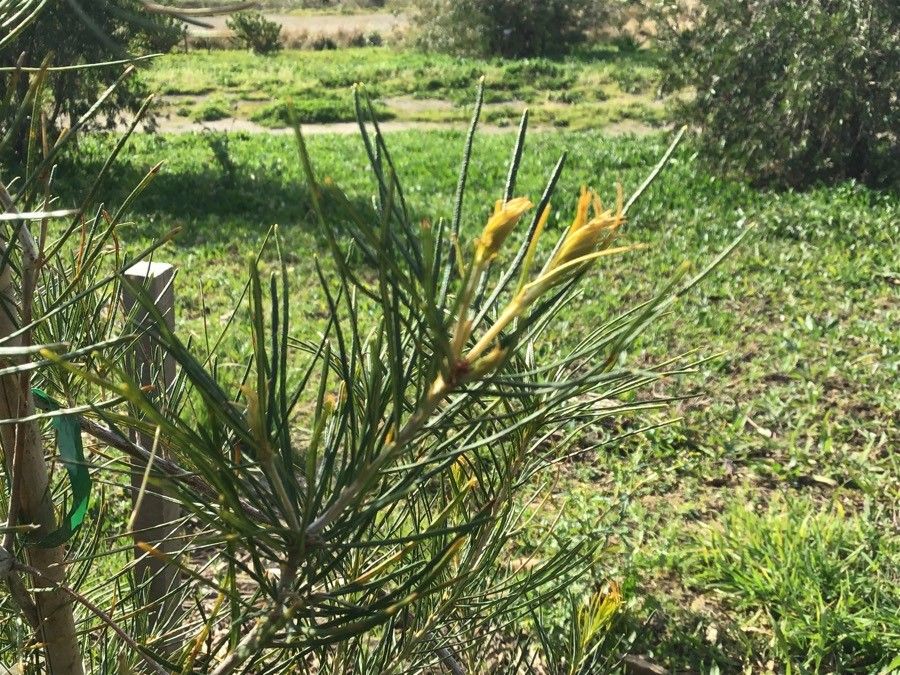
Hello fellow plant lovers! Today, I want to share a bit of magic with you, and it all centers around one of my absolute favorites: Banksia leptophylla, the slender-leaved banksia. There’s something so special about these beauties, with their elegant, spiky flower heads and the way they attract all sorts of buzzing visitors to the garden. And the best part? You can bring more of this delight into your life by propagating them yourself!
Now, I won’t lie, Banksia leptophylla can be a tad particular, so it might not be the absolute easiest plant for a complete beginner to start with. But with a little patience and attention to detail, I promise, it’s incredibly rewarding. Seeing a tiny cutting transform into a robust new plant is a feeling that never gets old.
The Best Time to Start
For Banksia leptophylla, spring and early summer are generally your golden ticket. I find the plant is actively growing then, full of energy, which gives your cuttings the best chance to establish themselves. Look for new, semi-hardwood growth – it will be firm enough to hold its shape but still slightly bendy. Avoid anything too soft and green, or old and woody.
Supplies You’ll Need
Don’t worry, you won’t need a whole laboratory! Most of these items are standard gardening fare:
- Sharp pruning shears or a clean knife: For making precise cuts.
- Rooting hormone: A good quality powder or gel will significantly boost your success rate. Look for one specifically for woody cuttings.
- A well-draining potting mix: I like to use a mix of coarse sand, perlite, and a bit of peat moss or coco coir. The key is excellent aeration; we don’t want soggy feet!
- Small pots or trays: Clean, with drainage holes, of course.
- Plastic bags or a propagator: To create a humid environment.
- Labels: So you don’t forget what you propagated and when!
- A mister bottle: For keeping things turgid.
Propagation Methods
While you could try water propagation, for Banksia leptophylla, stem cuttings are my go-to. It offers the best chance for a strong root system.
- Take Your Cuttings: In the spring or early summer, select healthy shoots that are about 10-15 cm (4-6 inches) long. Make a clean cut just below a leaf node. Gently remove the lower leaves, leaving about 2-3 at the top. If any flower buds are present, pinch them off.
- Prepare the Cutting: Dip the cut end into rooting hormone, ensuring it’s well-coated. Tap off any excess.
- Potting Up: Fill your clean pots with your well-draining mix. Make a hole in the center with a pencil or your finger. Gently insert the prepared cutting into the hole, ensuring the base is firm in the soil. Firm the soil around it.
- Create Humidity: Water the potting mix lightly. Then, place the pot inside a clear plastic bag, ensuring the bag doesn’t touch the leaves. Alternatively, use a propagator lid. Seal it up to trap moisture.
- Placement: Place the potted cuttings in a bright location with indirect light. Avoid direct sun, which can scorch the leaves and overheat the propagator.
The “Secret Sauce” (Pro Tips)
Here are a few things I’ve learned over the years that really make a difference:
- Don’t Over-Water: This is critical with banksias. They are native to sandy, well-drained soils and hate having consistently wet feet. Water when the top inch of soil feels dry to the touch, and always ensure good drainage. Overwatering is the fastest way to rot your cuttings.
- Bottom Heat is Your Friend: If you can, investing in a heated propagator mat can significantly speed up root development. Banksias thrive with warmth at their base. It mimics the sun-warmed earth they’re used to.
- Air Circulation is Key: While we want humidity, stale air is a breeding ground for fungal diseases. If you’re not using a propagator with vents, gently open the plastic bag for a few minutes each day to let fresh air circulate.
Aftercare & Troubleshooting
Be patient! Rooting can take anywhere from 4 to 12 weeks, sometimes longer. You’ll know your cutting has rooted when you start to see new growth appearing at the tip or the leaves look perkier and firmer.
When roots have formed, gradually acclimatize your new plant to normal humidity by slowly opening the bag or propagator over a few days. Continue to water sparingly and keep it in bright, indirect light. Once it’s looking sturdy, you can pot it into a slightly larger container with your well-draining mix.
The most common sign of failure is rot, where the cutting turns black and mushy, usually at the base. This almost always comes down to too much moisture. If you see this, sadly, it’s best to discard the cutting and try again, paying closer attention to watering and drainage. Browning leaves can sometimes mean it’s too dry or getting too much direct sun.
A Gentle Encouragement
Propagating Banksia leptophylla is a journey. There might be a few setbacks, but don’t let that discourage you. Each attempt is a learning experience. Celebrate the small victories, enjoy the process of nurturing these beautiful plants, and soon you’ll have a lovely collection to admire. Happy growing!
Resource:
https://identify.plantnet.org/k-world-flora/species/Banksia%20leptophylla%20A.S.George/data