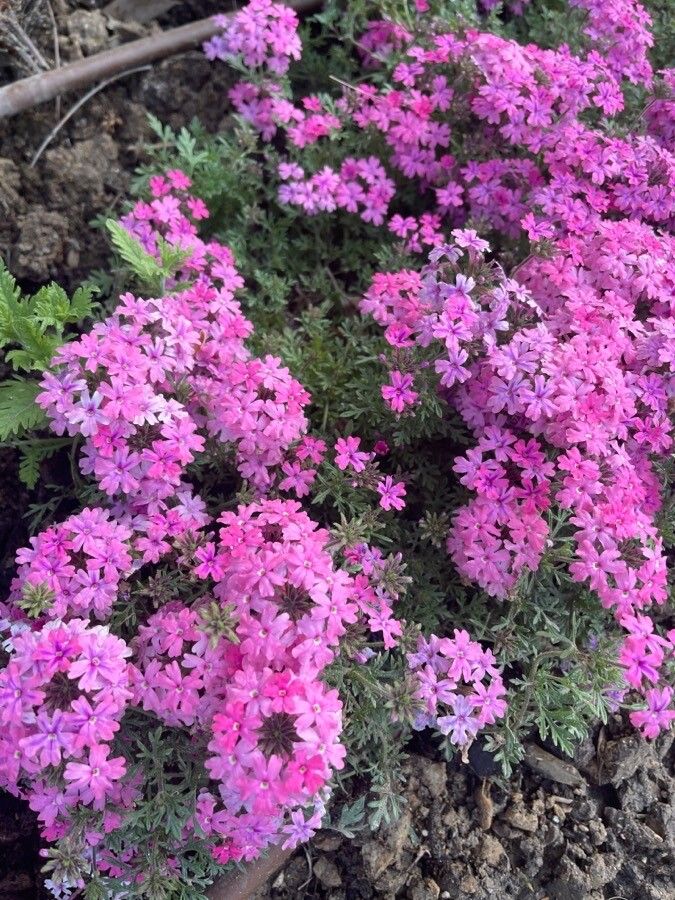
Well hello there, fellow plant lovers! It’s so lovely to have you join me today. We’re diving into the wonderful world of verbena, specifically Verbena chiricahensis. Oh, this one’s a real charmer, isn’t it? Those delicate, airy blooms and its ability to just tumble and cascade make it a favorite for me. There’s something truly special about coaxing a new plant into existence from a tiny piece of its parent. It feels like a little bit of gardening magic, and I promise you, propagating Verbena chiricahensis is a journey that’s both rewarding and, dare I say, quite manageable for most of you, even if you’re just dipping your toes into propagation waters.
The Best Time to Start
For the best chance of success with Verbena chiricahensis, I always reach for my clippers in the late spring or early summer. This is when the plant is actively growing, bursting with energy, and has plenty of healthy, new stems to work with. Starting during this peak growth period means your cuttings will have the best vigor to establish themselves.
Supplies You’ll Need
Gathering your supplies is half the fun, right? For propagating Verbena chiricahensis, you’ll want to have these on hand:
- Sharp Pruning Shears or a Craft Knife: Cleanliness is key here!
- Rooting Hormone (Optional but Recommended): The powdered kind works wonderfully.
- Small Pots or Seed Trays: With good drainage holes, of course.
- Propagation Mix: A light, gritty mix is ideal. I like a blend of perlite, coarse sand, and a bit of peat moss. You can also find pre-made cactus or succulent mixes that work well.
- Clear Plastic Bags or a Propagator Lid: To create that humid environment.
- Watering Can with a Fine Rose: To water gently.
Propagation Methods
Let’s get our hands dirty! Here are a couple of tried-and-true methods for propagating your Verbena chiricahensis:
Stem Cuttings
This is my go-to for Verbena chiricahensis.
- Take Your Cuttings: Look for healthy stems that are new growth but firm, not soft and floppy. They should be about 4-6 inches long. Make a clean cut just below a leaf node (where a leaf attaches to the stem). Remove the lower leaves, leaving just a few at the top.
- Apply Rooting Hormone: If you’re using it, lightly dip the cut end of the stem into your rooting hormone, tapping off any excess.
- Plant Your Cuttings: Fill your small pots with your prepared propagation mix. Make a small hole with your finger or a pencil, then insert the cutting, ensuring the leaf nodes are buried. Gently firm the soil around the stem.
- Water Gently: Water the cuttings thoroughly but gently.
- Create Humidity: Cover the pots with a clear plastic bag or place them in a propagator. This traps moisture and keeps the leaves from drying out. Place them in a bright spot, but out of direct sunlight.
Water Propagation
This is a wonderfully visual way to see roots form!
- Prepare Your Cuttings: Similar to stem cuttings, take 4-6 inch lengths of healthy new growth. Remove all the lower leaves so none are submerged in water.
- Place in Water: Pop your cuttings into a clean glass or jar filled with fresh water. Make sure the leaf nodes you removed the leaves from are submerged.
- Change Water Regularly: Change the water every few days to keep it fresh and prevent bacterial growth. You’ll start to see tiny roots emerging from the nodes within a few weeks.
- Pot Up Once Rooted: When the roots are about an inch long, it’s time to carefully pot them up into your propagation mix, just as you would with stem cuttings.
The “Secret Sauce” (Pro Tips)
There are a few little tricks that make all the difference, in my experience:
- Don’t Let Leaves Touch the Water (in water propagation): This is crucial! Any submerged leaves will rot, and that rot can spread to the stem, dooming your cutting. Keep those nodes clear!
- Bottom Heat is Your Friend: If you have a heated propagator or a heat mat, using it can significantly speed up root development. The warmth encourages the plant to put energy into rooting. Just ensure it’s not too hot!
Aftercare & Troubleshooting
Once you see those lovely new roots emerging, it’s time for continued TLC.
- Gradual Acclimation: If you’ve been using a plastic bag or propagator, gradually remove the cover over a few days to let your new plants get used to the drier air.
- Watering: Keep the soil consistently moist but not waterlogged. As the plants grow stronger, you can gradually transition them to a regular watering schedule.
- Signs of Trouble: The most common culprit for failure is rot. This usually shows up as a mushy, blackened stem at the soil line. Overwatering is often the cause. If you see this, unfortunately, the cutting is likely lost. It’s also important to watch for wilting, which can indicate either too much or too little water, or that the cutting hasn’t rooted yet and is struggling. Don’t be discouraged; just try again!
So there you have it! Propagating Verbena chiricahensis is a lovely way to expand your garden or share these beautiful plants with friends. Be patient with yourself and the process. Some cuttings will take off like lightning, while others might take their sweet time. Every plant is an individual, after all! Enjoy the journey, and happy propagating!
Resource: