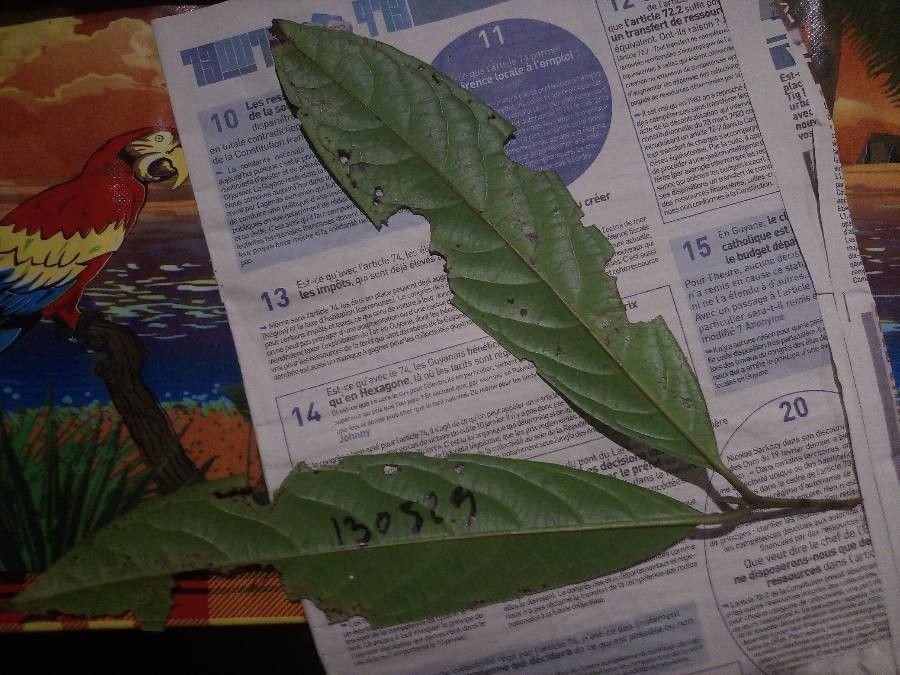
Hey there, fellow plant lovers! I’m so excited to chat with you today about a truly special plant: Siparuna cristata. If you’ve ever seen one of these beauties, you know what I mean. Its leaves have a gorgeous, almost velvety texture and a fascinating pattern that just draws your eye. Plus, the aroma when you brush past its foliage is just incredible – a spicy, peppery scent that’s so unique. If you’re looking to add a touch of the exotic to your home or garden, Siparuna cristata is definitely one to consider. And the best part? Propagating it yourself is incredibly rewarding. Now, is it a walk in the park for a complete beginner? I’d say it’s more of a gentle stroll. It definitely requires a little more attention than, say, a pothos, but with a few key steps, you’ll be well on your way to success.
The Best Time to Start
For the highest chance of success with Siparuna cristata, I find that late spring to early summer is your golden window. This is when the plant is actively growing, meaning it has plenty of energy to put into developing new roots. You want to be taking cuttings from healthy, vigorous, current-season growth. Avoid woodier, older stems, as they will take much longer, if they root at all.
Supplies You’ll Need
Here’s what I always have on hand when I’m propagating: Siparuna cristata:
- Sharp pruning shears or a clean knife: For making clean cuts.
- Rooting hormone powder or gel: This is a game-changer! It really gives your cuttings a boost.
- A well-draining potting mix: I usually use a blend of perlite, peat moss, and a little bit of coco coir. You want it to hold moisture but not get waterlogged. A good seed-starting mix can also work.
- Small pots or propagation trays: Clean ones are key to preventing disease.
- A clear plastic bag or a propagation dome: This creates a humid environment for your cuttings.
- Watering can or spray bottle: For gentle watering.
Propagation Methods: Stem Cuttings
This is my go-to method for Siparuna cristata, and it’s generally the most effective.
- Take Your Cuttings: With your clean shears, select a healthy stem that’s about 4-6 inches long. Make a clean cut just below a leaf node (where a leaf attaches to the stem). This is where roots are most likely to form.
- Prepare the Cuttings: Gently remove the lower leaves from the stem, leaving just a few at the top. If the remaining leaves are very large, I often cut them in half horizontally. This reduces water loss through transpiration, giving the cutting more time to root without drying out.
- Apply Rooting Hormone: Dip the cut end of the stem into your rooting hormone. Tap off any excess. You want a thin, even coating.
- Plant Your Cuttings: Fill your small pots with your prepared potting mix. Make a small hole with your finger or a pencil, and gently insert the cutting. Firm the soil gently around it.
- Create a Humid Environment: Water the soil lightly. Then, place the potted cutting inside a clear plastic bag or cover it with a propagation dome. Seal it up, but make sure the leaves aren’t touching the plastic if possible. This traps humidity, which is crucial for root development.
The “Secret Sauce” (Pro Tips)
Over the years, I’ve learned a few tricks that really seem to make a difference.
- Bottom Heat is Your Friend: I can’t stress this enough! Placing your pots on a seedling heat mat can significantly speed up rooting. Warmer soil encourages root initiation. Keep the mat on for about 8 hours a day if you can.
- Don’t Drown Them: While humidity is essential, sitting in soggy soil will quickly lead to rot. Water only when the top inch of soil feels dry to the touch. It’s better to err on the side of slightly too dry than too wet.
- Patience, Young Grasshopper: Siparuna cristata can be a bit of a procrastinator when it comes to rooting. Don’t be discouraged if you don’t see much activity for several weeks. Resist the urge to pull them up and check! Just keep the environment consistent.
Aftercare & Troubleshooting
Once you start seeing new leaf growth or feel some resistance when you gently tug on the cutting (a sign of roots!), you’re on your way.
- Gradual Acclimation: Slowly start to open the plastic bag or dome a little each day over the course of a week. This allows the new plant to get used to the lower humidity of your home.
- Tender Loving Care: Continue to water when the soil is dry. Once they are well-rooted and have several sets of leaves, you can move them into slightly larger pots with your regular houseplant mix.
- Watch for Rot: The most common problem you’ll encounter is rot, which usually looks like soft, brown, mushy stems, or wilting that doesn’t improve after watering. This is almost always due to overwatering and poor drainage. If you see this, unfortunately, the cutting is likely a goner. You can try to save it by trimming away all the rotten bits and attempting to re-root the healthy sections, but it’s a tough call.
A Very Encouraging Closing
Propagating plants is such a wonderful dance with nature. It takes a little patience, a lot of observation, and sometimes, a bit of trial and error. But seeing those tiny roots emerge and a new plant begin to grow from a simple cutting is one of the most satisfying feelings in gardening. So, gather your supplies, find a healthy stem, and give it a go. Enjoy the process, marvel at the resilience of plants, and I can’t wait to hear about your Siparuna cristata success stories!
Resource: