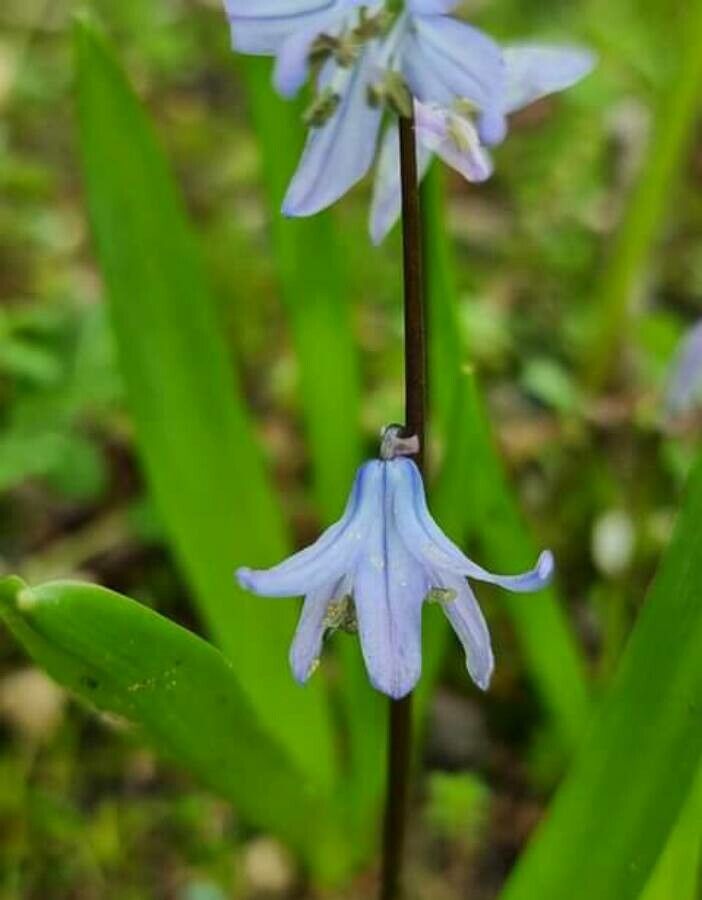
Oh, Scilla mesopotamica! Isn’t it just a jewel? Those delicate, star-shaped blooms, often a lovely shade of blue or purple, peeking out from the garden floor. I remember the first time I saw it, it was like a little bit of magic dropped right into my flowerbeds. And the best part? You can easily share that magic! Propagating Scilla mesopotamica is a wonderfully rewarding endeavor. For beginners, I’d say it’s quite achievable, especially if we follow a few simple steps. It’s not one of those fussy plants that demands constant attention.
When to Get Your Hands Dirty
The absolute best time to propagate Scilla mesopotamica is right after the plant has finished flowering and is starting to die back. This usually happens in late spring or early summer. The bulbs have stored up plenty of energy from the growing season, and they’re ready to put that energy into creating new life. You’ll see the foliage start to turn yellow and wither – that’s your signal! Doing it too early, when the leaves are still bright green, can weaken the parent plant.
Your Propagation Toolkit
Gathering your supplies beforehand makes the whole process so much smoother. Here’s what you’ll want to have on hand:
- Sharp pruning shears or a clean knife: For making precise cuts.
- A well-draining potting mix: I like a blend of peat moss, perlite, and coarse sand – something that won’t hold too much moisture. You can also buy a commercially available seed-starting mix.
- Small pots or trays: Clean ones are important to prevent diseases.
- Watering can with a fine rose: For gentle watering.
- Optional: Rooting hormone: While not always strictly necessary for Scilla, it can give an extra boost.
- Optional: Labels and a marker: To keep track of what you’ve planted where.
Bringing More Scilla to Life
Scilla mesopotamica is primarily propagated through division of the bulb. These charming little plants tend to form offsets, or baby bulbs, around the base of the parent bulb.
- Locate and Gently Excavate: Once the foliage has died back, carefully dig around the base of the parent plant. You want to expose the cluster of bulbs. A small trowel or hand fork works well here. Be gentle; these bulbs are delicate.
- Identify the Offsets: You’ll notice smaller bulbs attached to the main one, or nestled in the soil nearby. These are your propagation babies!
- Separate with Care: Using your clean pruning shears or knife, carefully twist or cut the offsets away from the parent bulb. Try to keep a few tiny roots attached to the offset if possible. If an offset is very small, it might be best to leave it attached for another season to gain strength.
- Plant Them Up: Fill your clean pots or trays with your well-draining potting mix. Make a small hole in the center of each pot or cell.
- Bury Your Babies: Place each offset in its hole, planting it so the top of the bulb is just at or slightly below the soil surface. Firm the soil gently around it.
- Water Tenderly: Water them in gently but thoroughly. You want the soil to be moist but not soggy.
My “Secret Sauce” Tricks
Over the years, I’ve picked up a few tricks that seem to make all the difference:
- Let those bulbs “breathe” for a day or two: After separating the offsets but before planting, I often let them sit out in a dry, shaded spot for 24-48 hours. This allows the cut surfaces to callous over, which can help prevent rot when they’re in the soil.
- Don’t overwater the freshly planted babies: This is crucial. They have no roots yet to take up excess moisture. Keep the soil consistently lightly moist, not wet. Think of it like a damp sponge.
- A touch of warmth can work wonders: If you’re propagating these early in the season and your house is a bit cool, placing the pots on a seedling heat mat on a very low setting can encourage root development. Just a gentle warmth, not baking heat.
Nurturing Your New Sprouts
Once your offsets are planted, keep them in a bright spot, but out of direct, harsh sunlight. Water them sparingly, only when the top inch of soil feels dry. You’re looking for signs of tiny green shoots emerging from the soil – that’s the first indication of root development!
Troubleshooting is part of the fun, right? The most common issue you might encounter is rot. If you see a bulb turn mushy, brown, and smell unpleasant, it’s likely succumbed to rot. This usually means too much moisture. Don’t despair! Remove the affected bulb immediately to prevent it from spreading. If a bulb simply doesn’t sprout after a few weeks, it might be too small to propagate or hasn’t had enough time to establish itself. Patience is key here; some might take longer than others.
So there you have it! Propagating Scilla mesopotamica is a lovely way to expand your collection and share its beauty. Remember to be patient, trust your instincts, and most importantly, enjoy the process of nurturing these little promises of future blooms. Happy gardening!
Resource:
https://identify.plantnet.org/k-world-flora/species/Scilla%20mesopotamica%20Speta/data